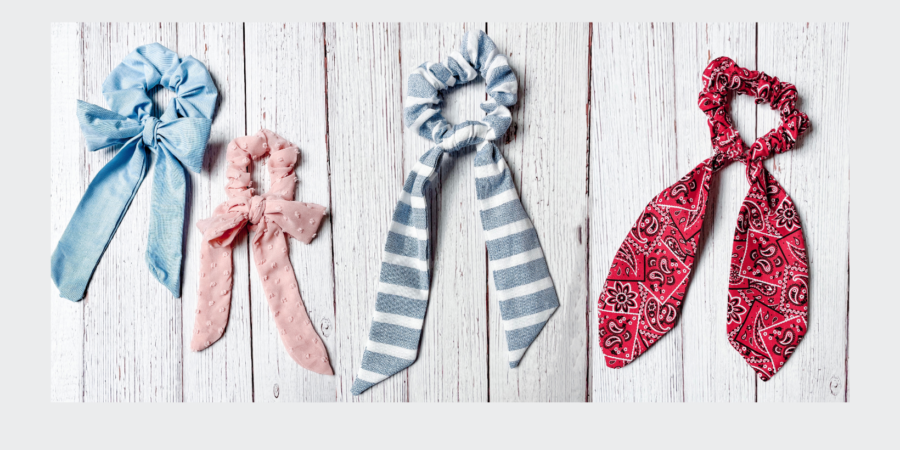
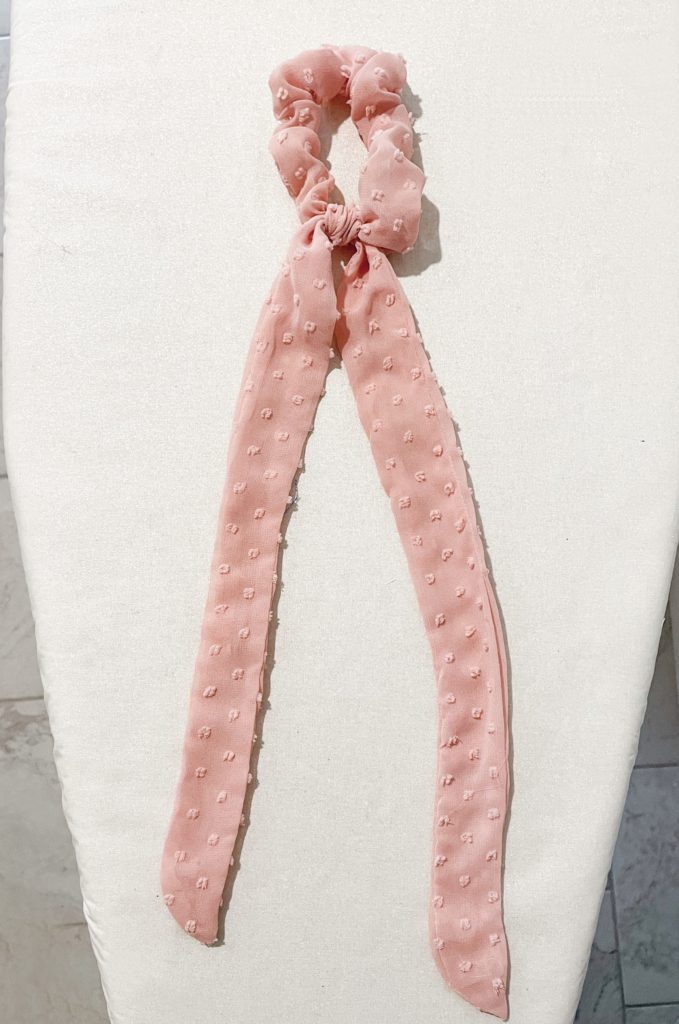
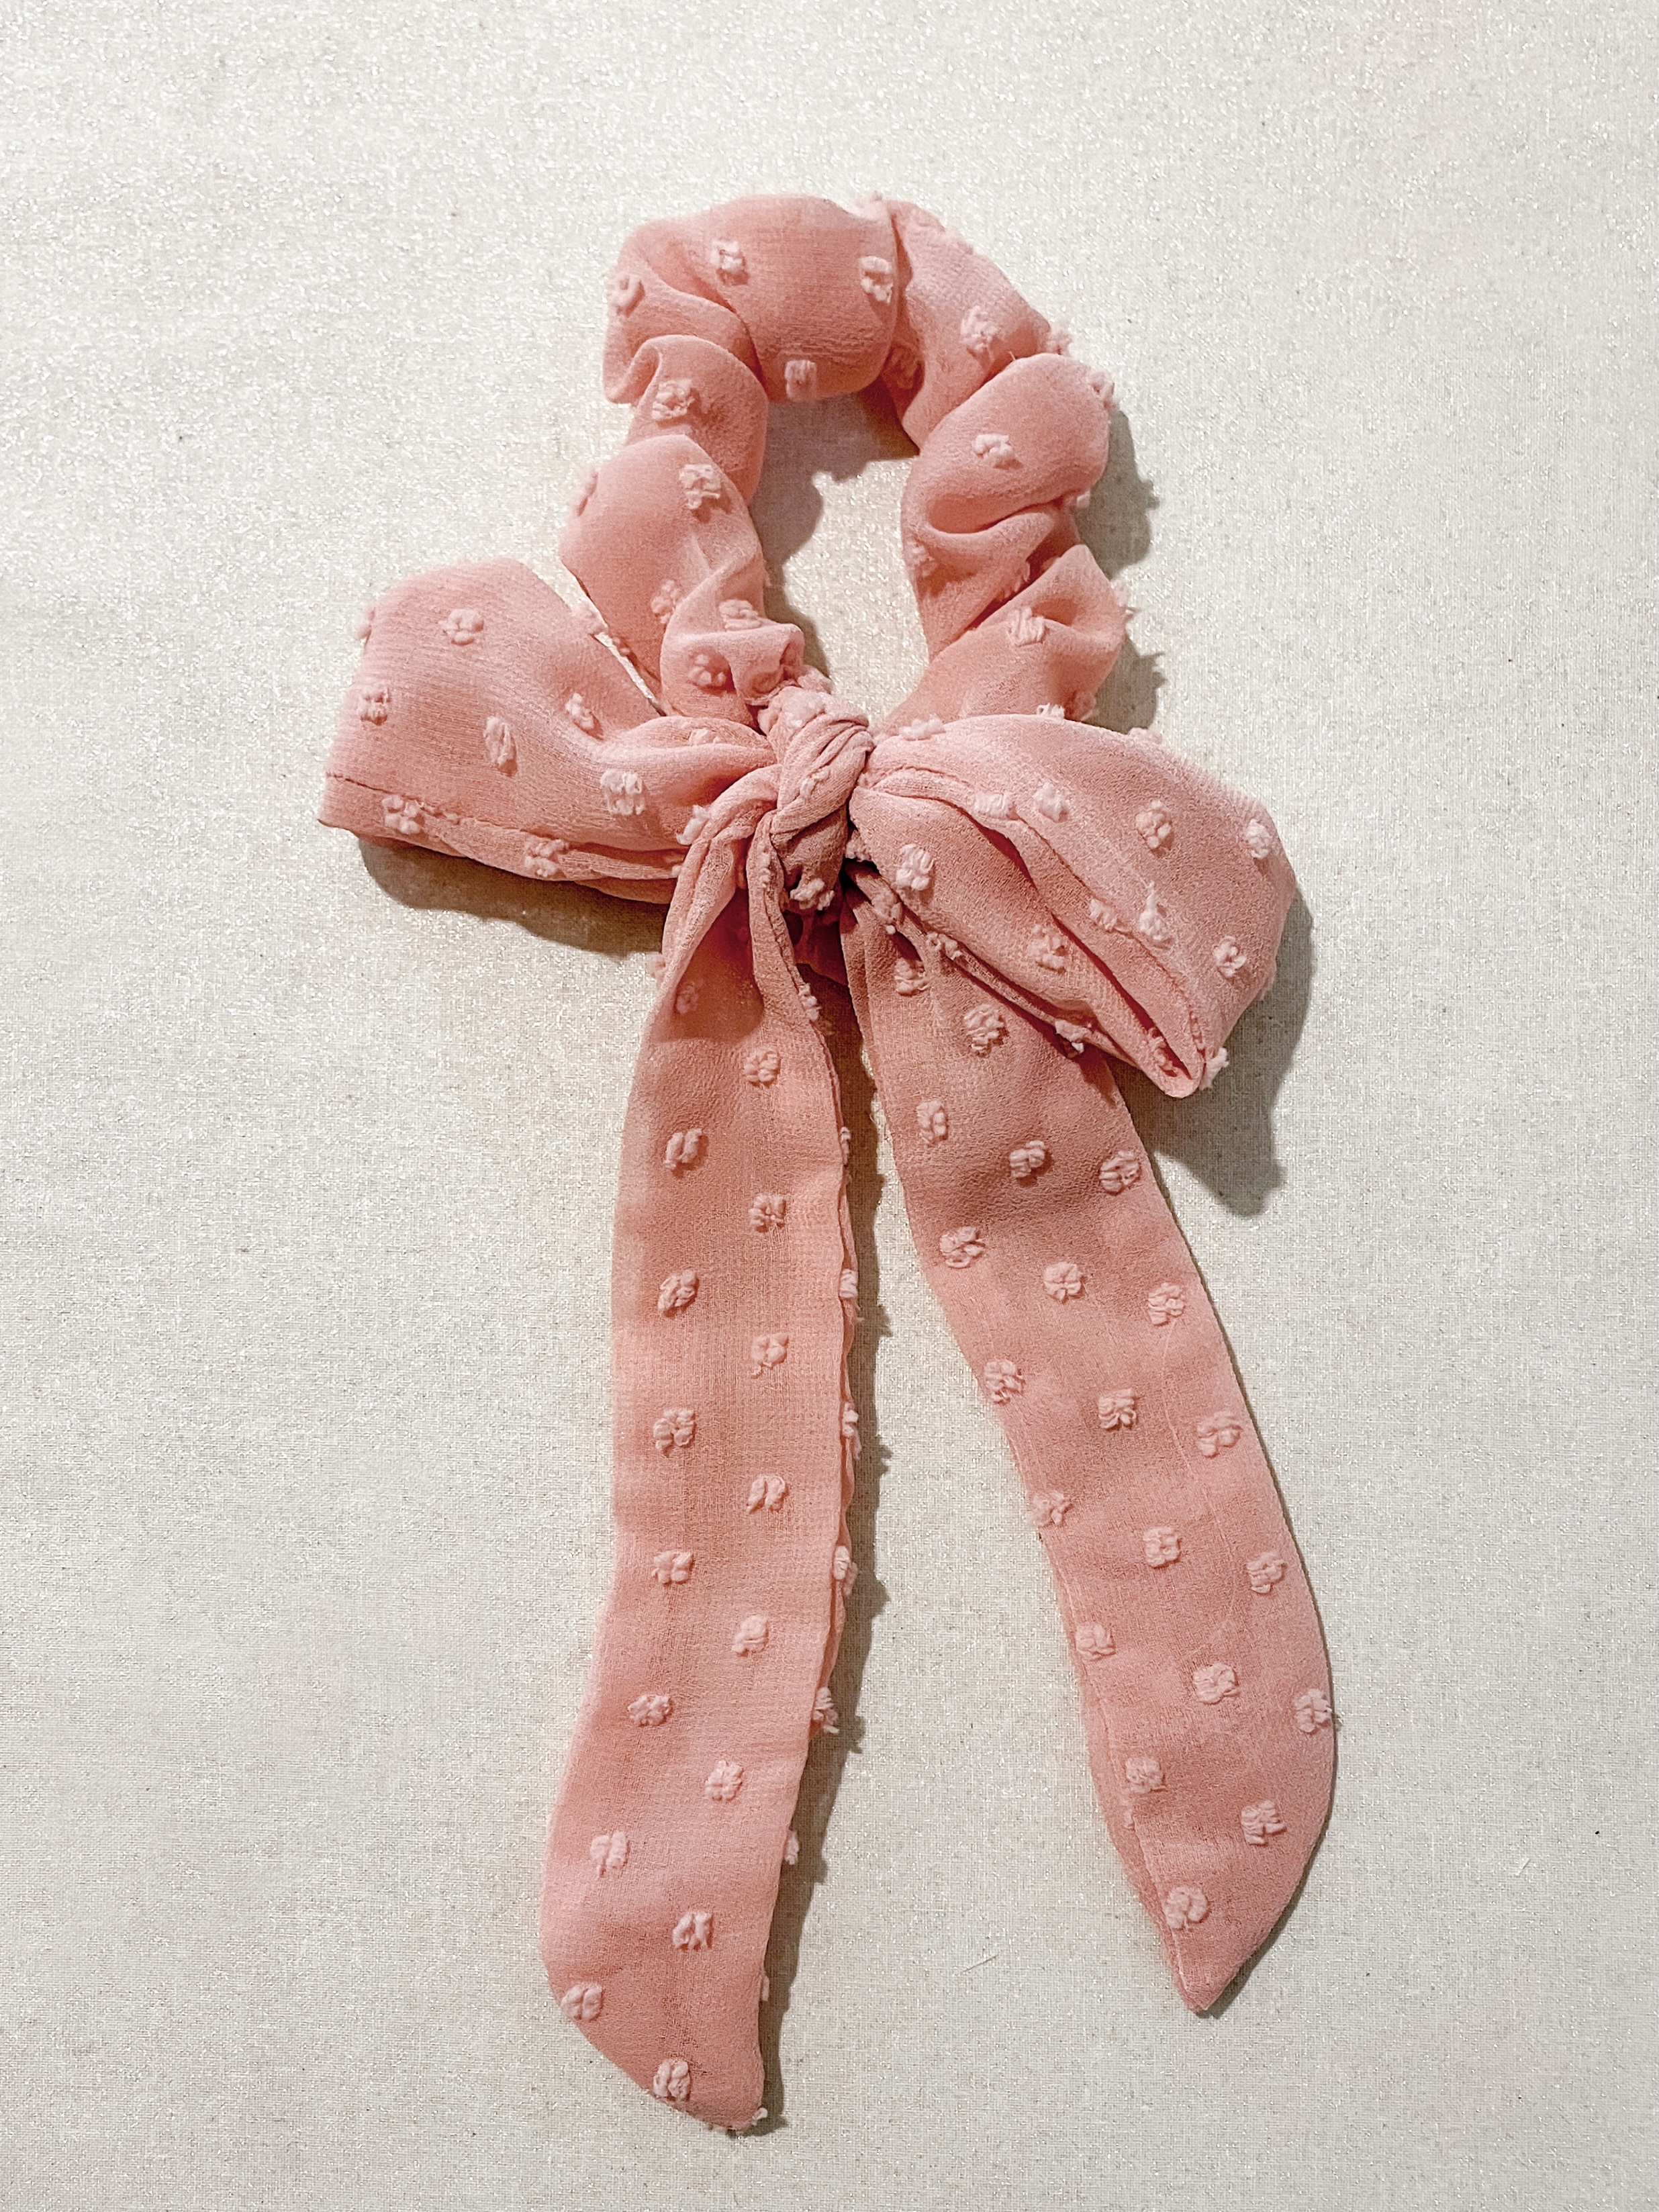
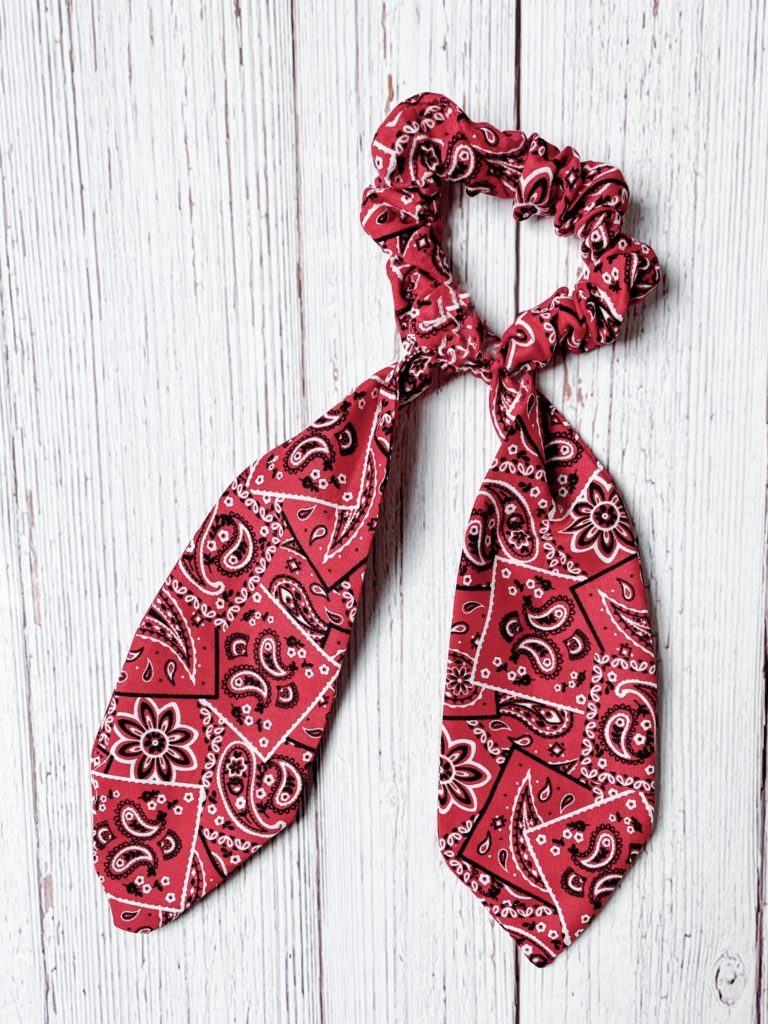
Make yourself this summer’s must-have hair accessory – a DIY scarf and bow scrunchie for a fraction of the price you would pay in stores.
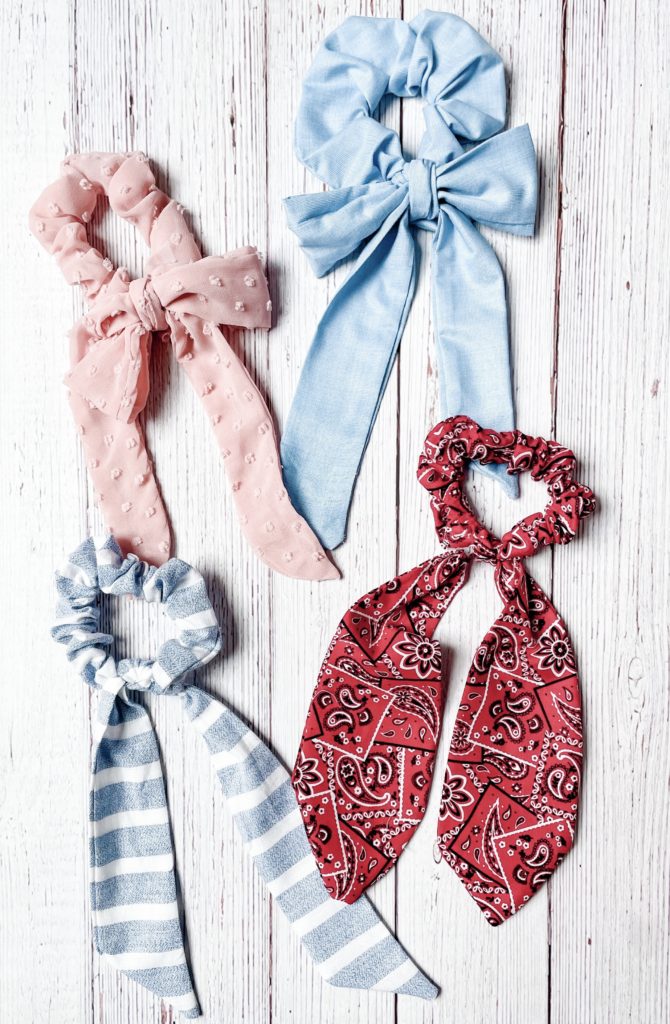
Warm weather is coming and one of the best ways to beat the heat is to pull your hair back off your face. But why stick with boring rubber bands and hair ties when you can use a cute scarf or bow scrunchie. These must-have summer accessories are EVERYWHERE but at $12-$20 each at stores like Anthropologie and Free People, buying just a few of these will definitely leave a dent in a fashionista’s wallet. I decided to pull out my sewing machine and see if I could make some of these fun scarf and bow scrunchies on my own. This DIY is super simple (no advanced sewing experience necessary), extremely forgiving (sometimes cutting material in a straight line can be hard), and affordable (you only need 1/4 yard of material). In today’s blog post, I share 3 different ways to make a DIY scarf and bow scrunchie that will luxe up your ponytail, top-knot, or half-pony hairstyle this summer!
What you Need:
- 1/4 yard of non-stretch fabric (I used cotton, chambray, and chiffon for my scrunchies)
- 7 inches of 3/8″ elastic
- safety pin
- ruler
- fabric scissors
- thread
- pencil
- paper for pattern
Step 1 – Make the Scrunchie

Cut out one strip of fabric that is 3 inches wide and 18 inches long.
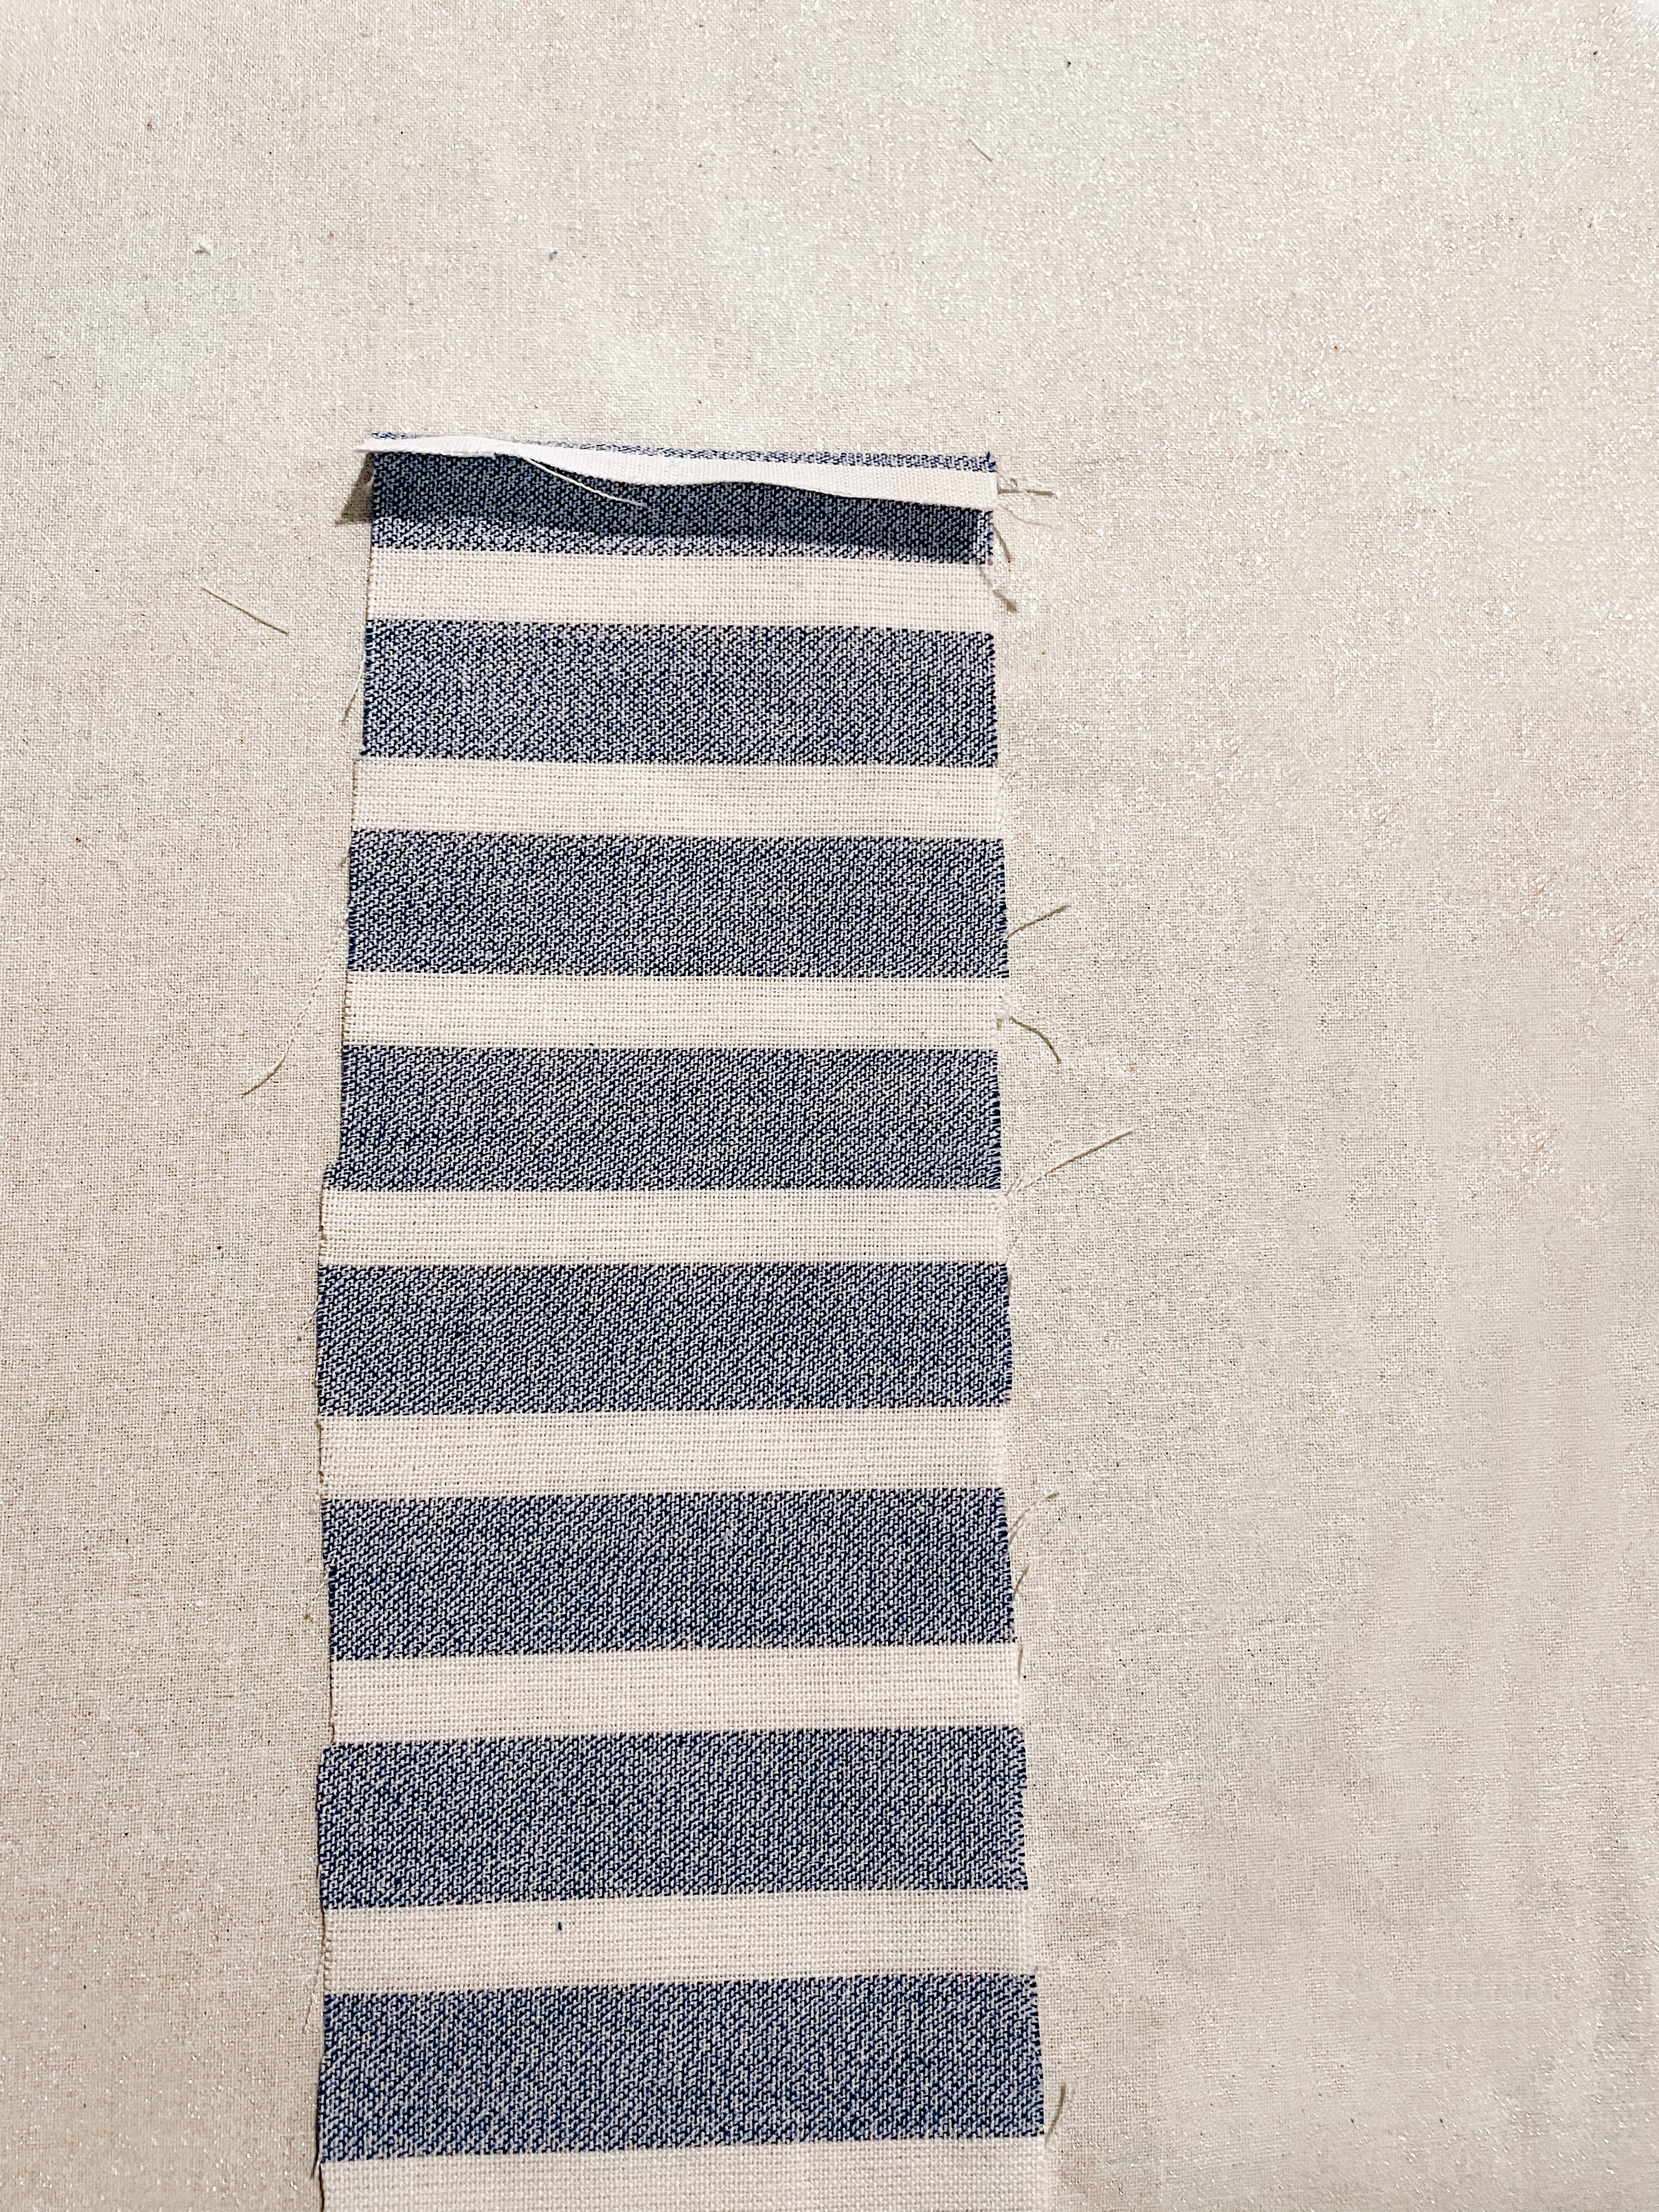
Place the fabric, wrong side up, and iron the short edges down 1/4 inch. The wrong sides of the fabric should be touching when you iron.
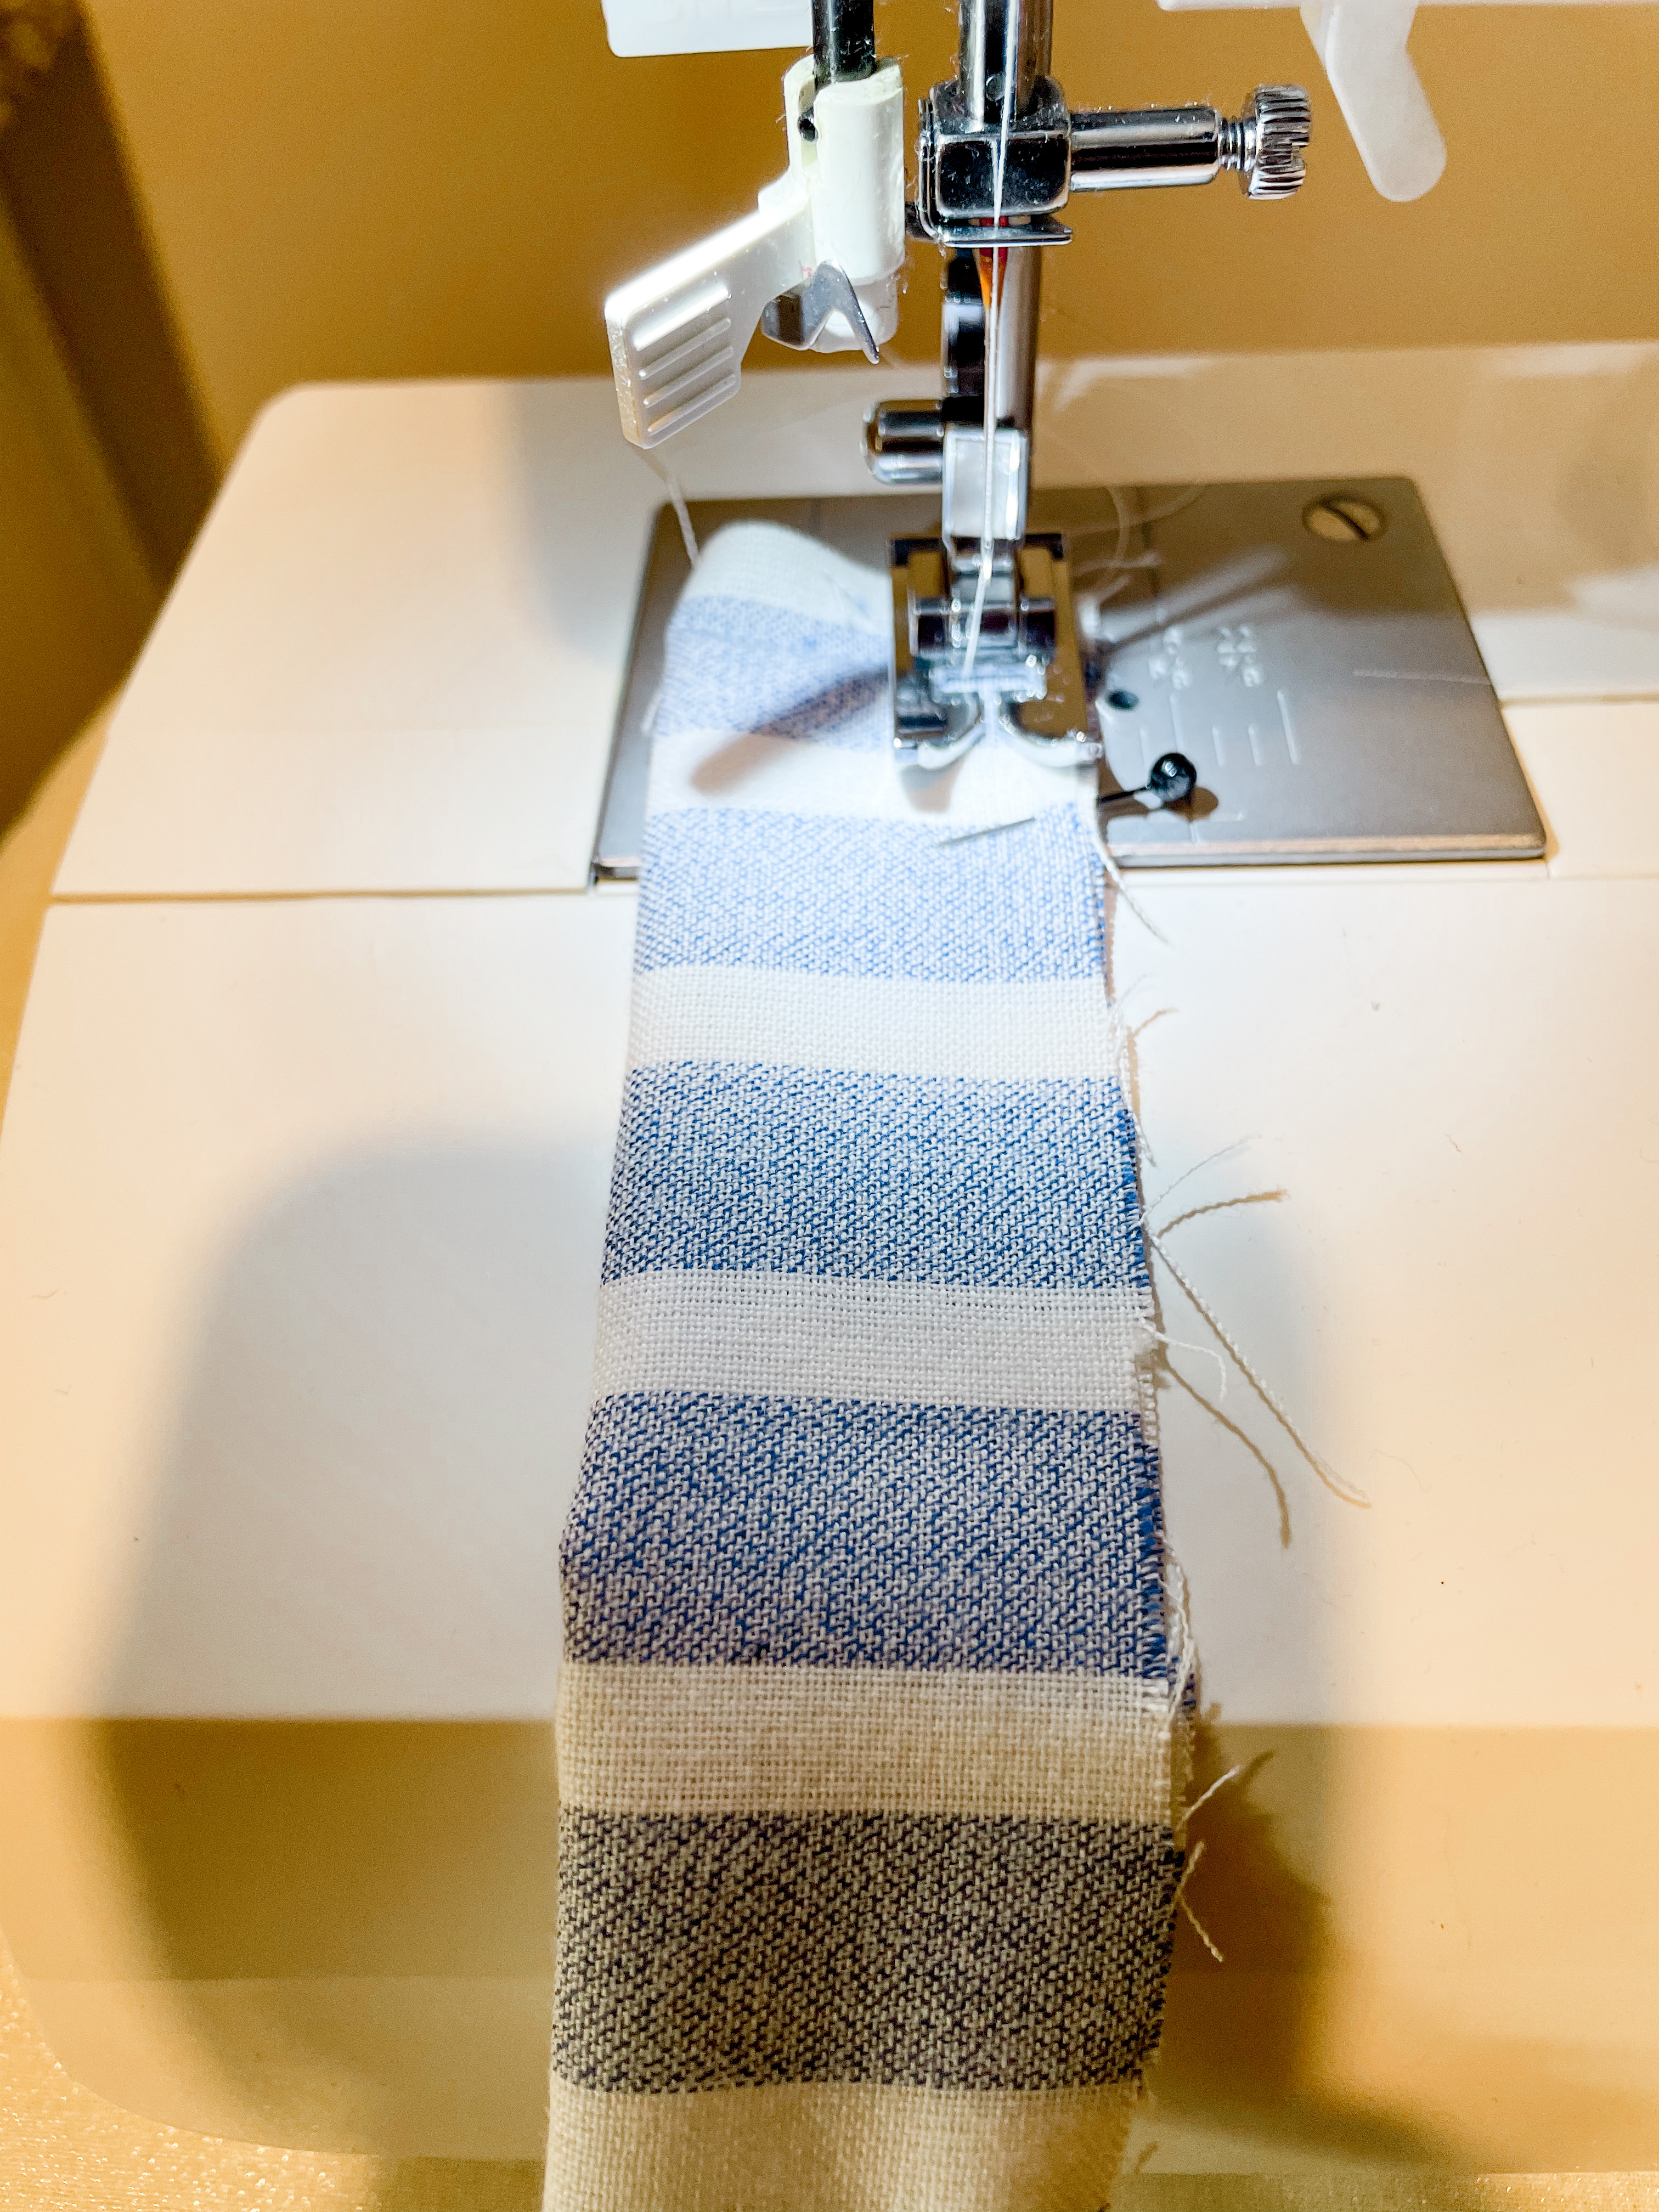
Fold the fabric in half length wise, right-sides facing each other, and pin along the long edge of the fabric. Using a 1/4 inch seam allowance, begin sewing from one end of the ironed crease to the other. At this point, you should have a long fabric tube. Turn the fabric right side out (I like to use a pencil to help push the fabric through).
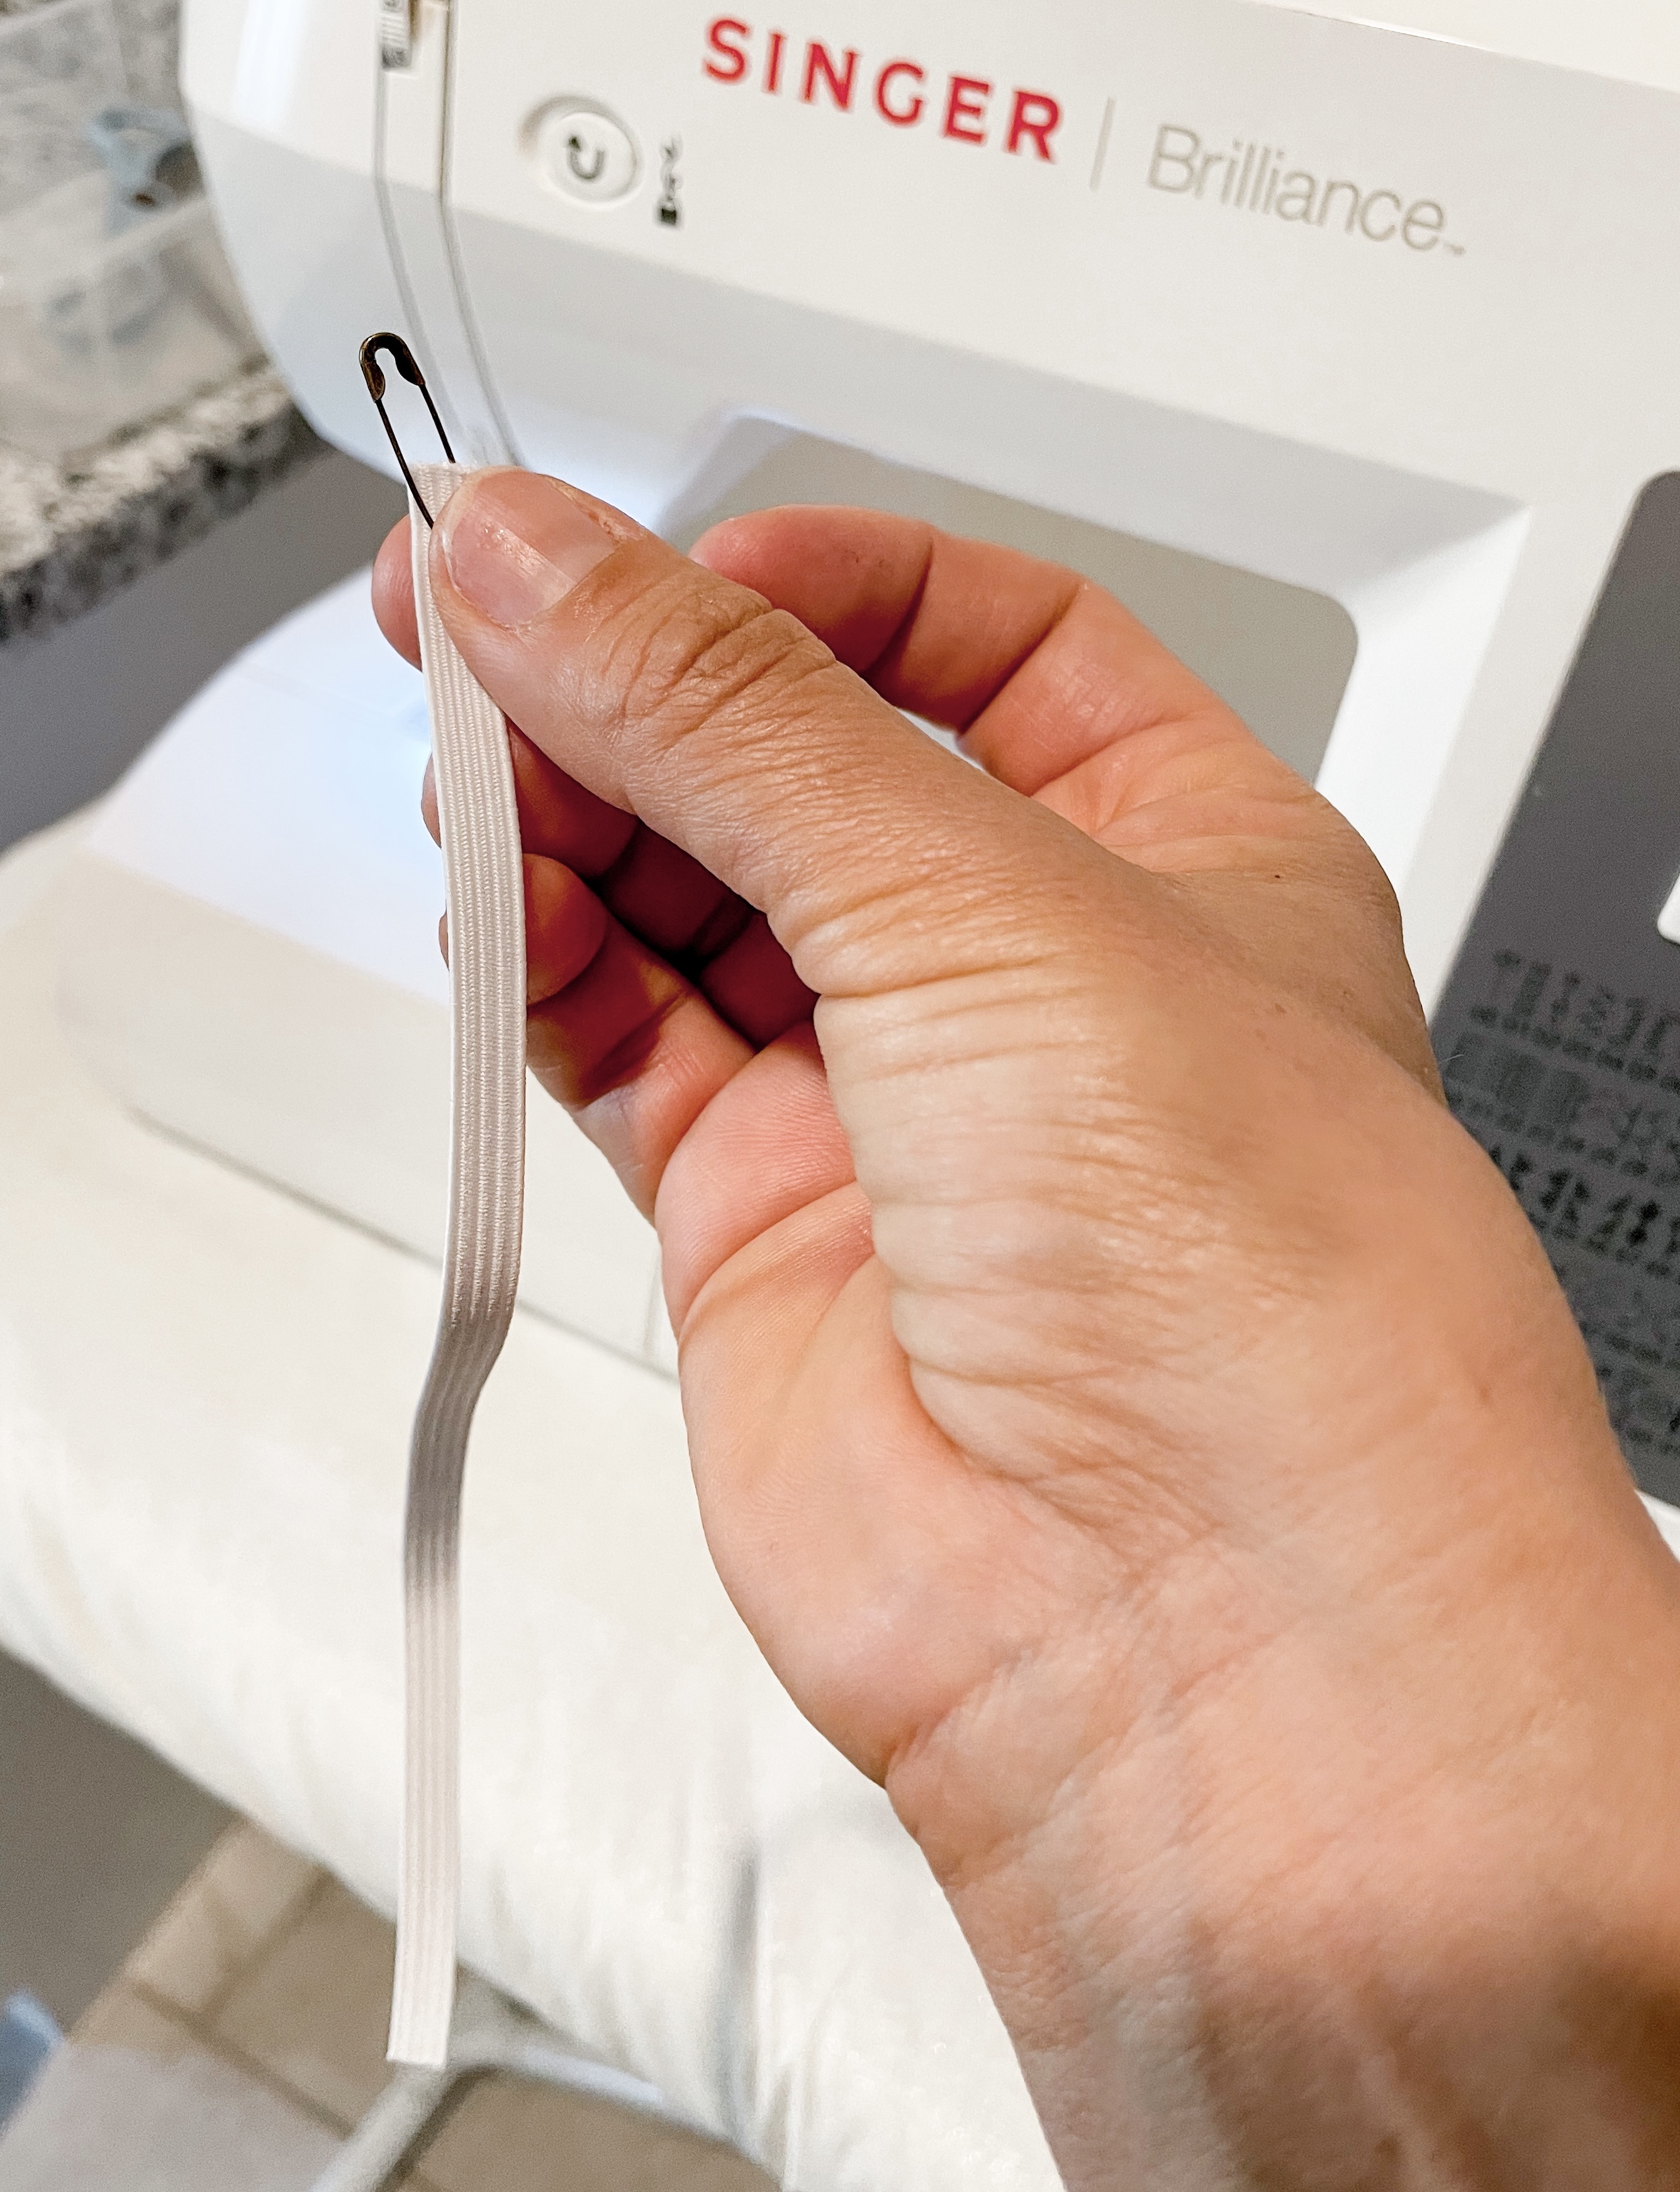
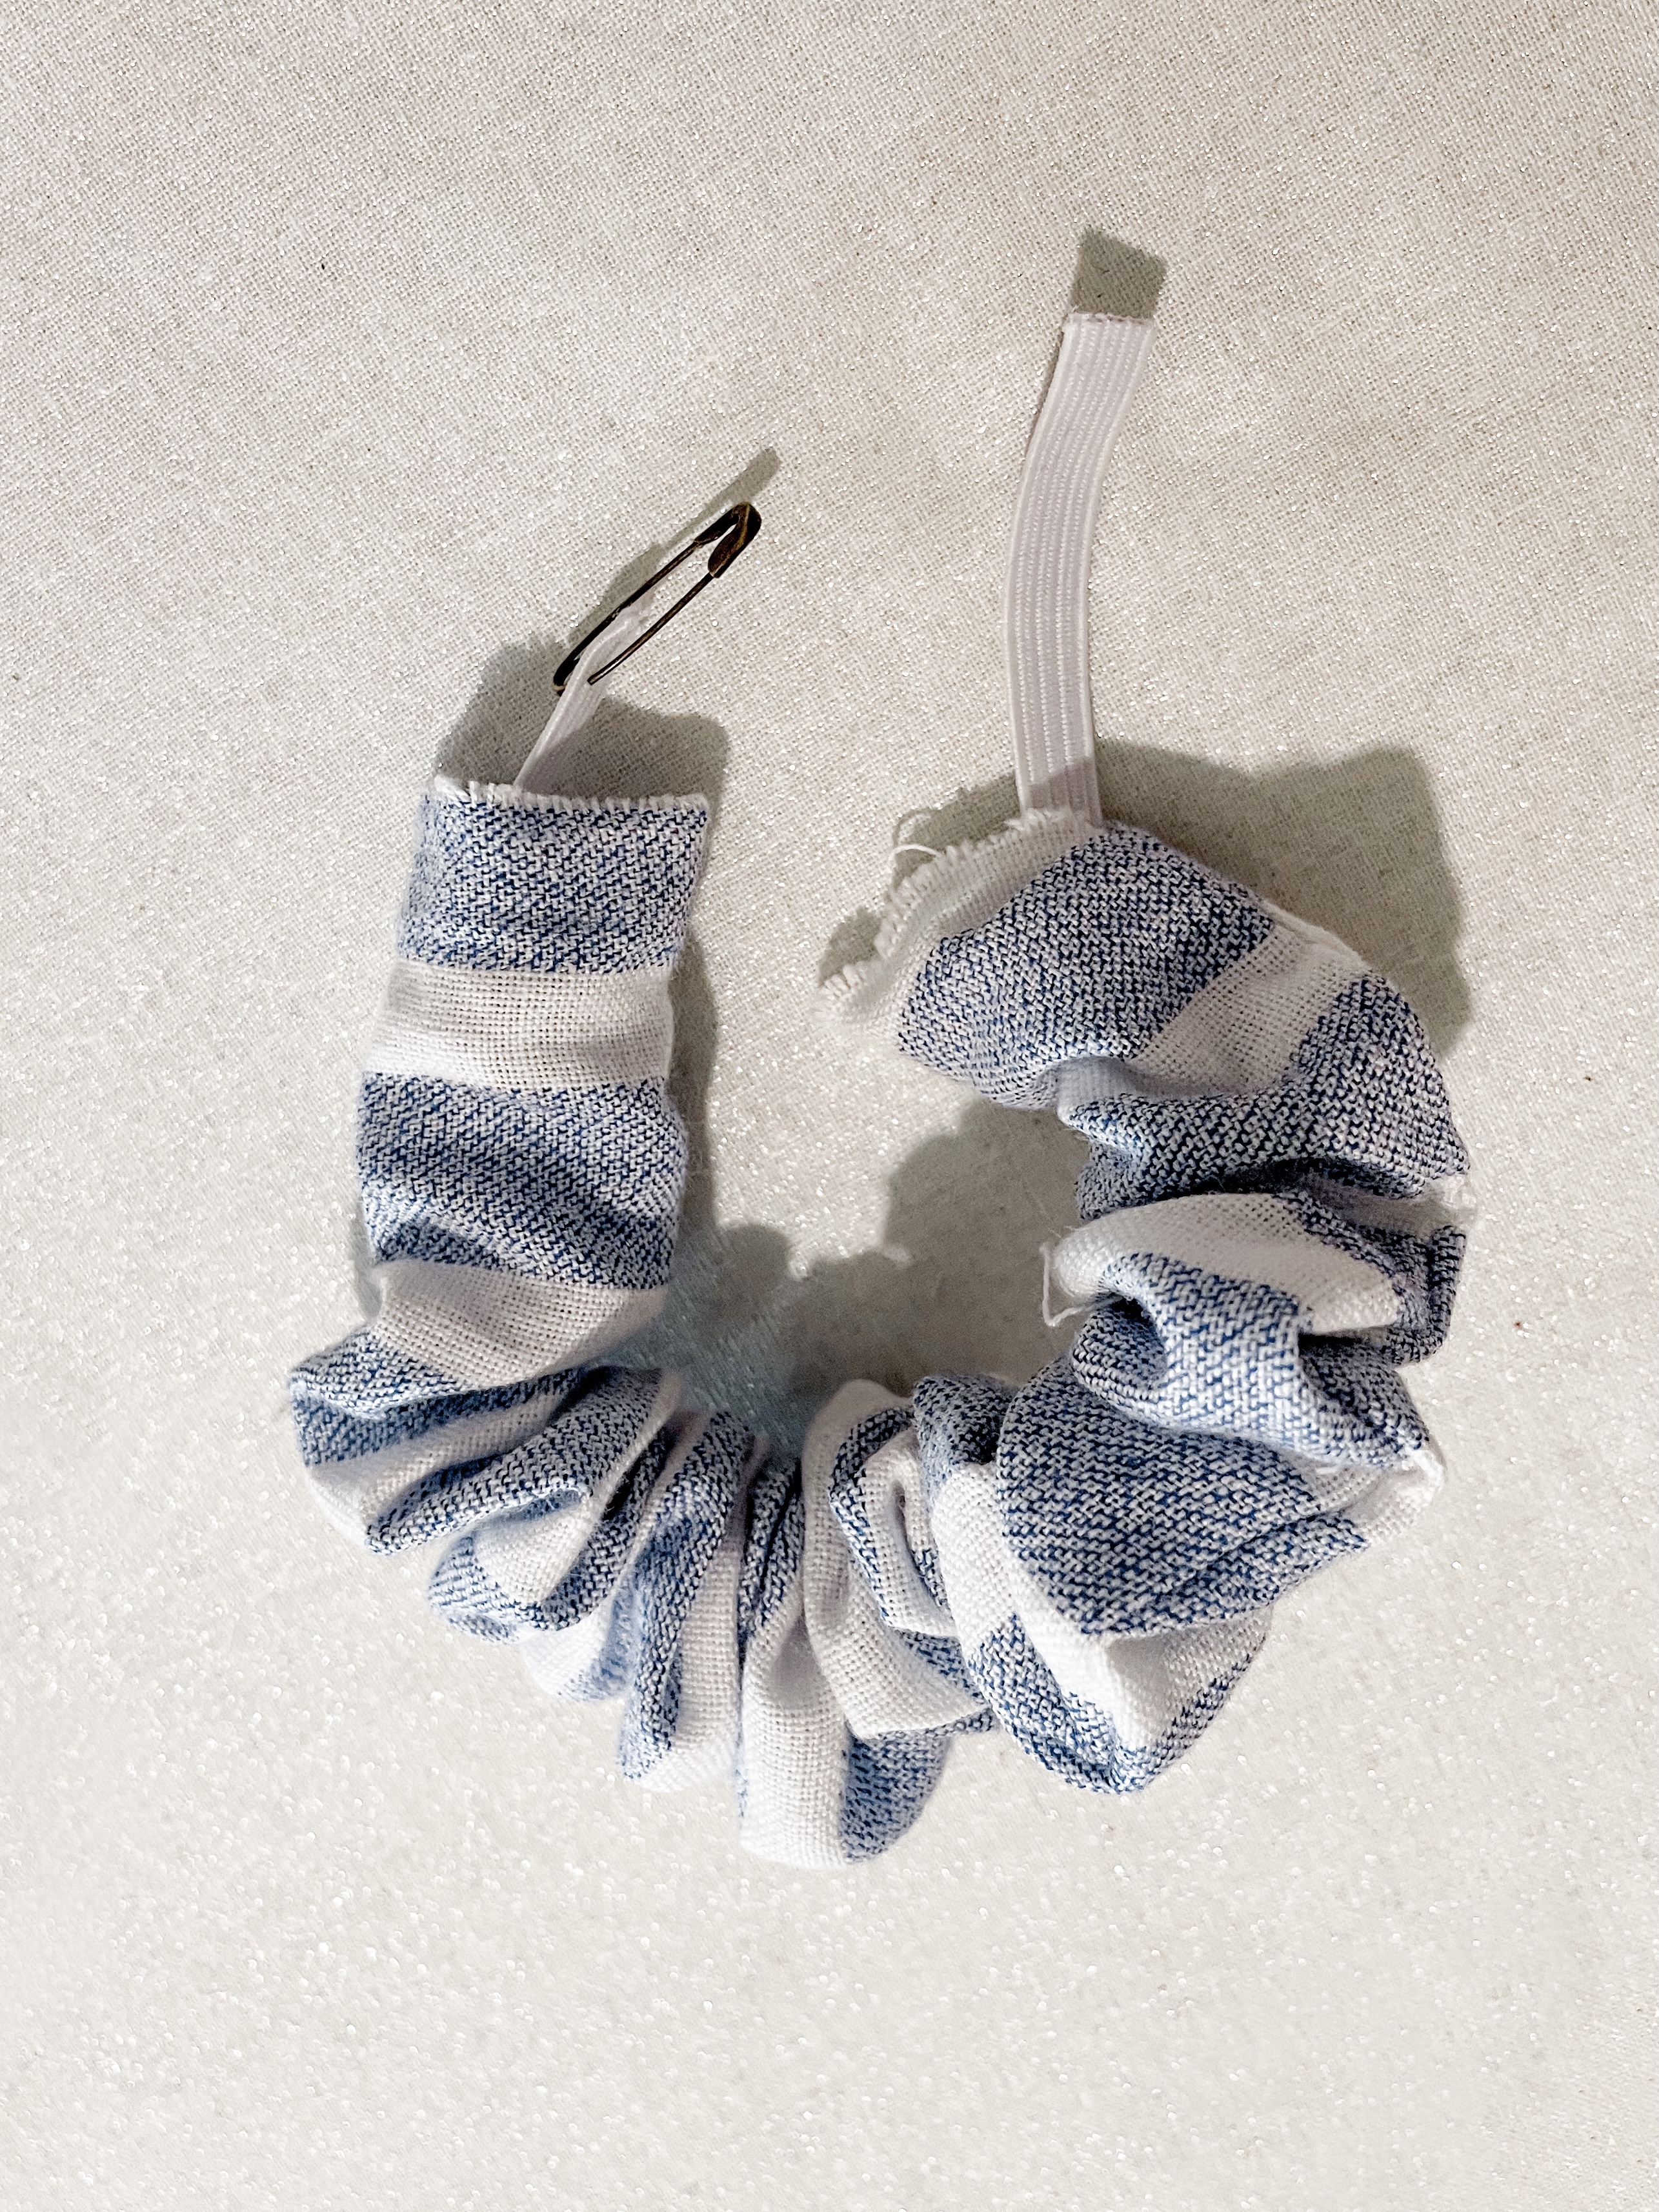
Take the 7 inch piece of elastic and pin a safety pin at one end. Thread the elastic completely through the tube. Overlap the ends of the elastic by 1/4 – 1/2 inch and pin them together. Then hand-stich or use a zig zag stitch on your sewing machine to secure.
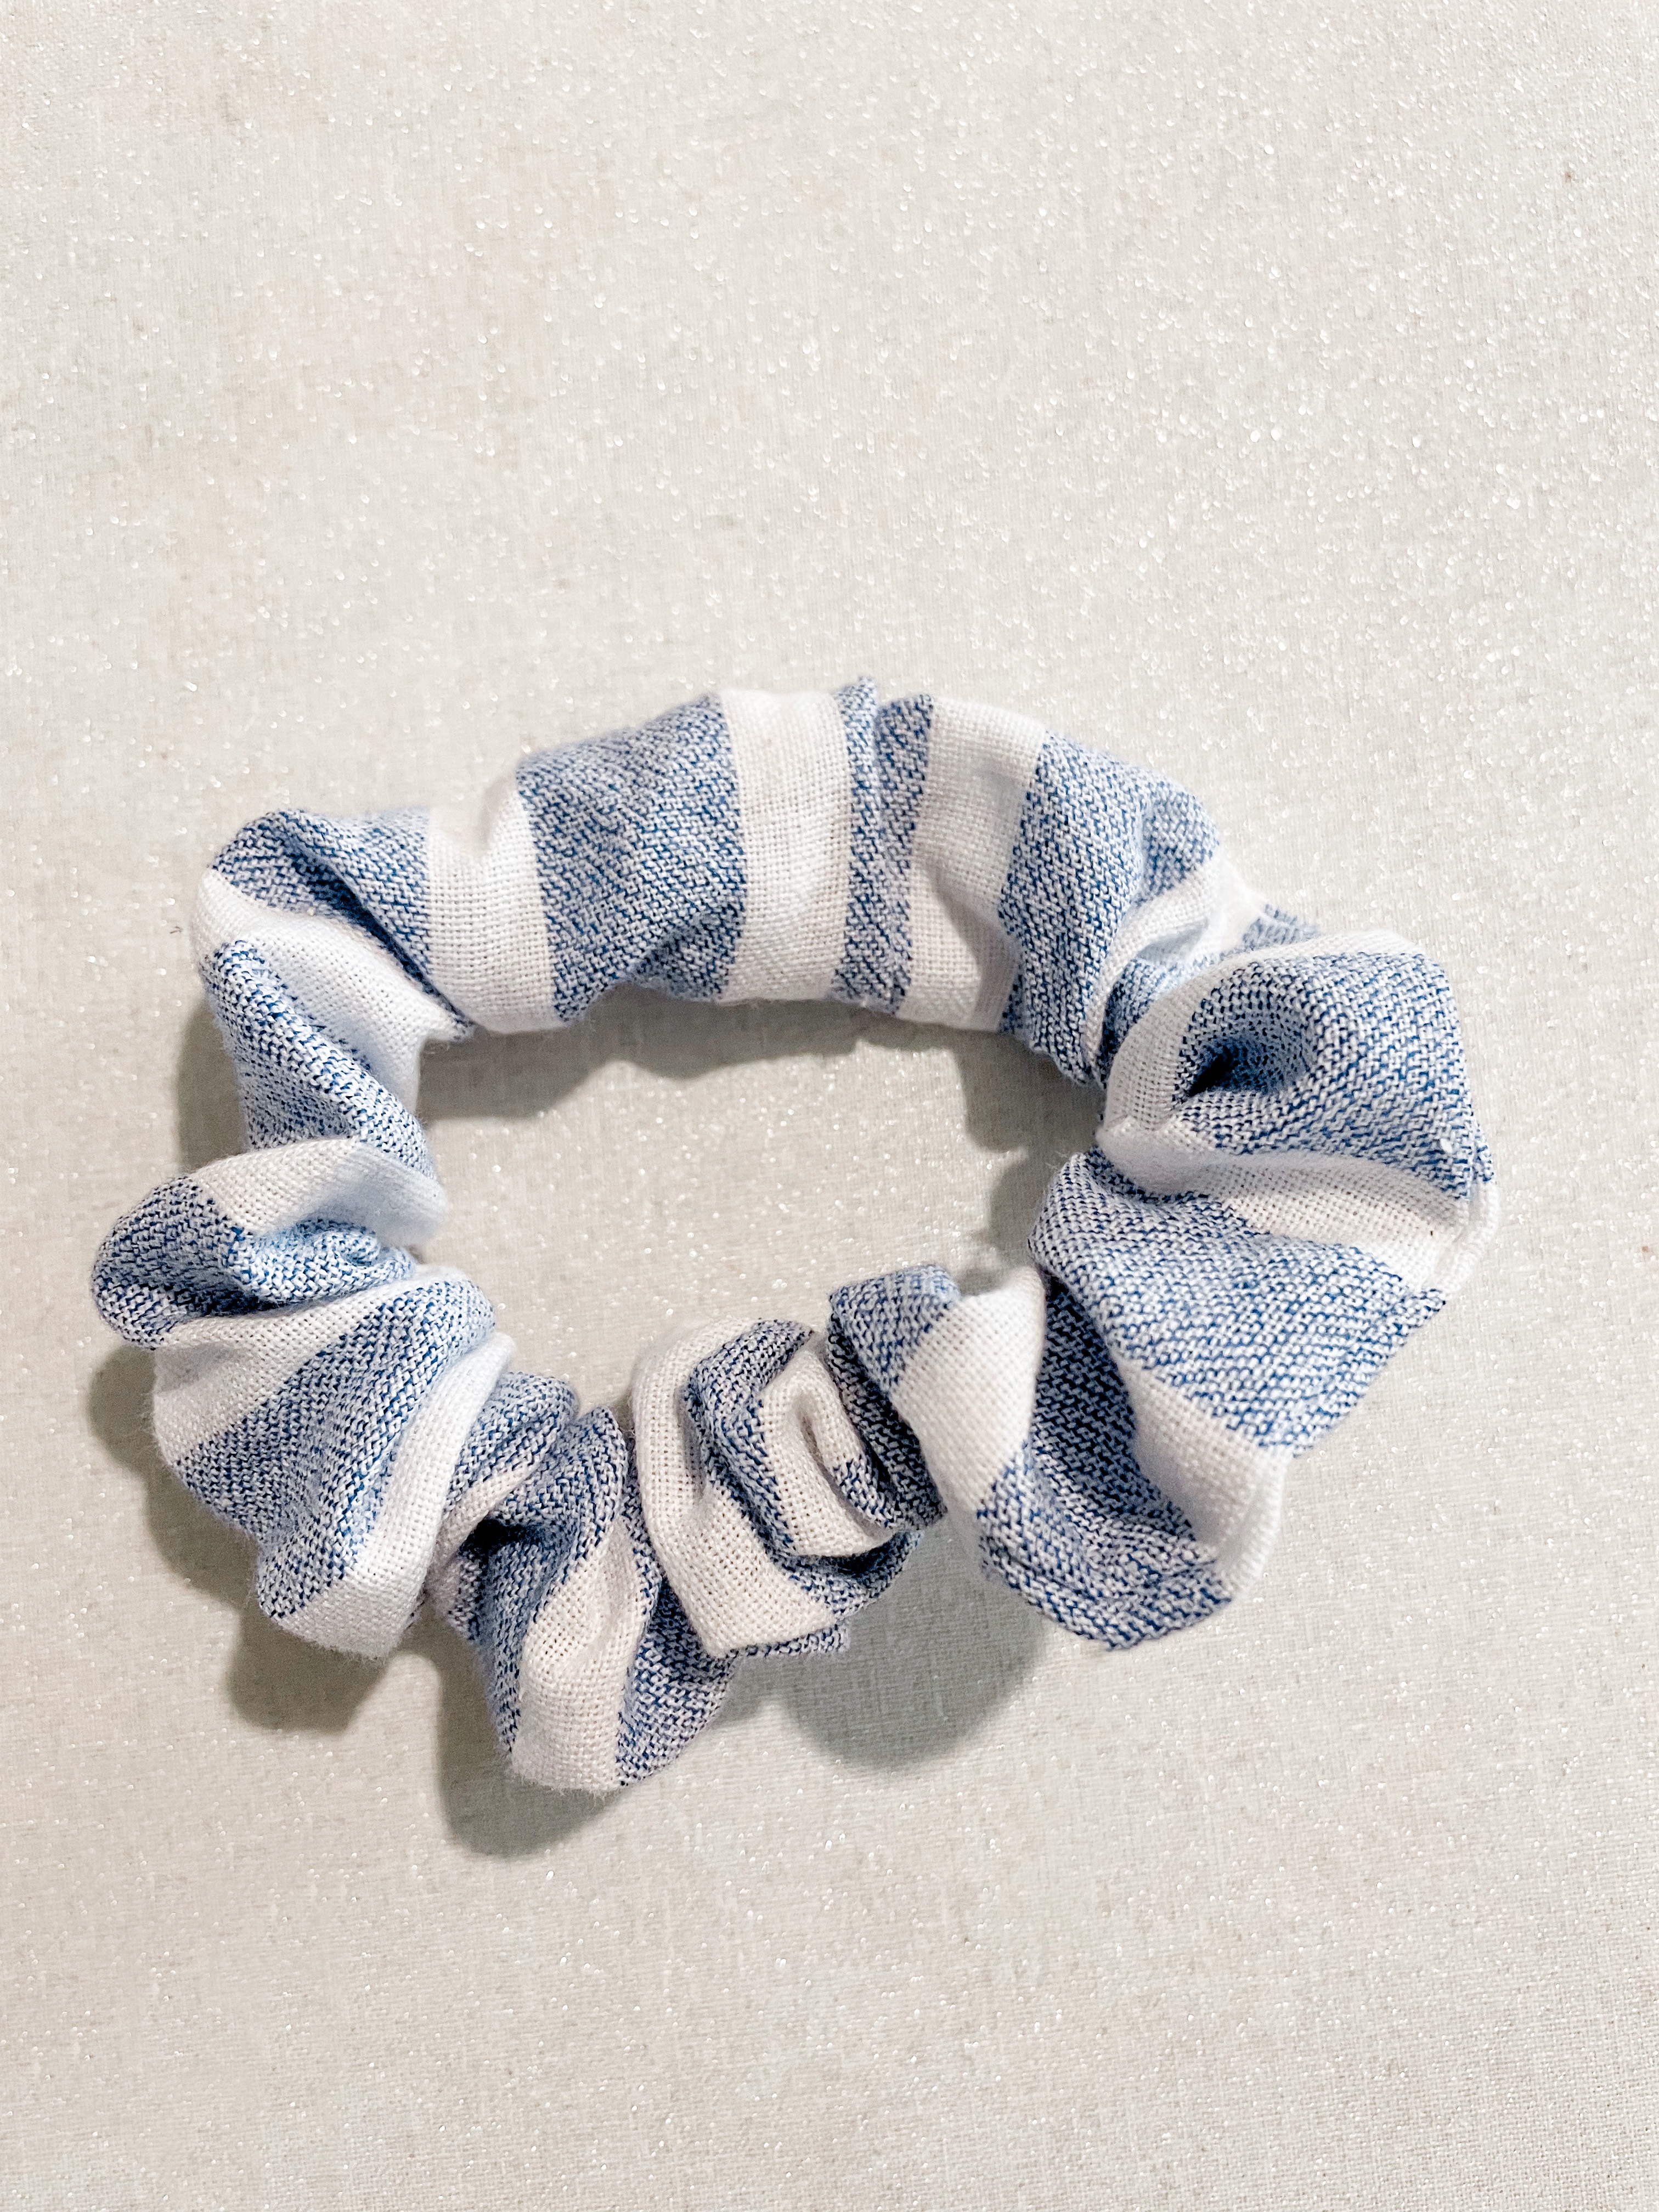
Fold the ironed raw edges of the scrunchie inside the fabric tube. Overlap one edge over the other and hold with a pin. Sew along the fold securing both the elastic and fabric in place.
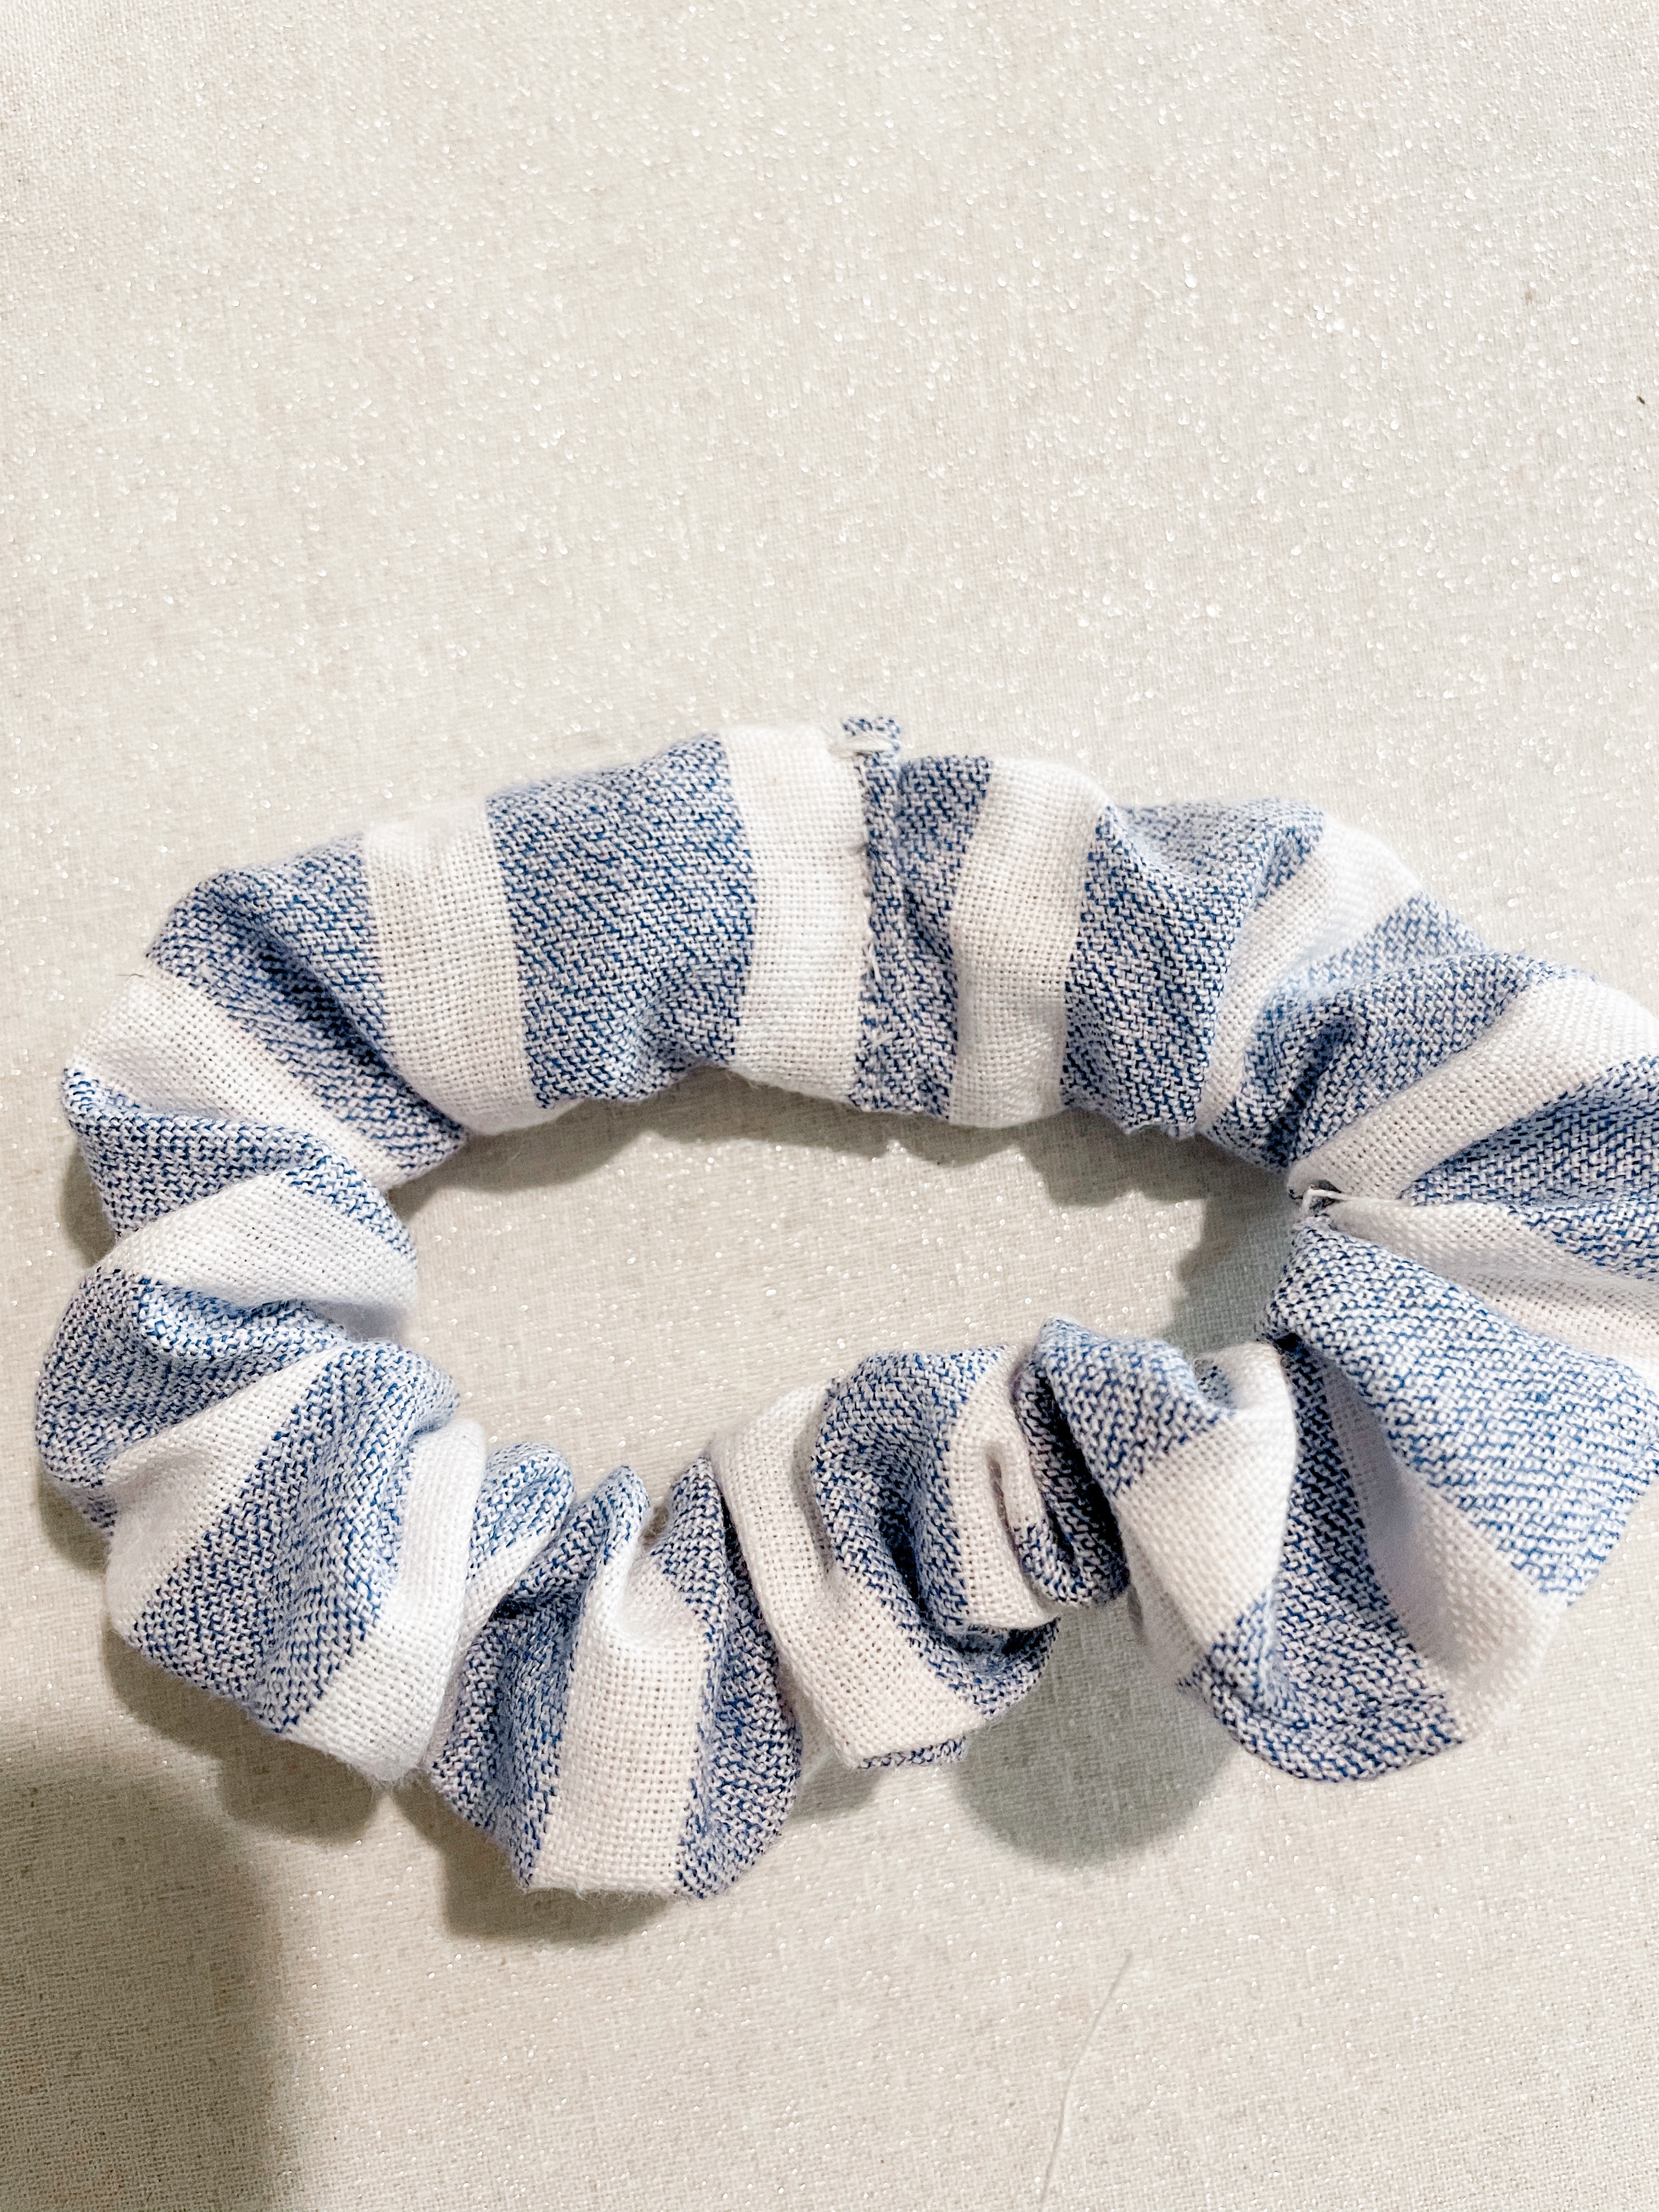
Seperate the gathers of the scrunchie equally and your DIY scrunchie is now complete!!
Step 2 – Make Scarf and Bow
Like I had mentioned before, this tutorial shows three different ways to make a DIY scarf and bow scrunchie: a short scarf, a short bow, and a bow tie scarf. So many options to choose, let’s get sewing!!
Option 1 – the Short Scarf
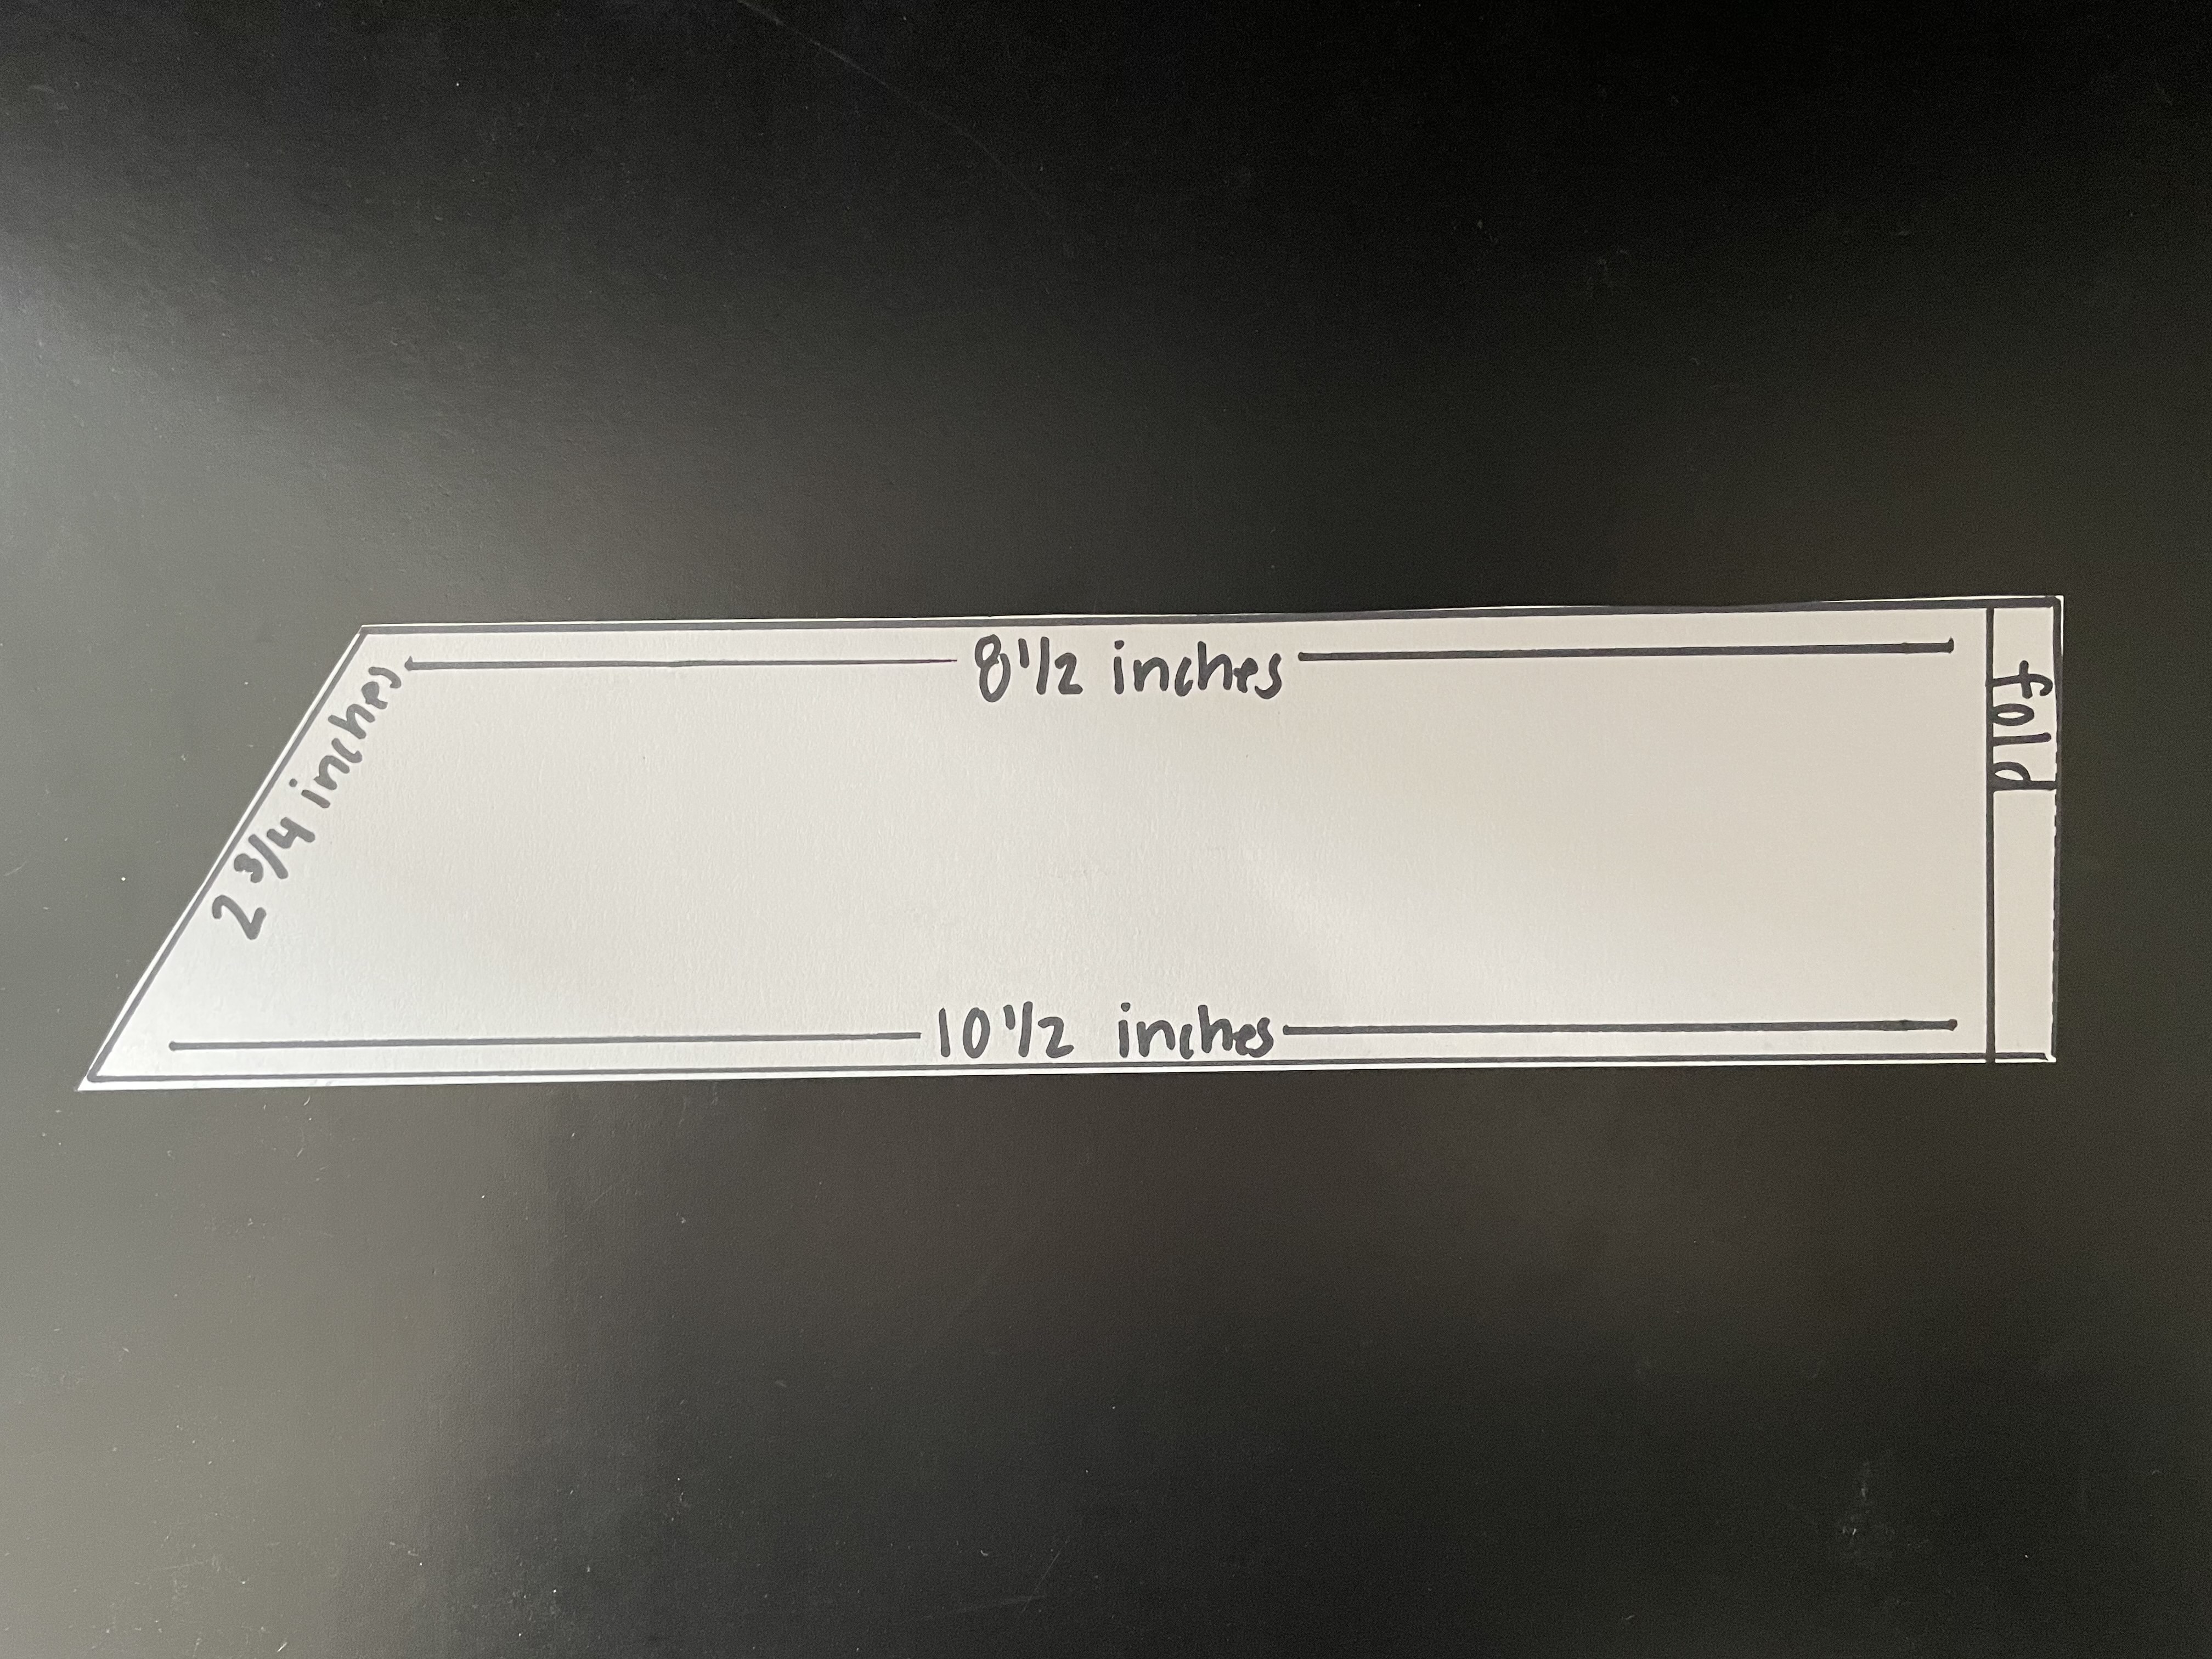
Draw out the pattern for the scarf.
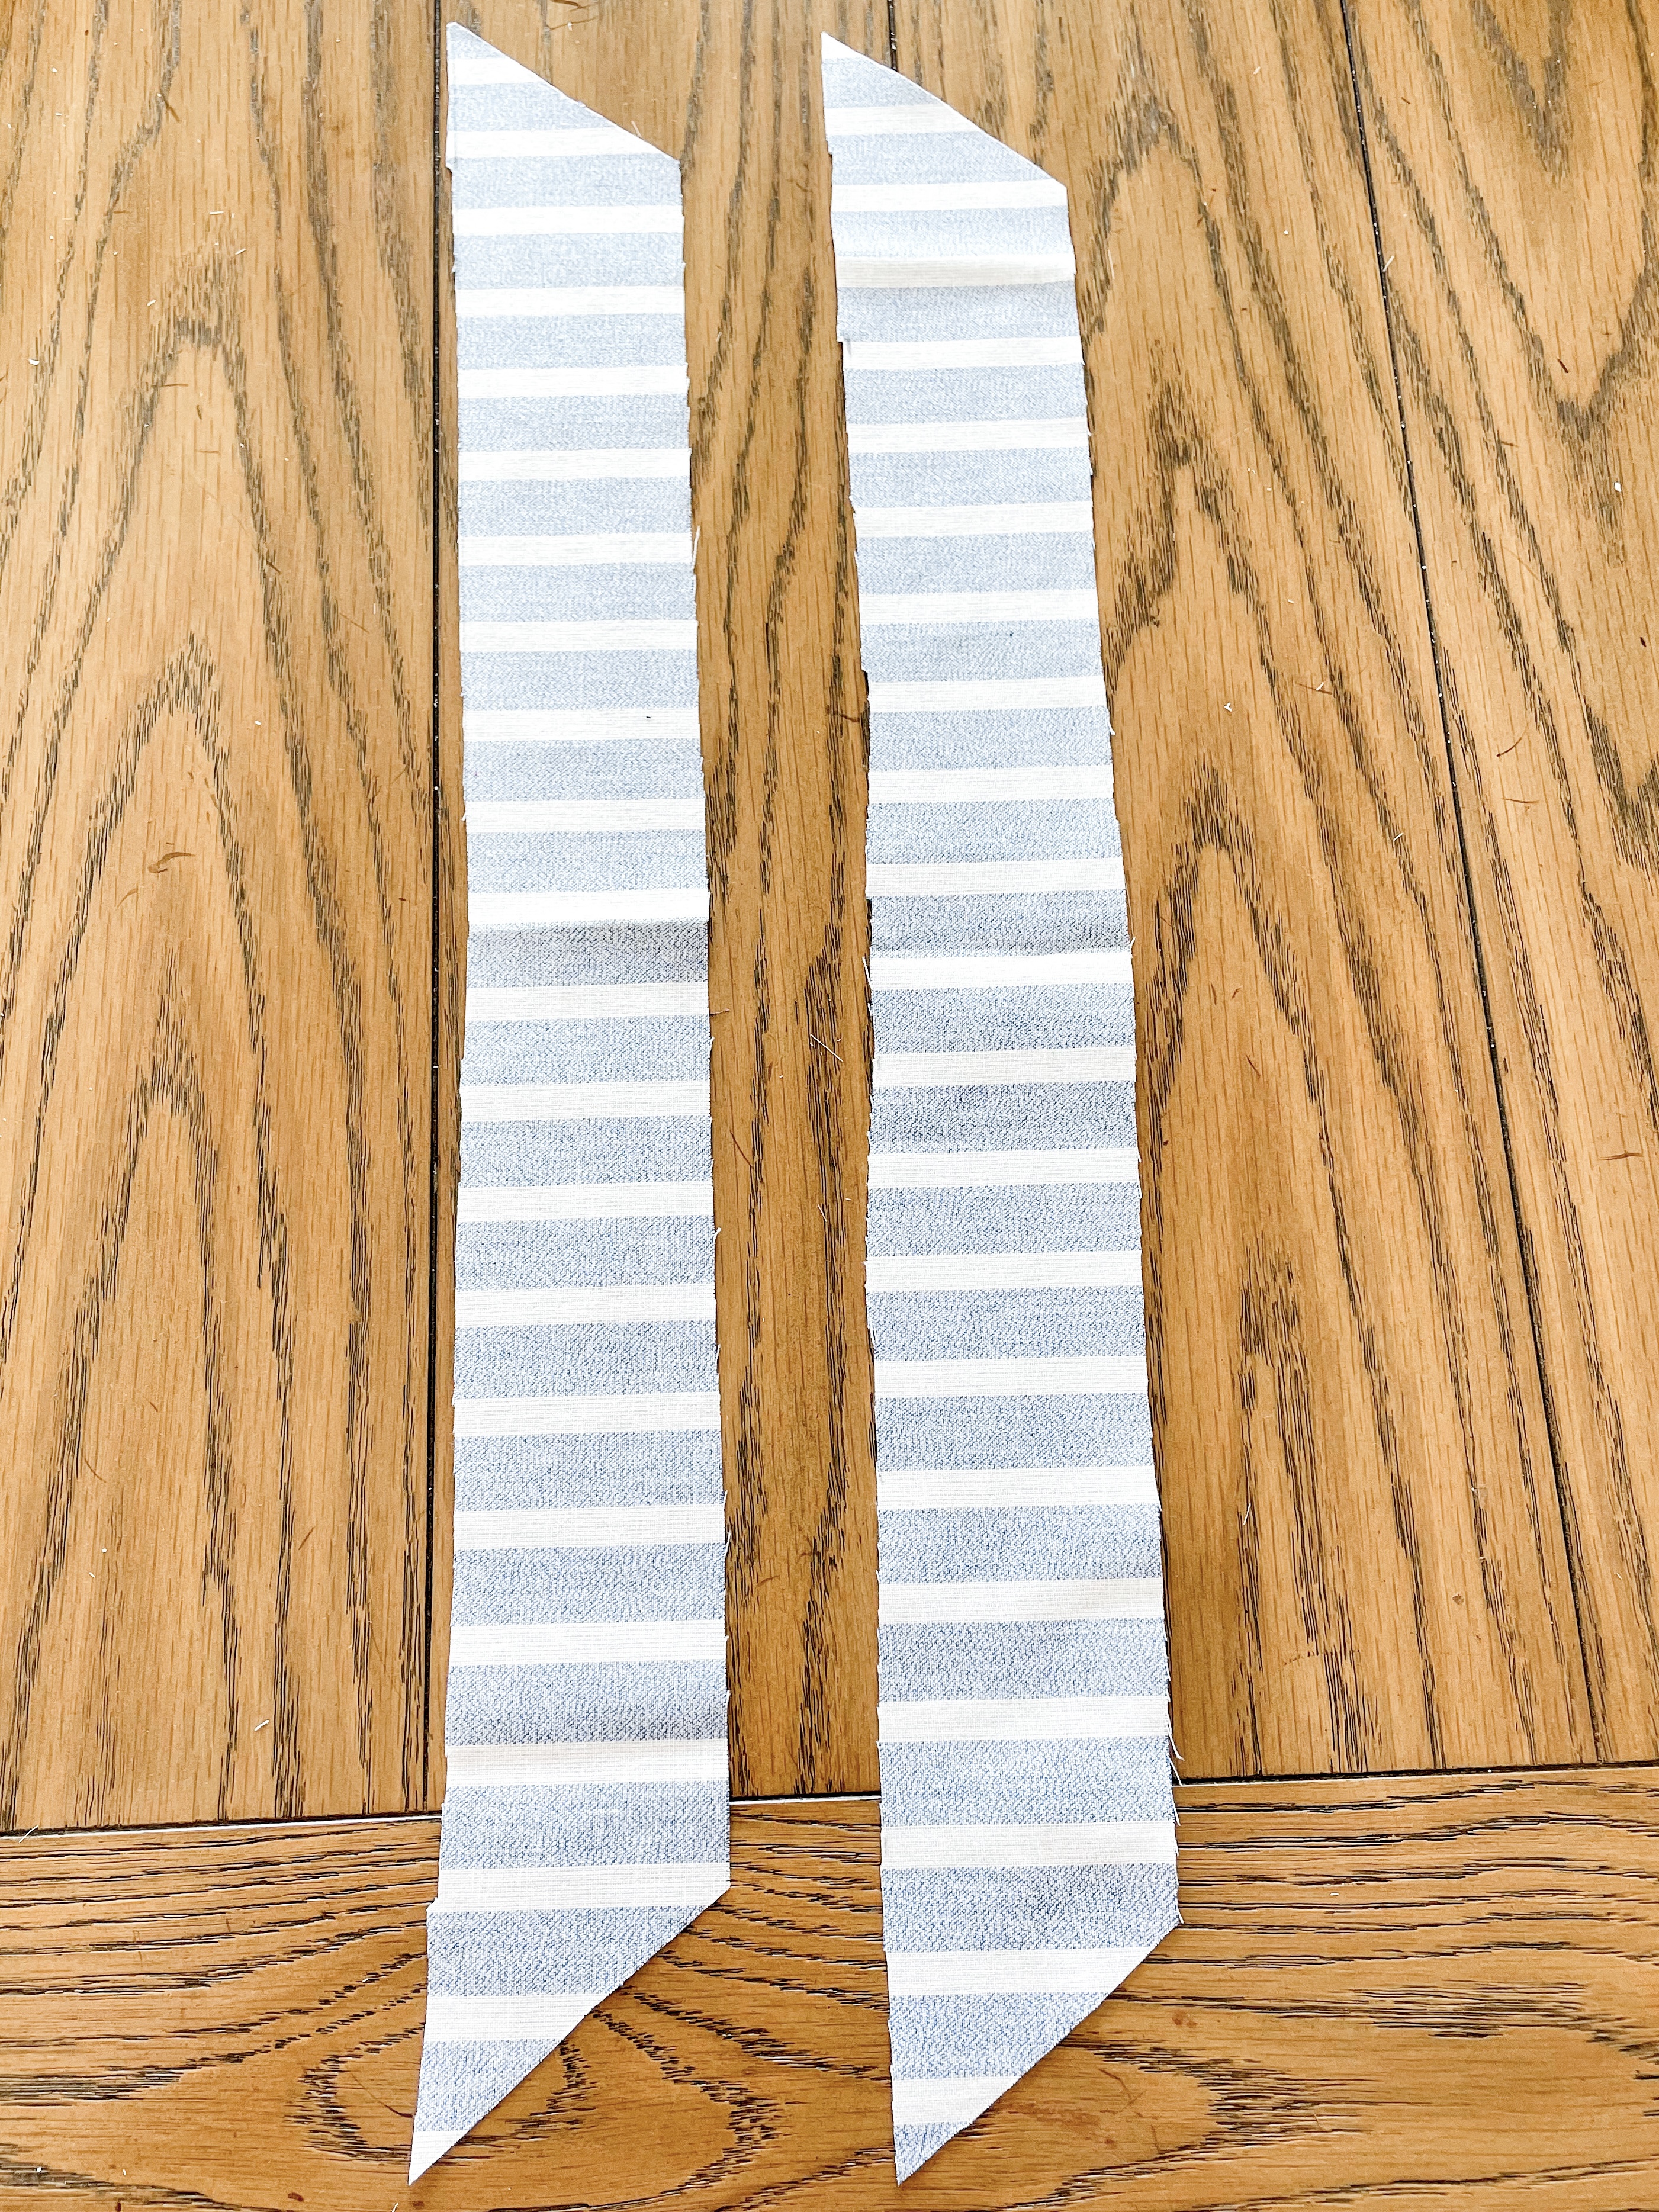
Cut out two pieces of fabric on the fold.
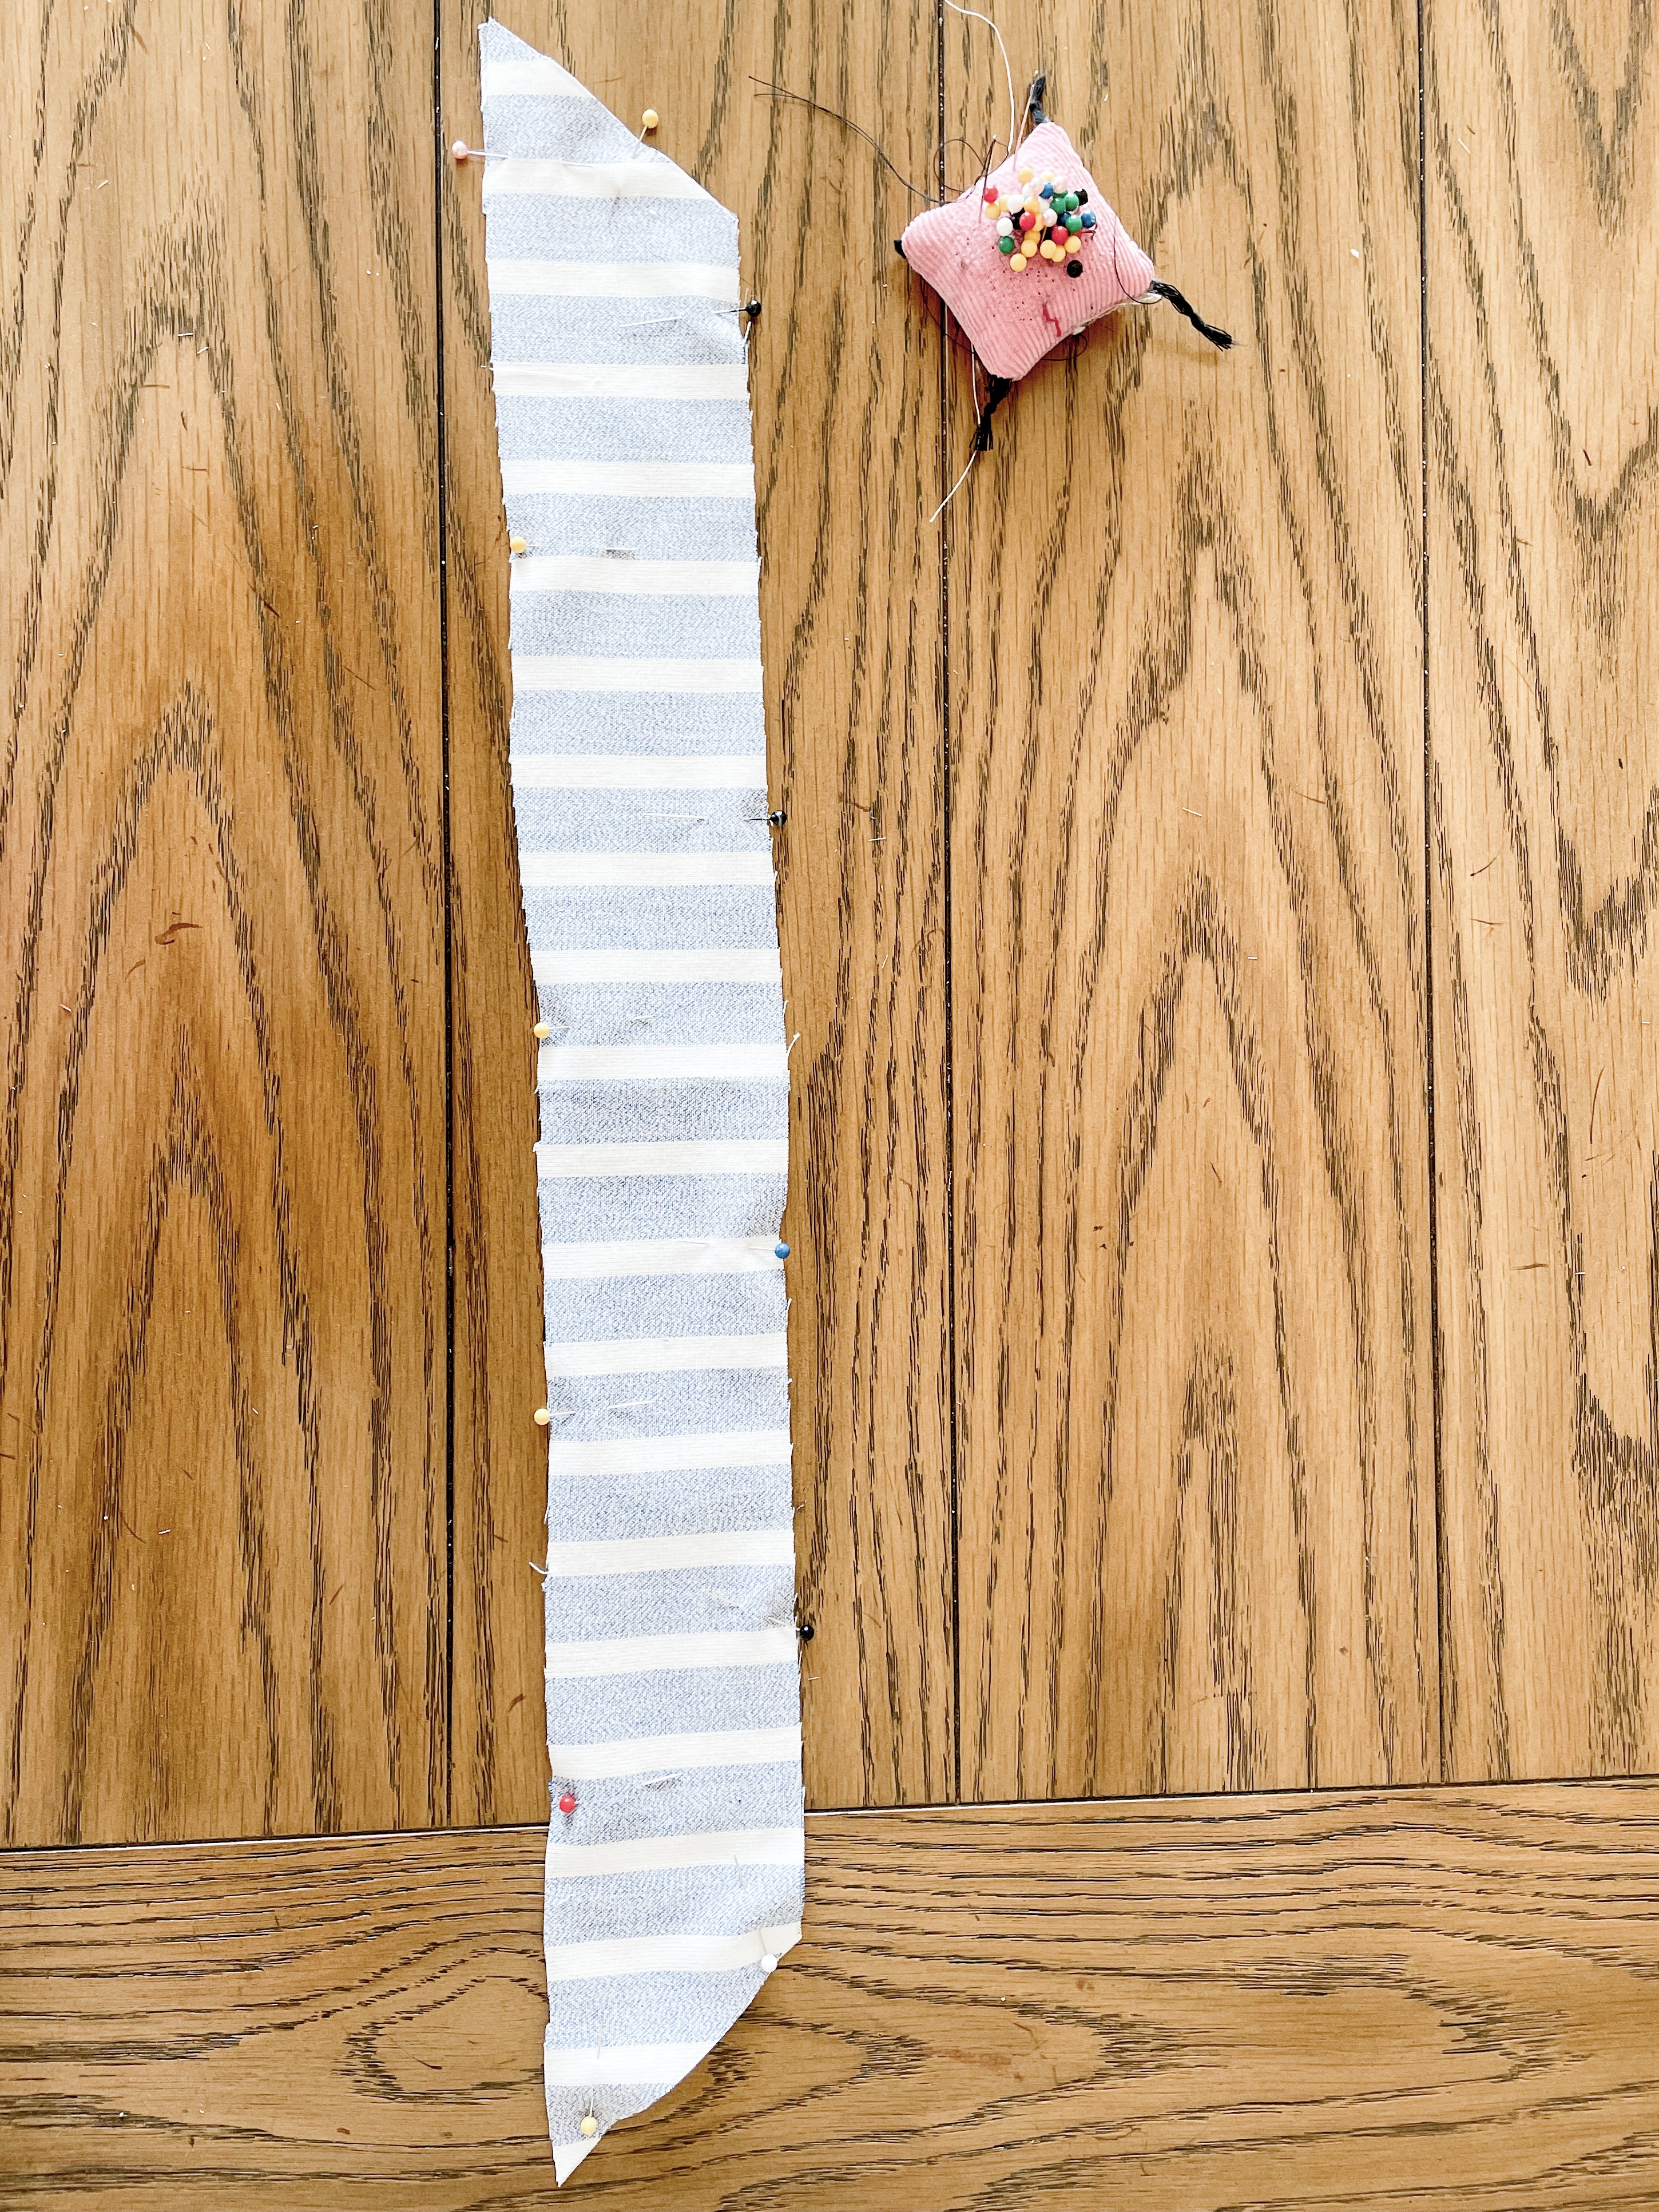
Pin right sides of the fabric together.
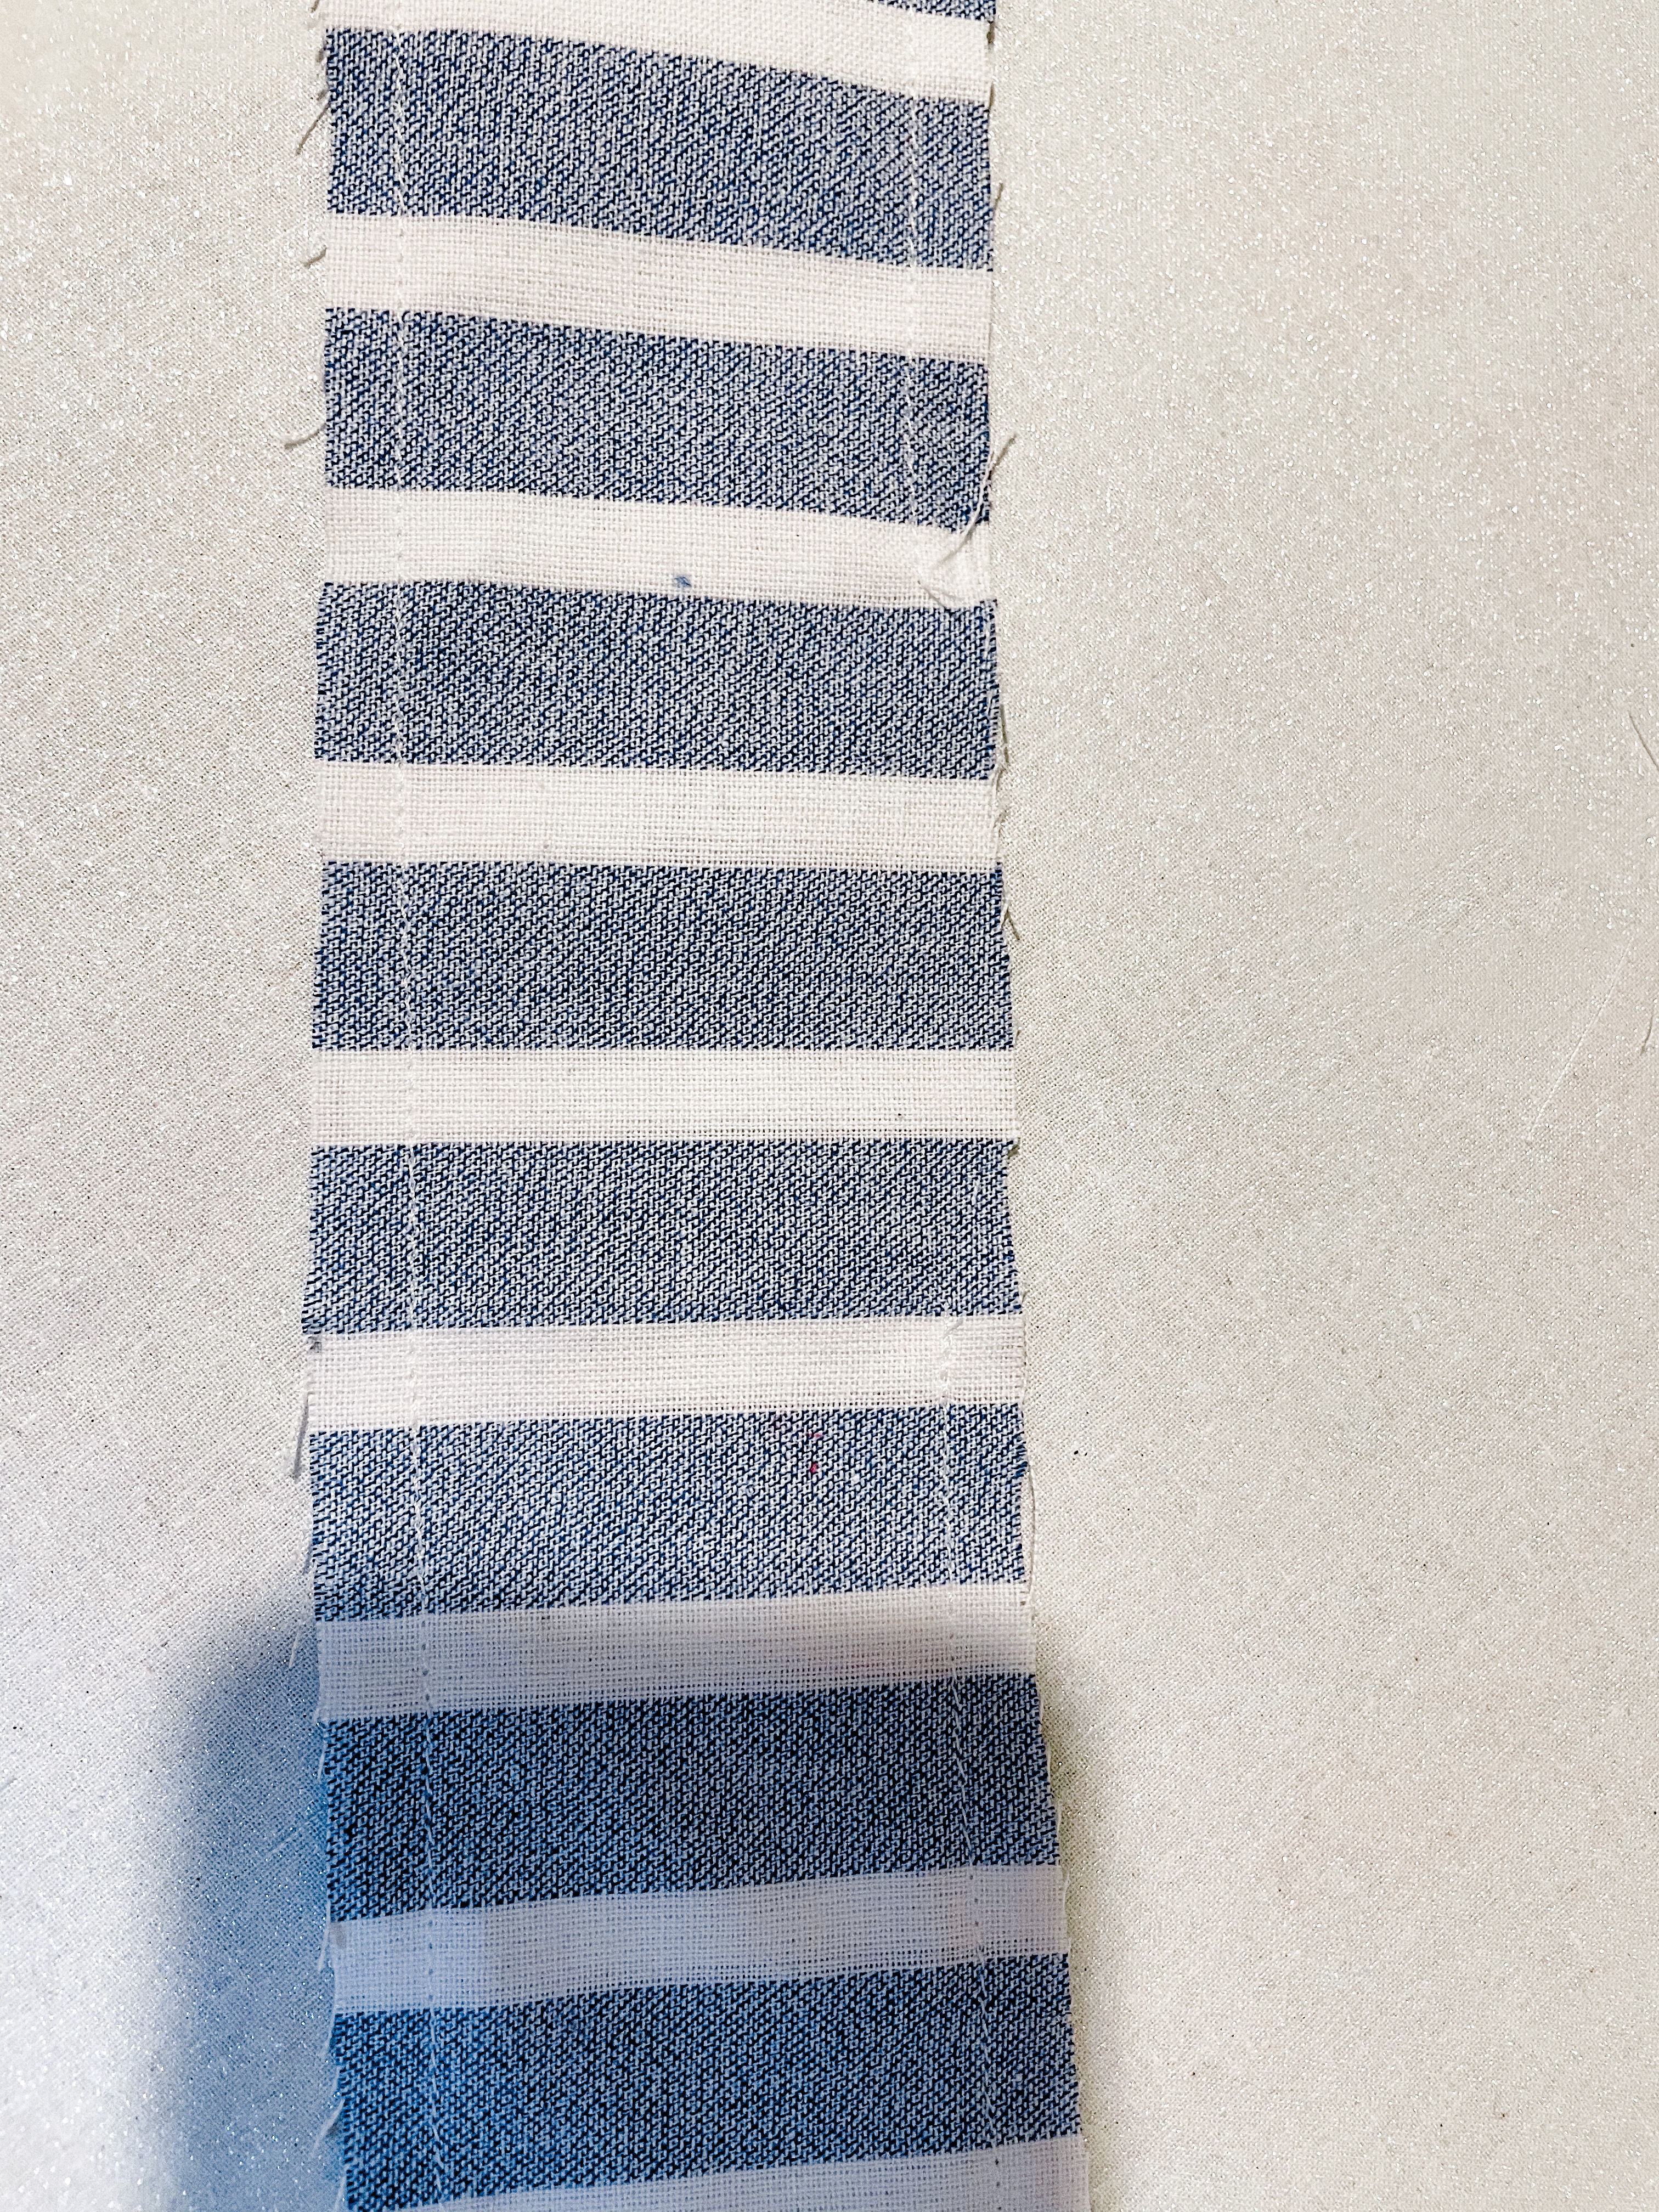
Using a 1/4 inch seam allowance, stitch the scarf closed. Leave a 2 inch space unsewn in the center on one of the long sides.
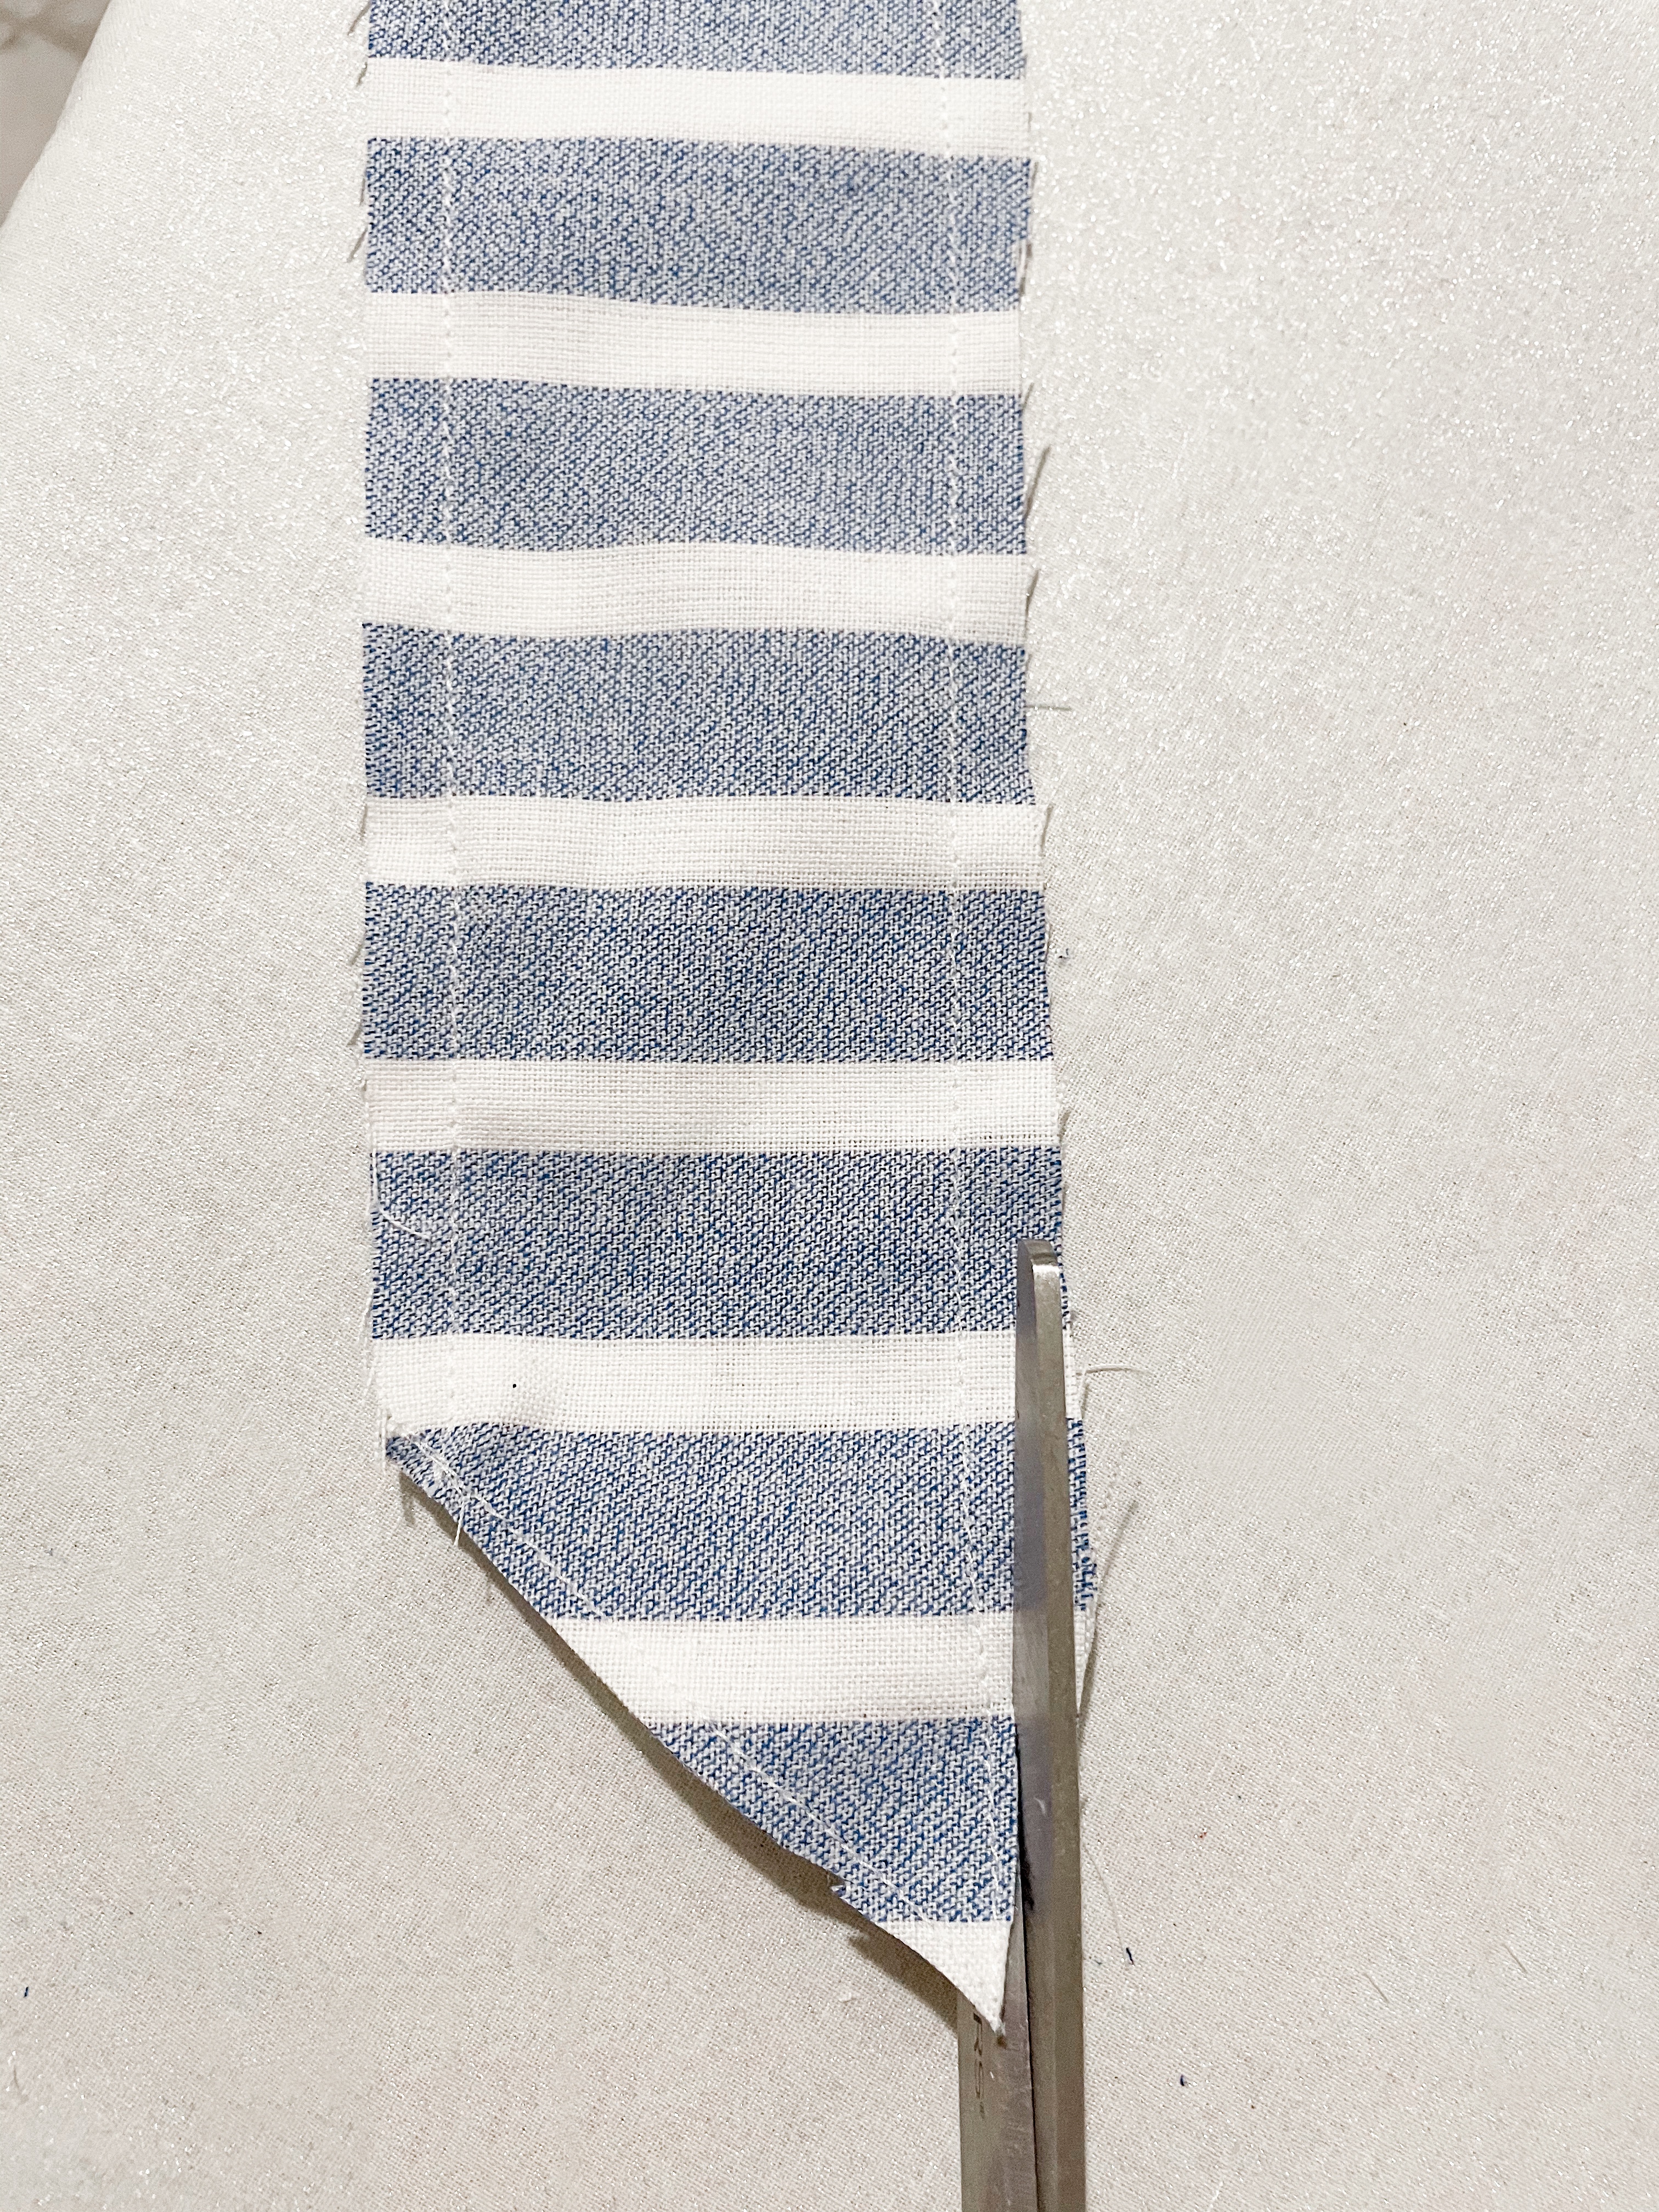
Cut the excess fabric off along the sewn edges. This makes turning the material right-side out so much easier and gives the scarf sharper edges. Using the pencil, turn the scarf right-side out and iron it to get sharp edges. Hand stich or use a machine to close up the 2 inch gap.
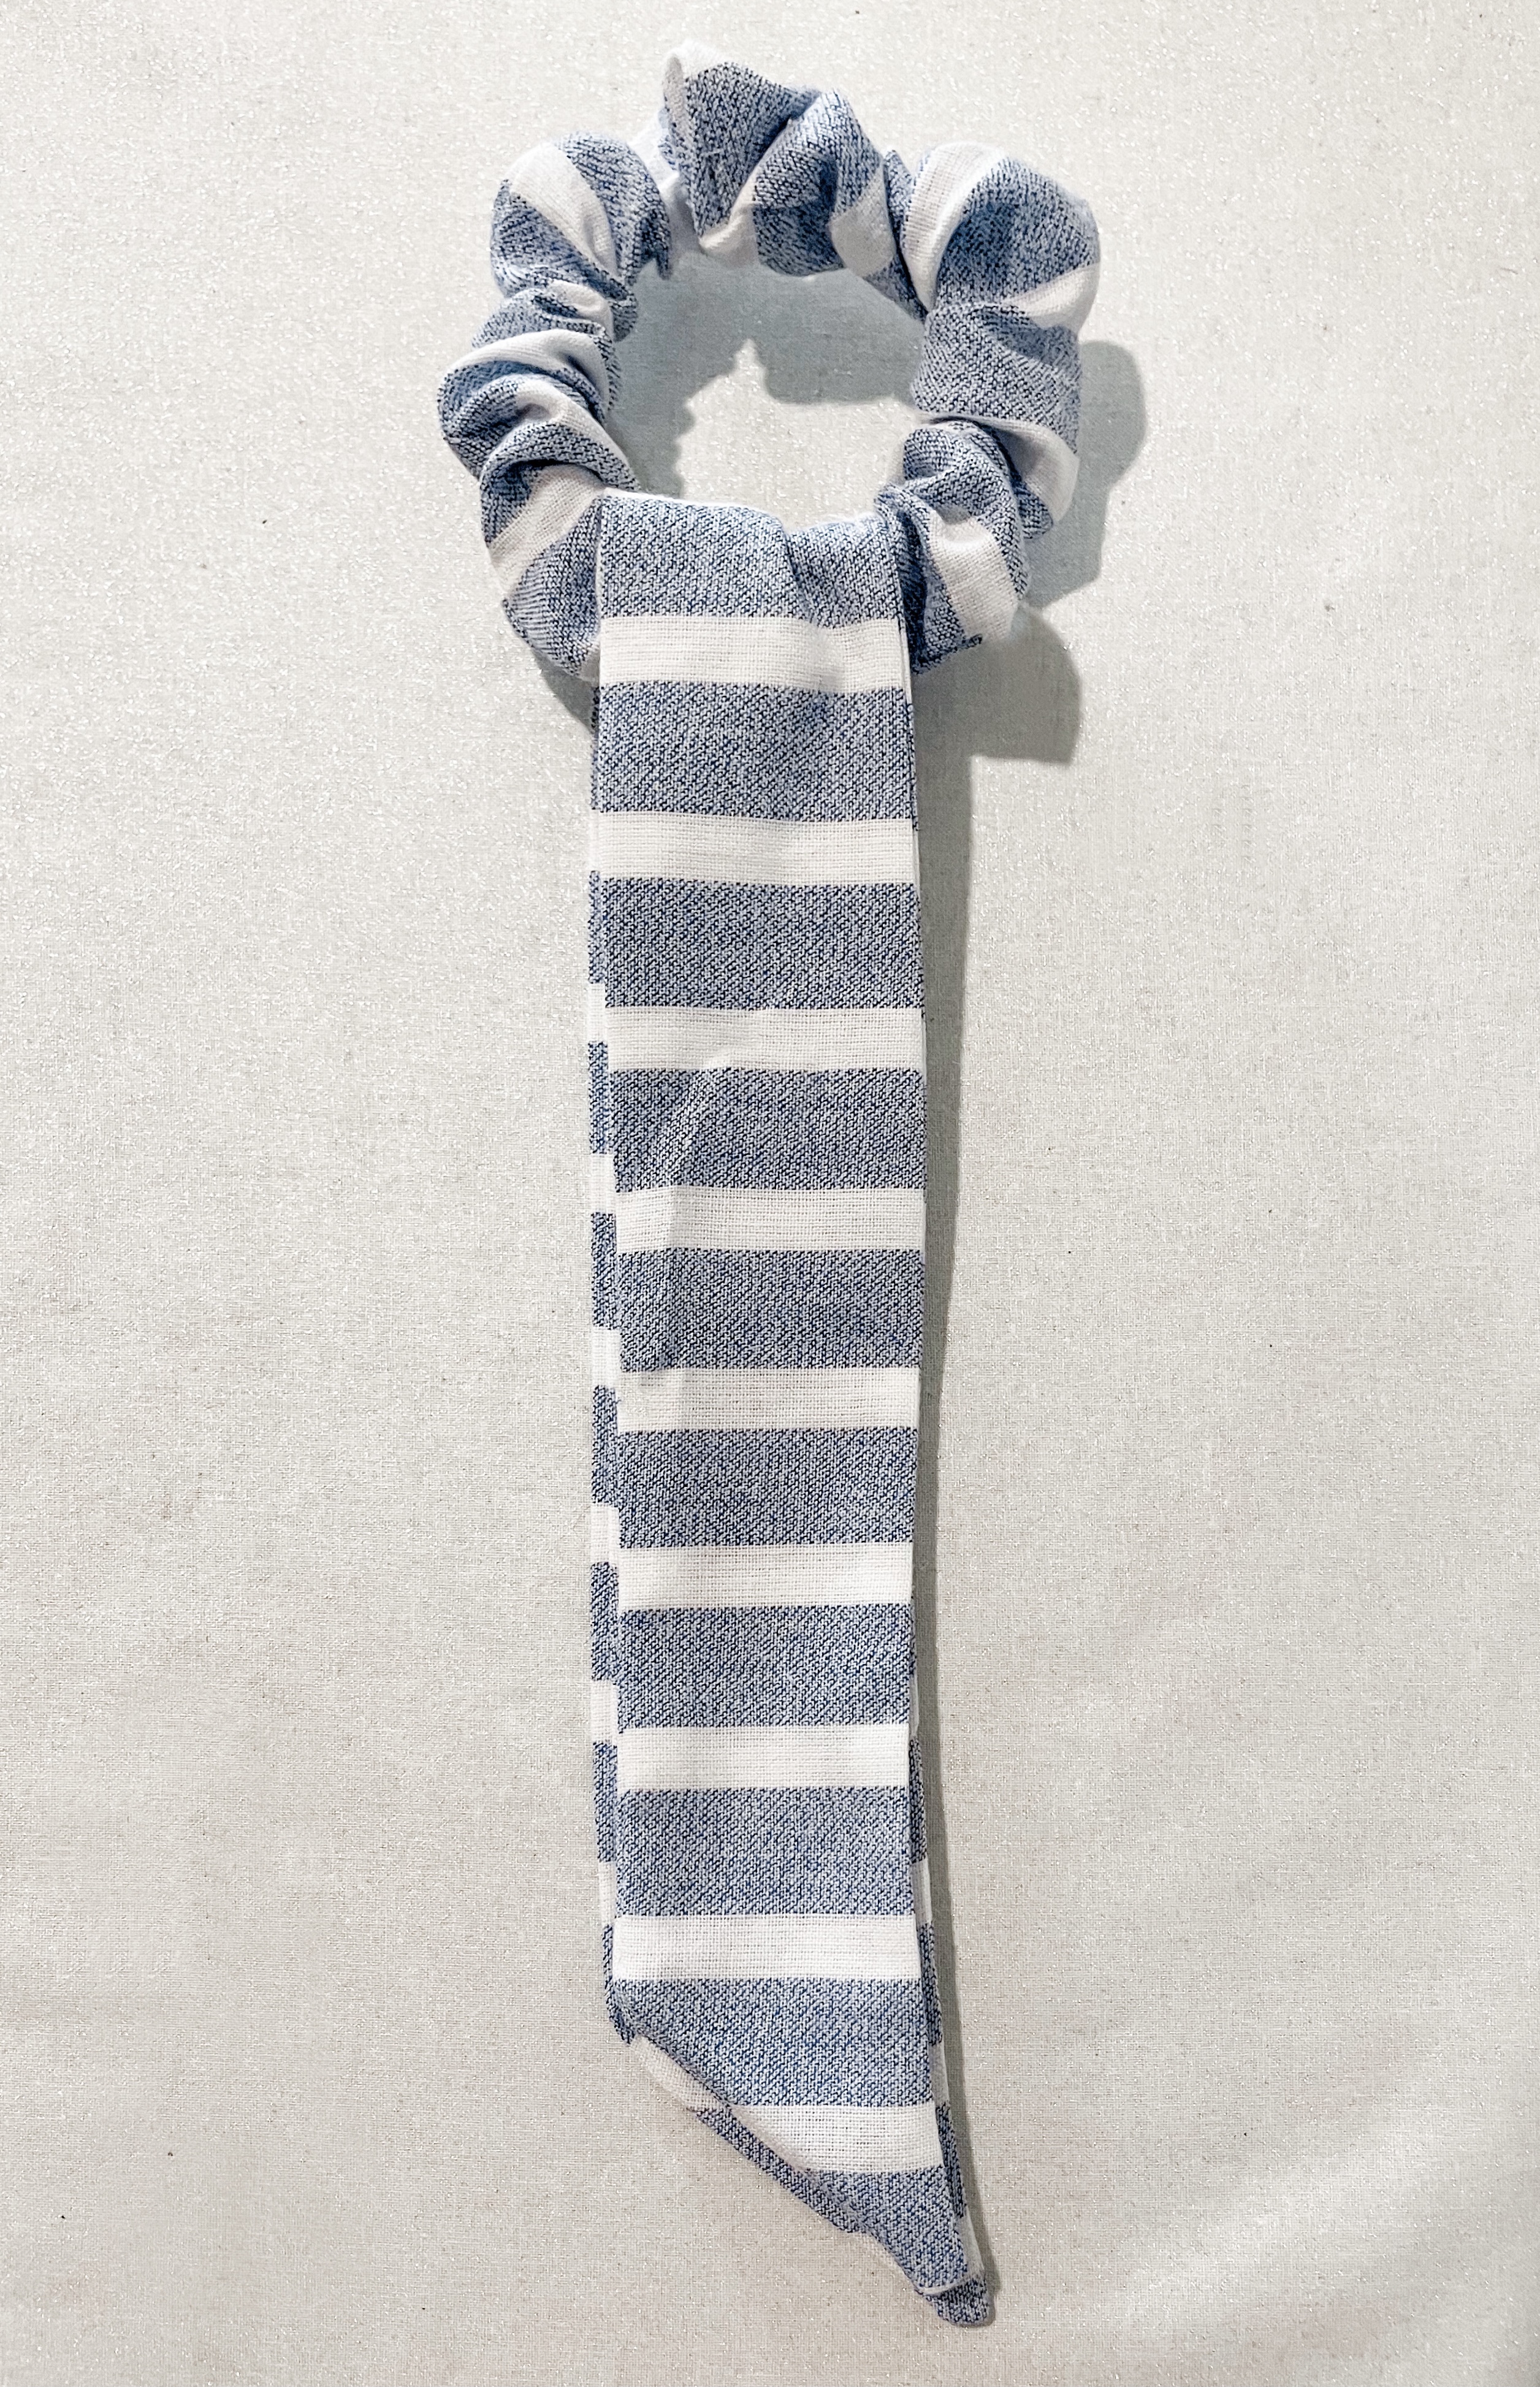
Tie the fabric around the scrunchie and ENJOY!!
Option 2 – the Short Bow
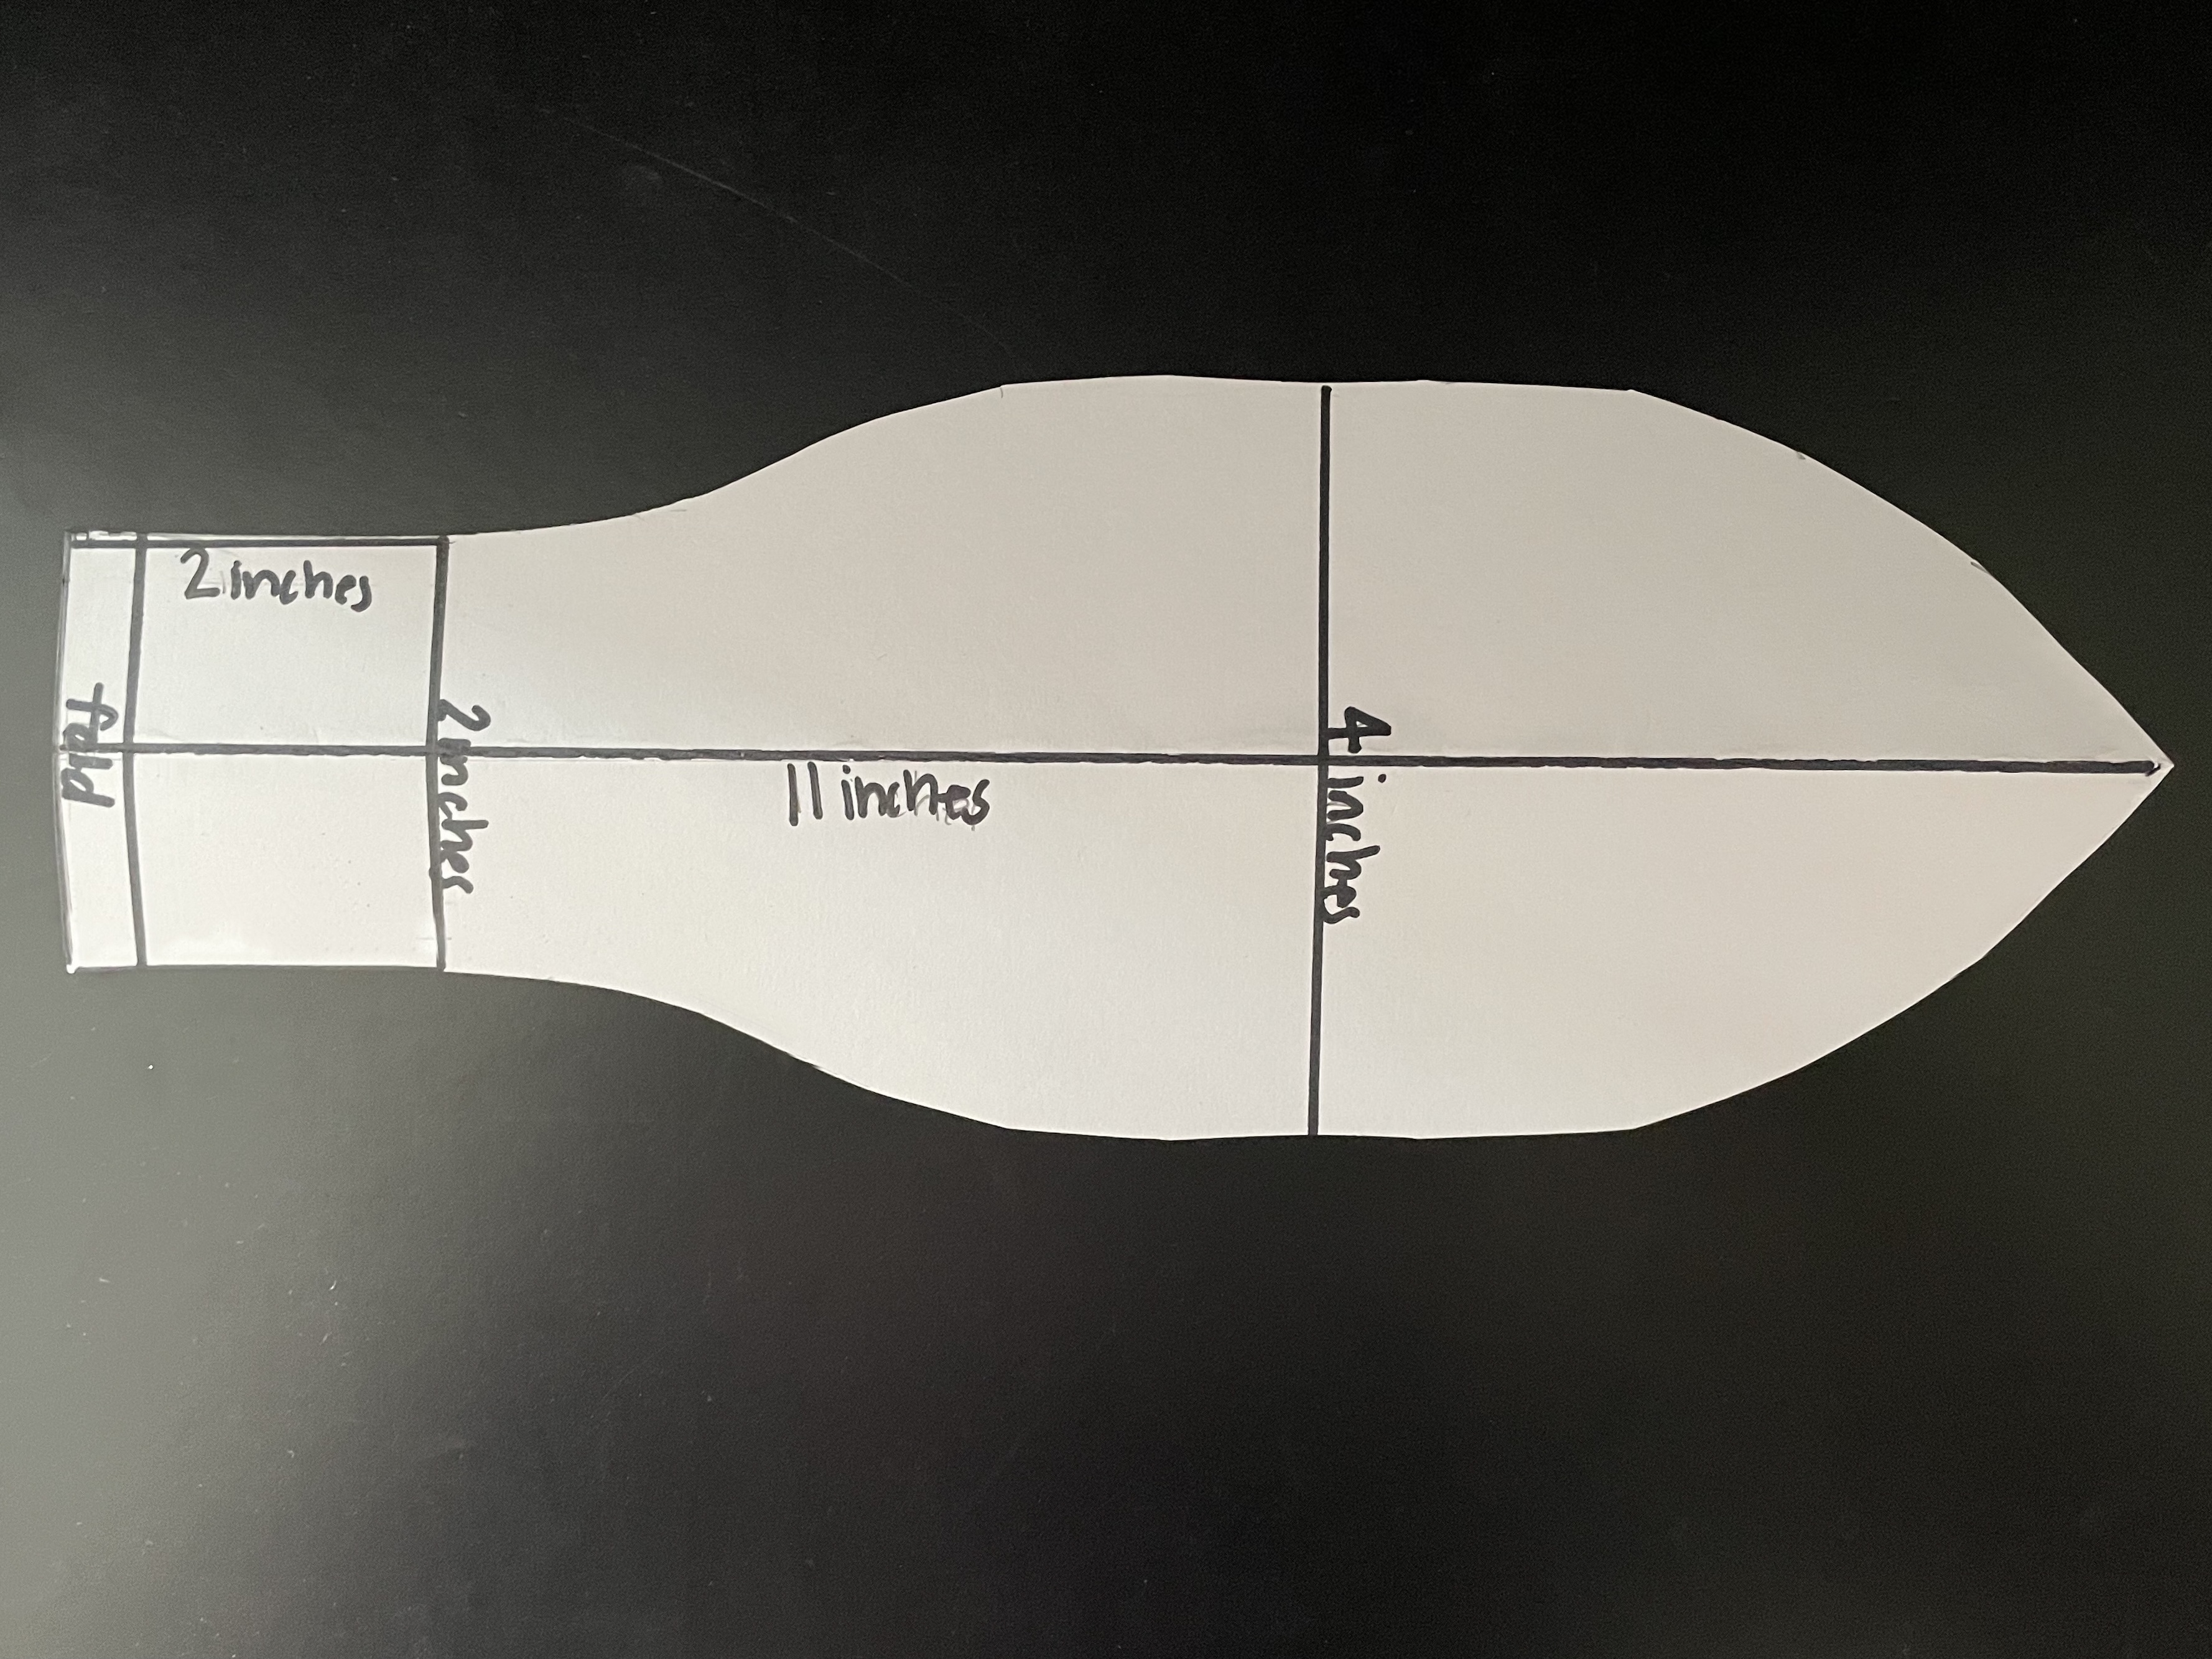
Draw out the pattern for the bow.
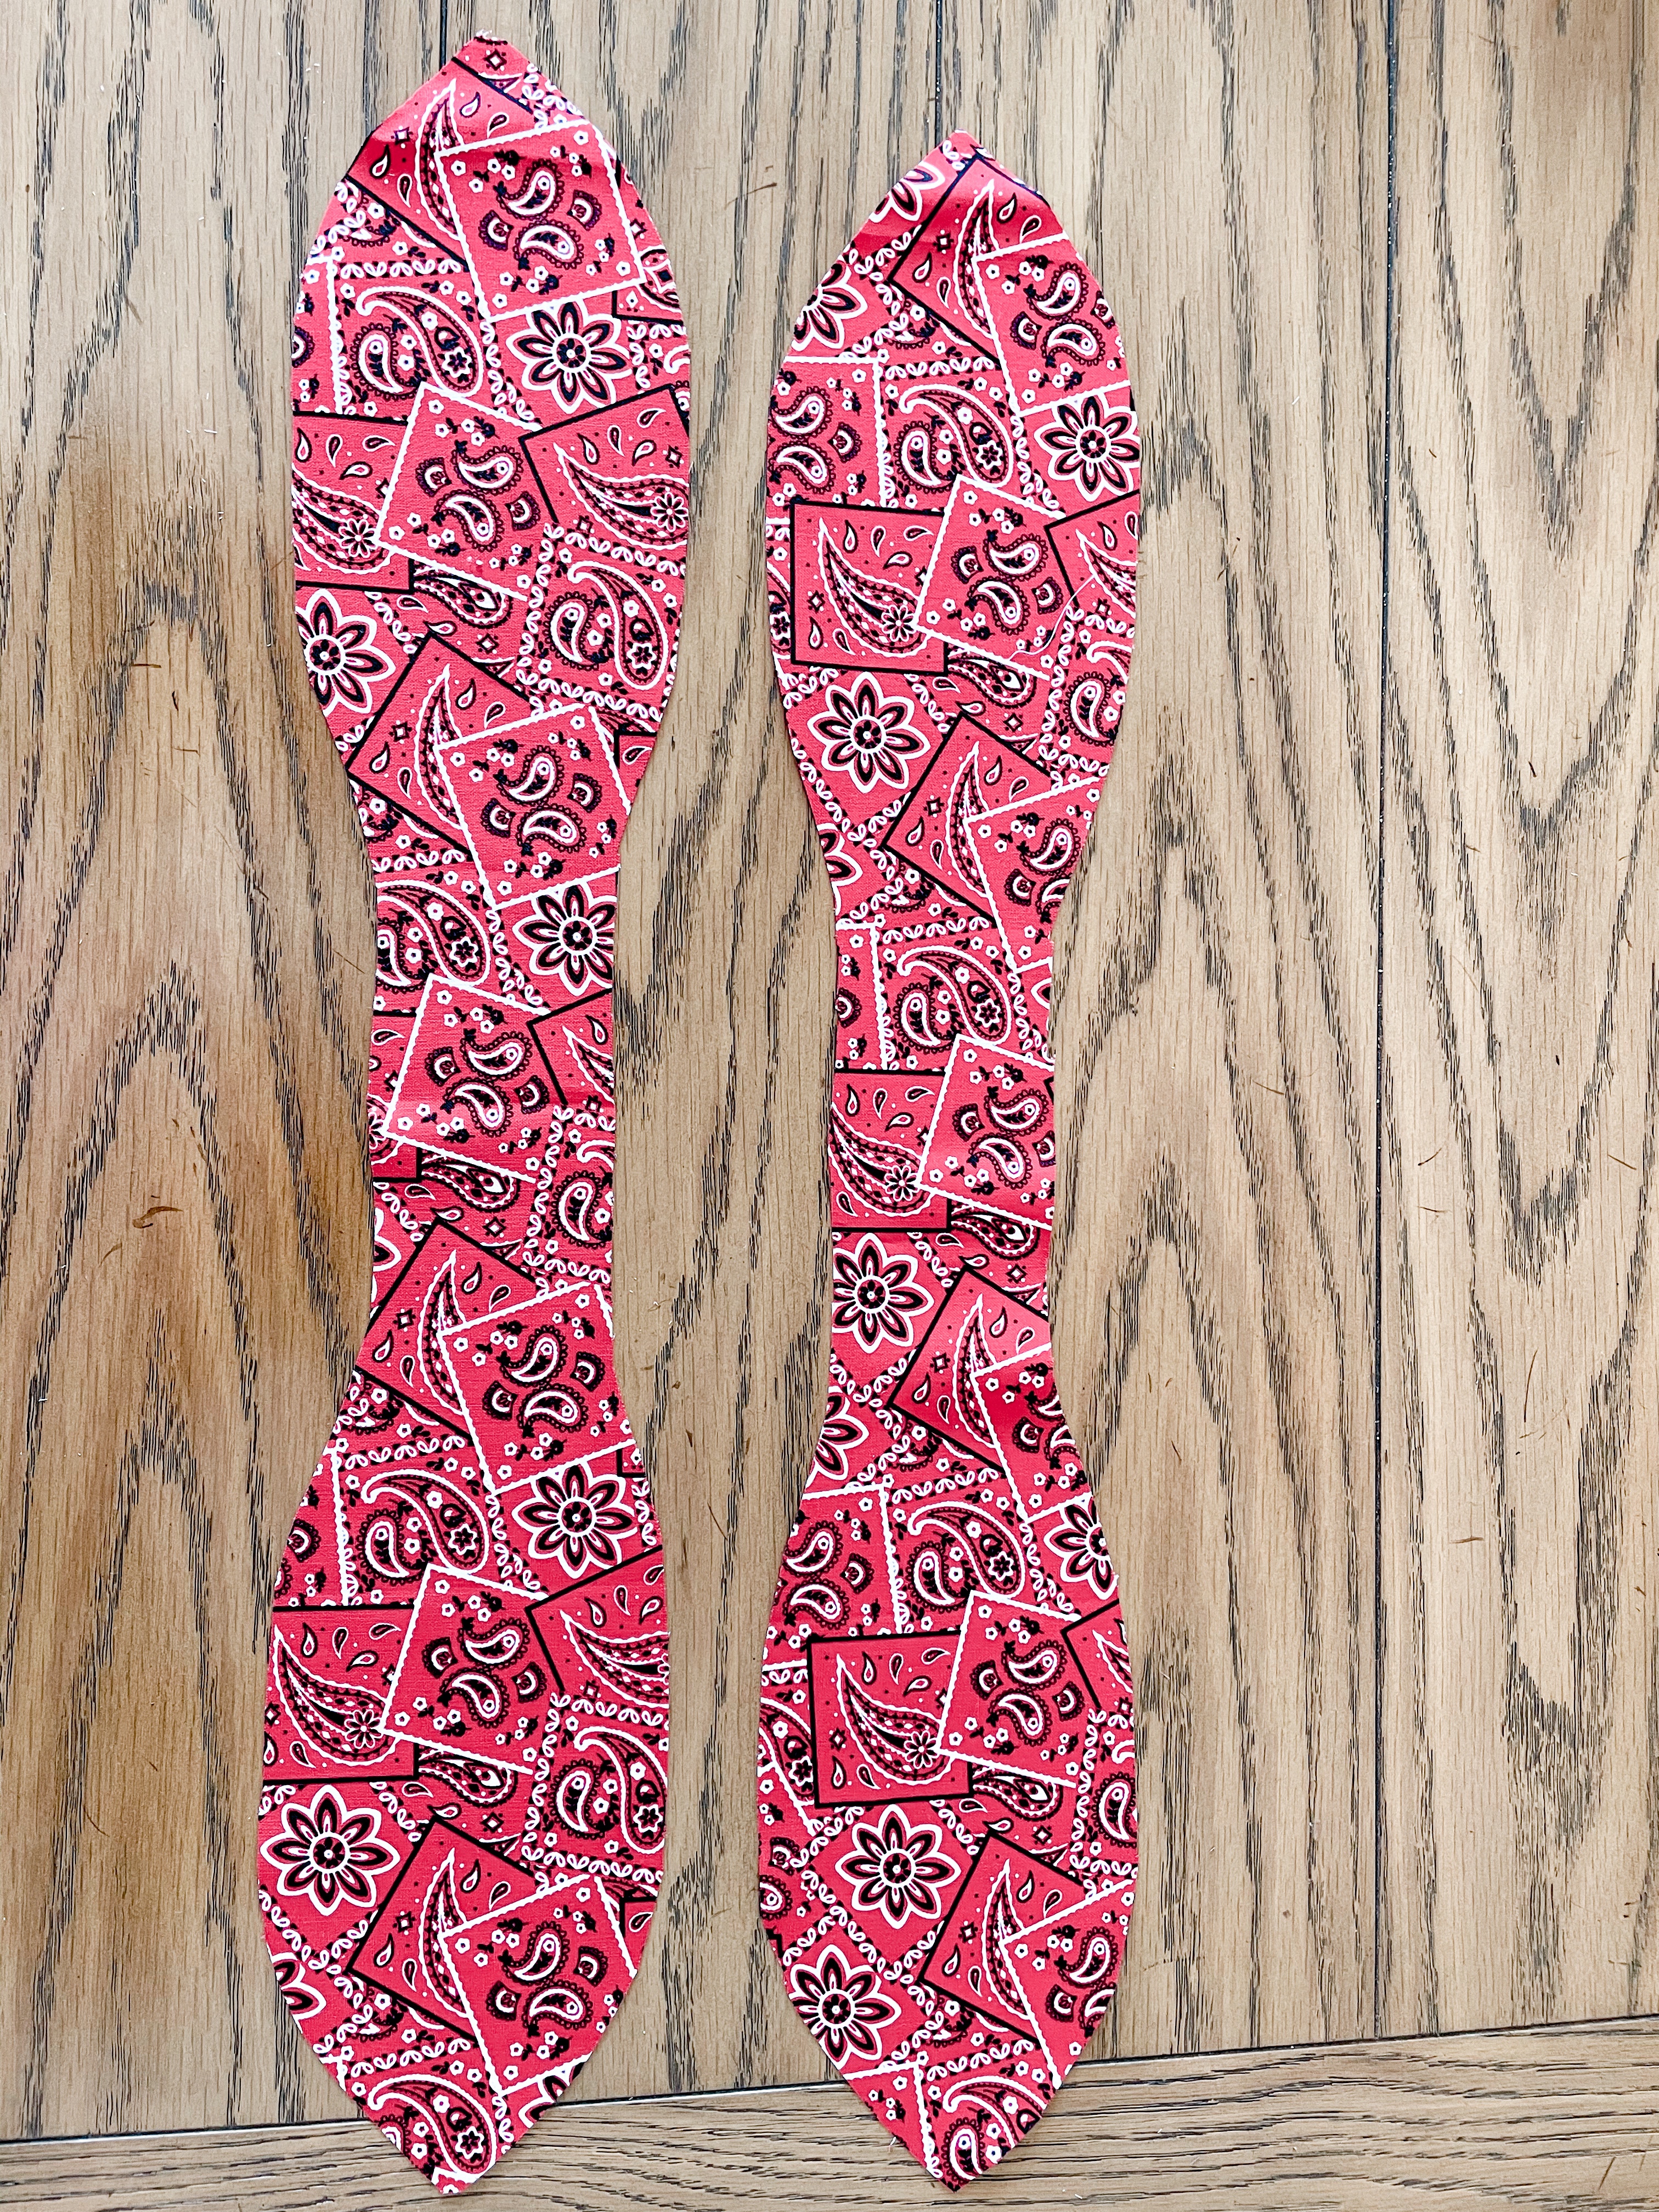
Cut out 2 pieces of fabric on the fold.
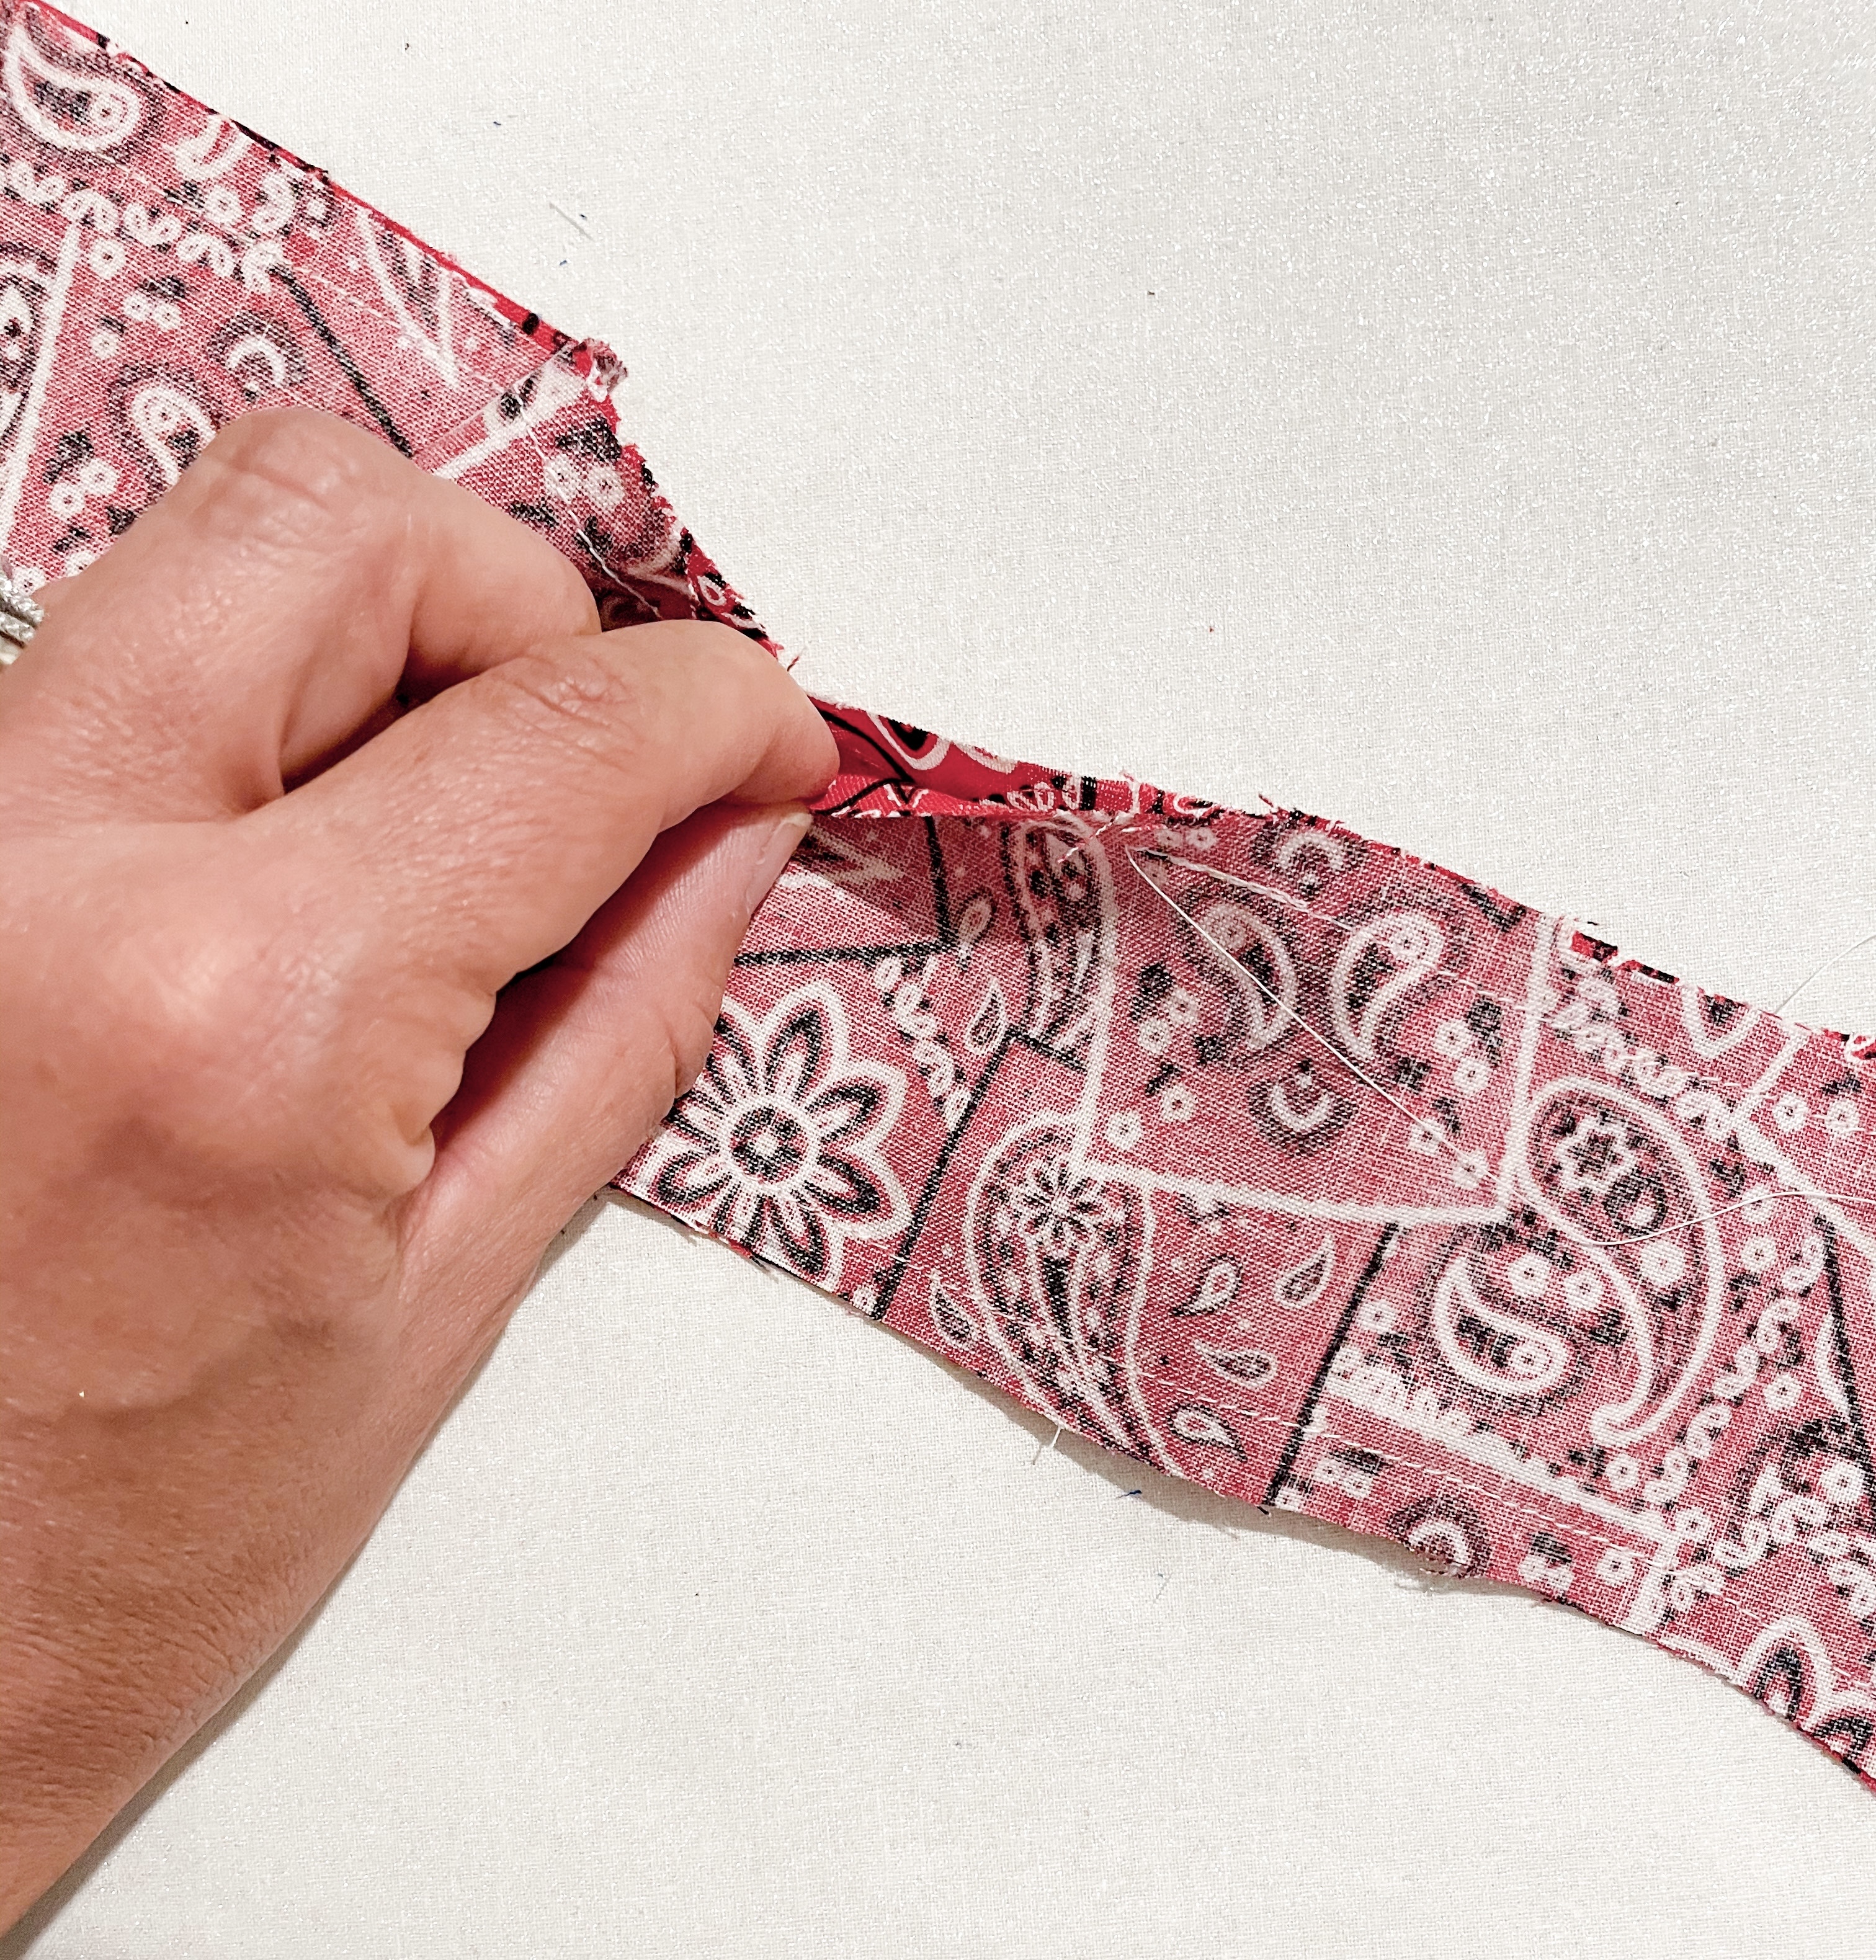
Pin right sides of the fabric together. Using a 1/4 inch seam allowance, sew the two pieces together. Leave a 2 inch gap in the center of the bow unsewn.
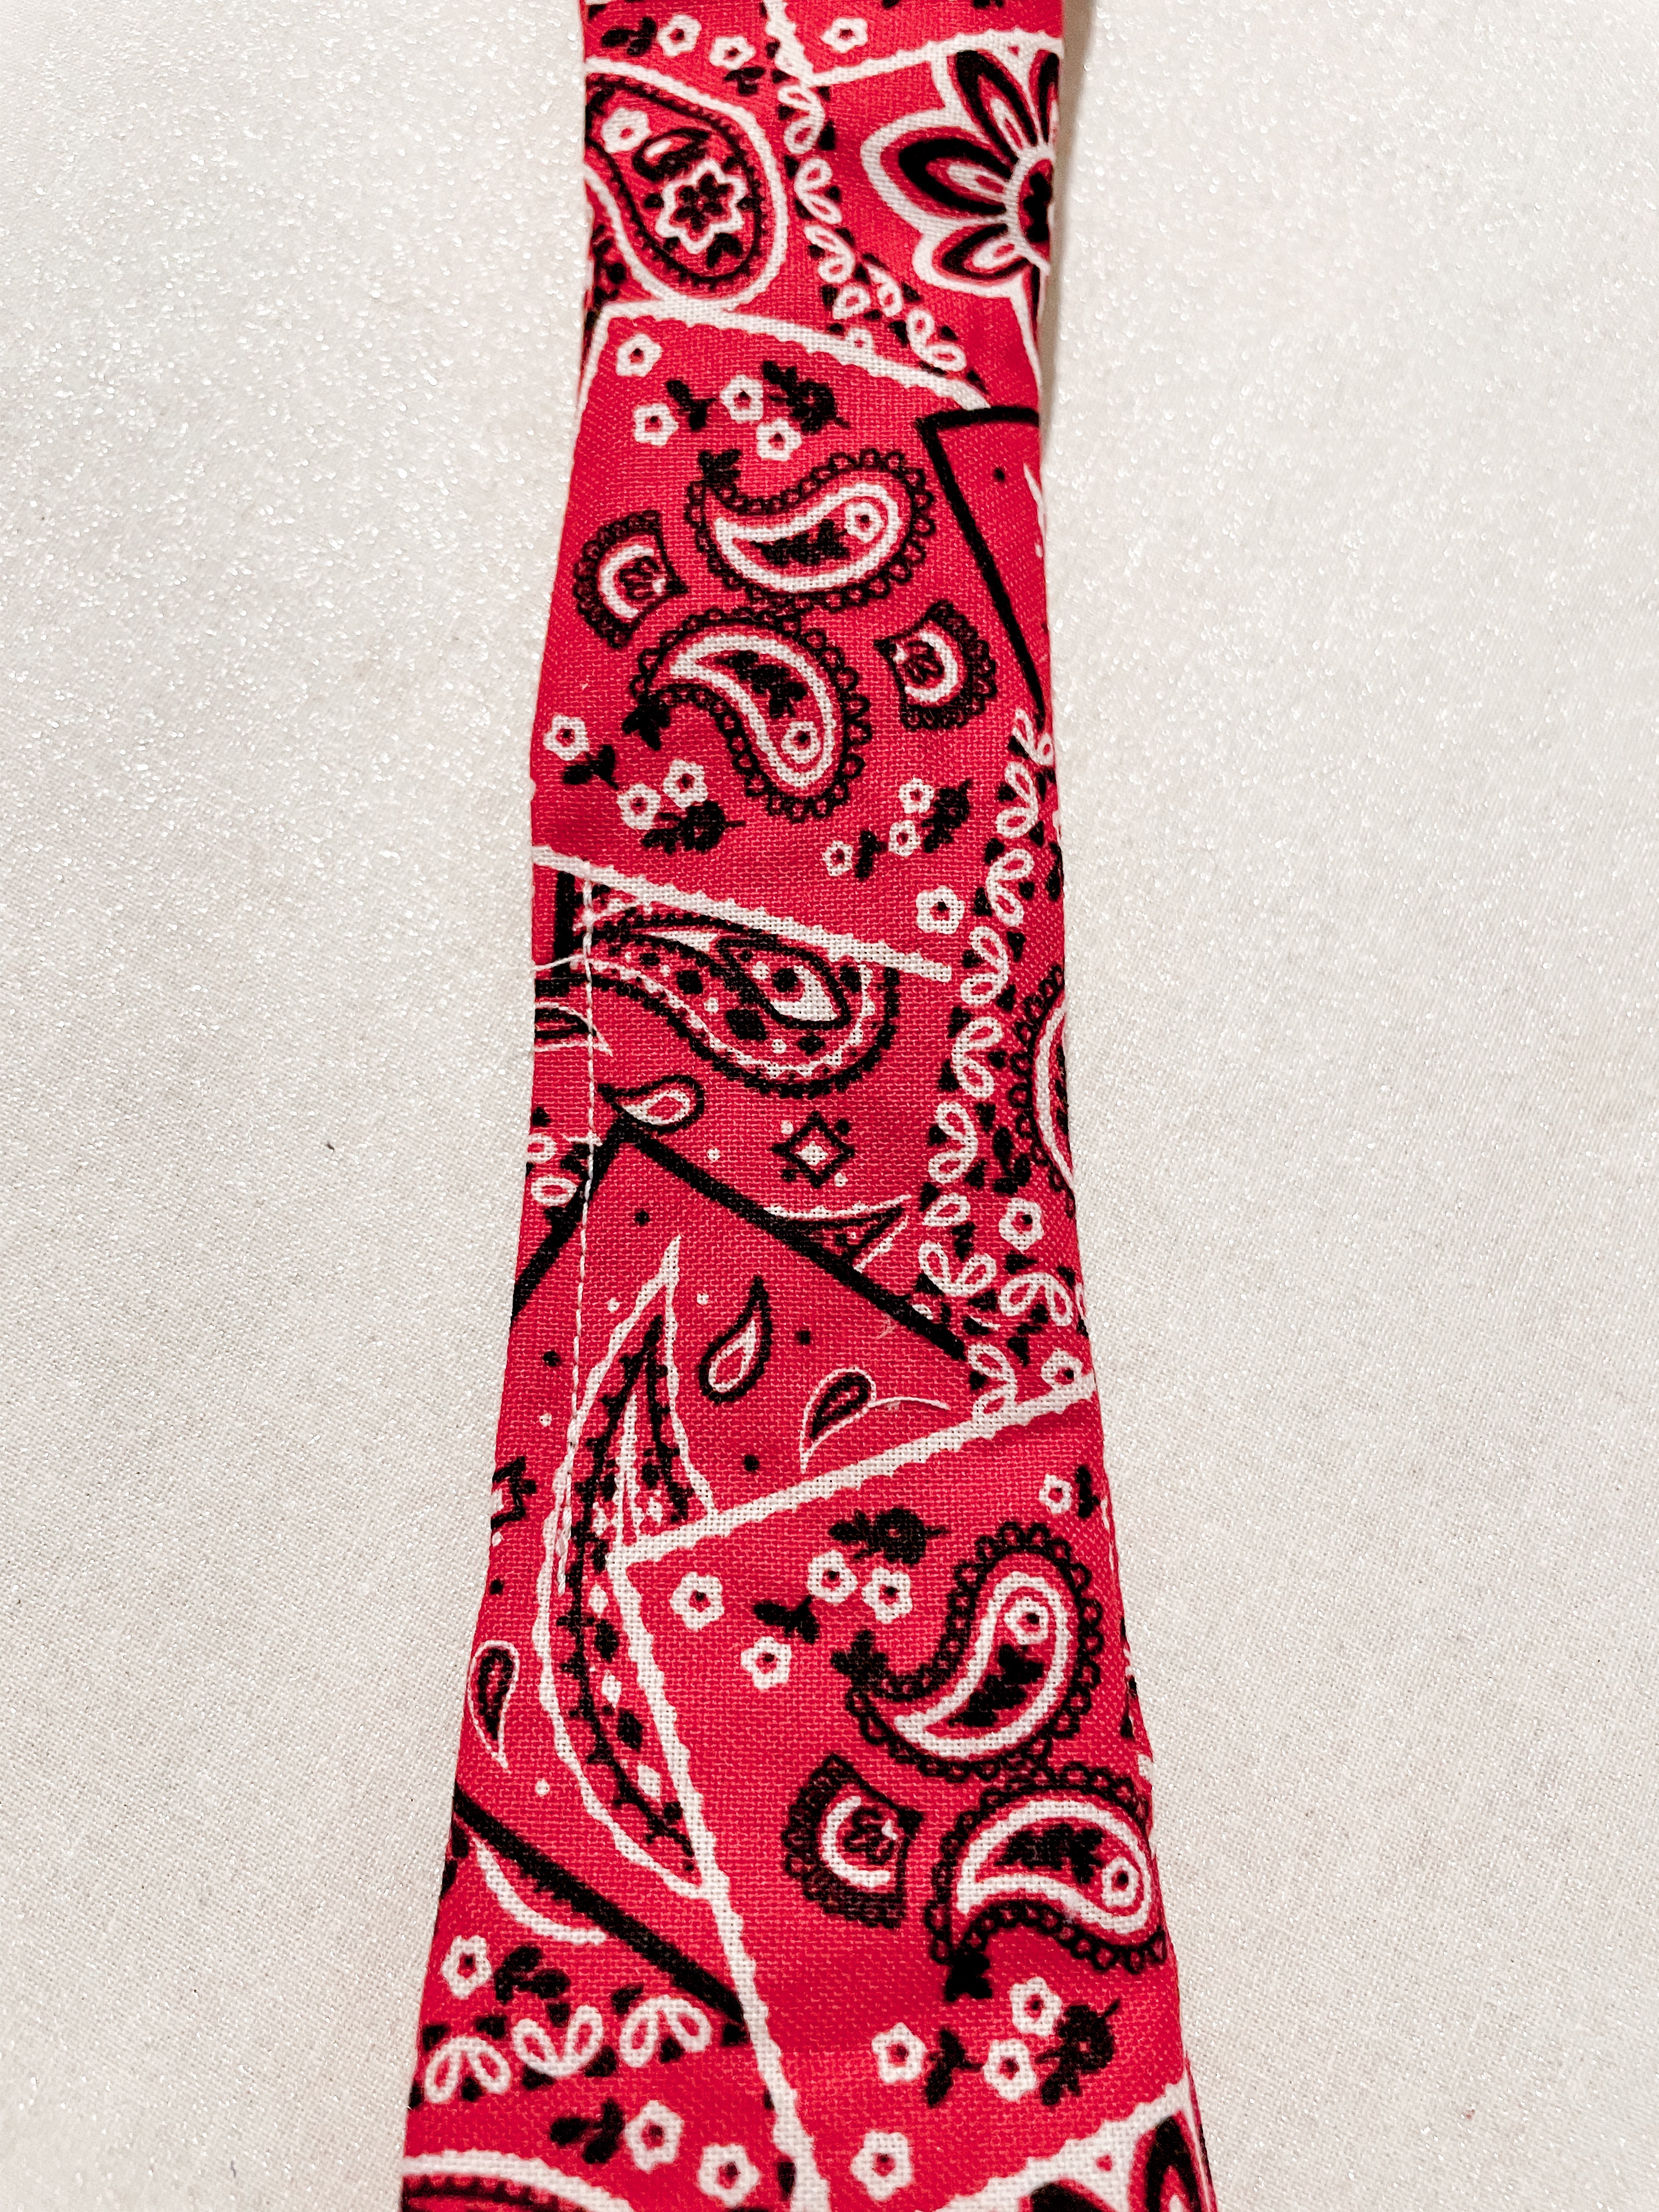
Cut the excess fabric off along the sewn edges. It makes turning the material right-side out so much easier. Using the pencil, turn the bow right-side out and iron. Hand stich or use a machine to close up the 2 inch gap.
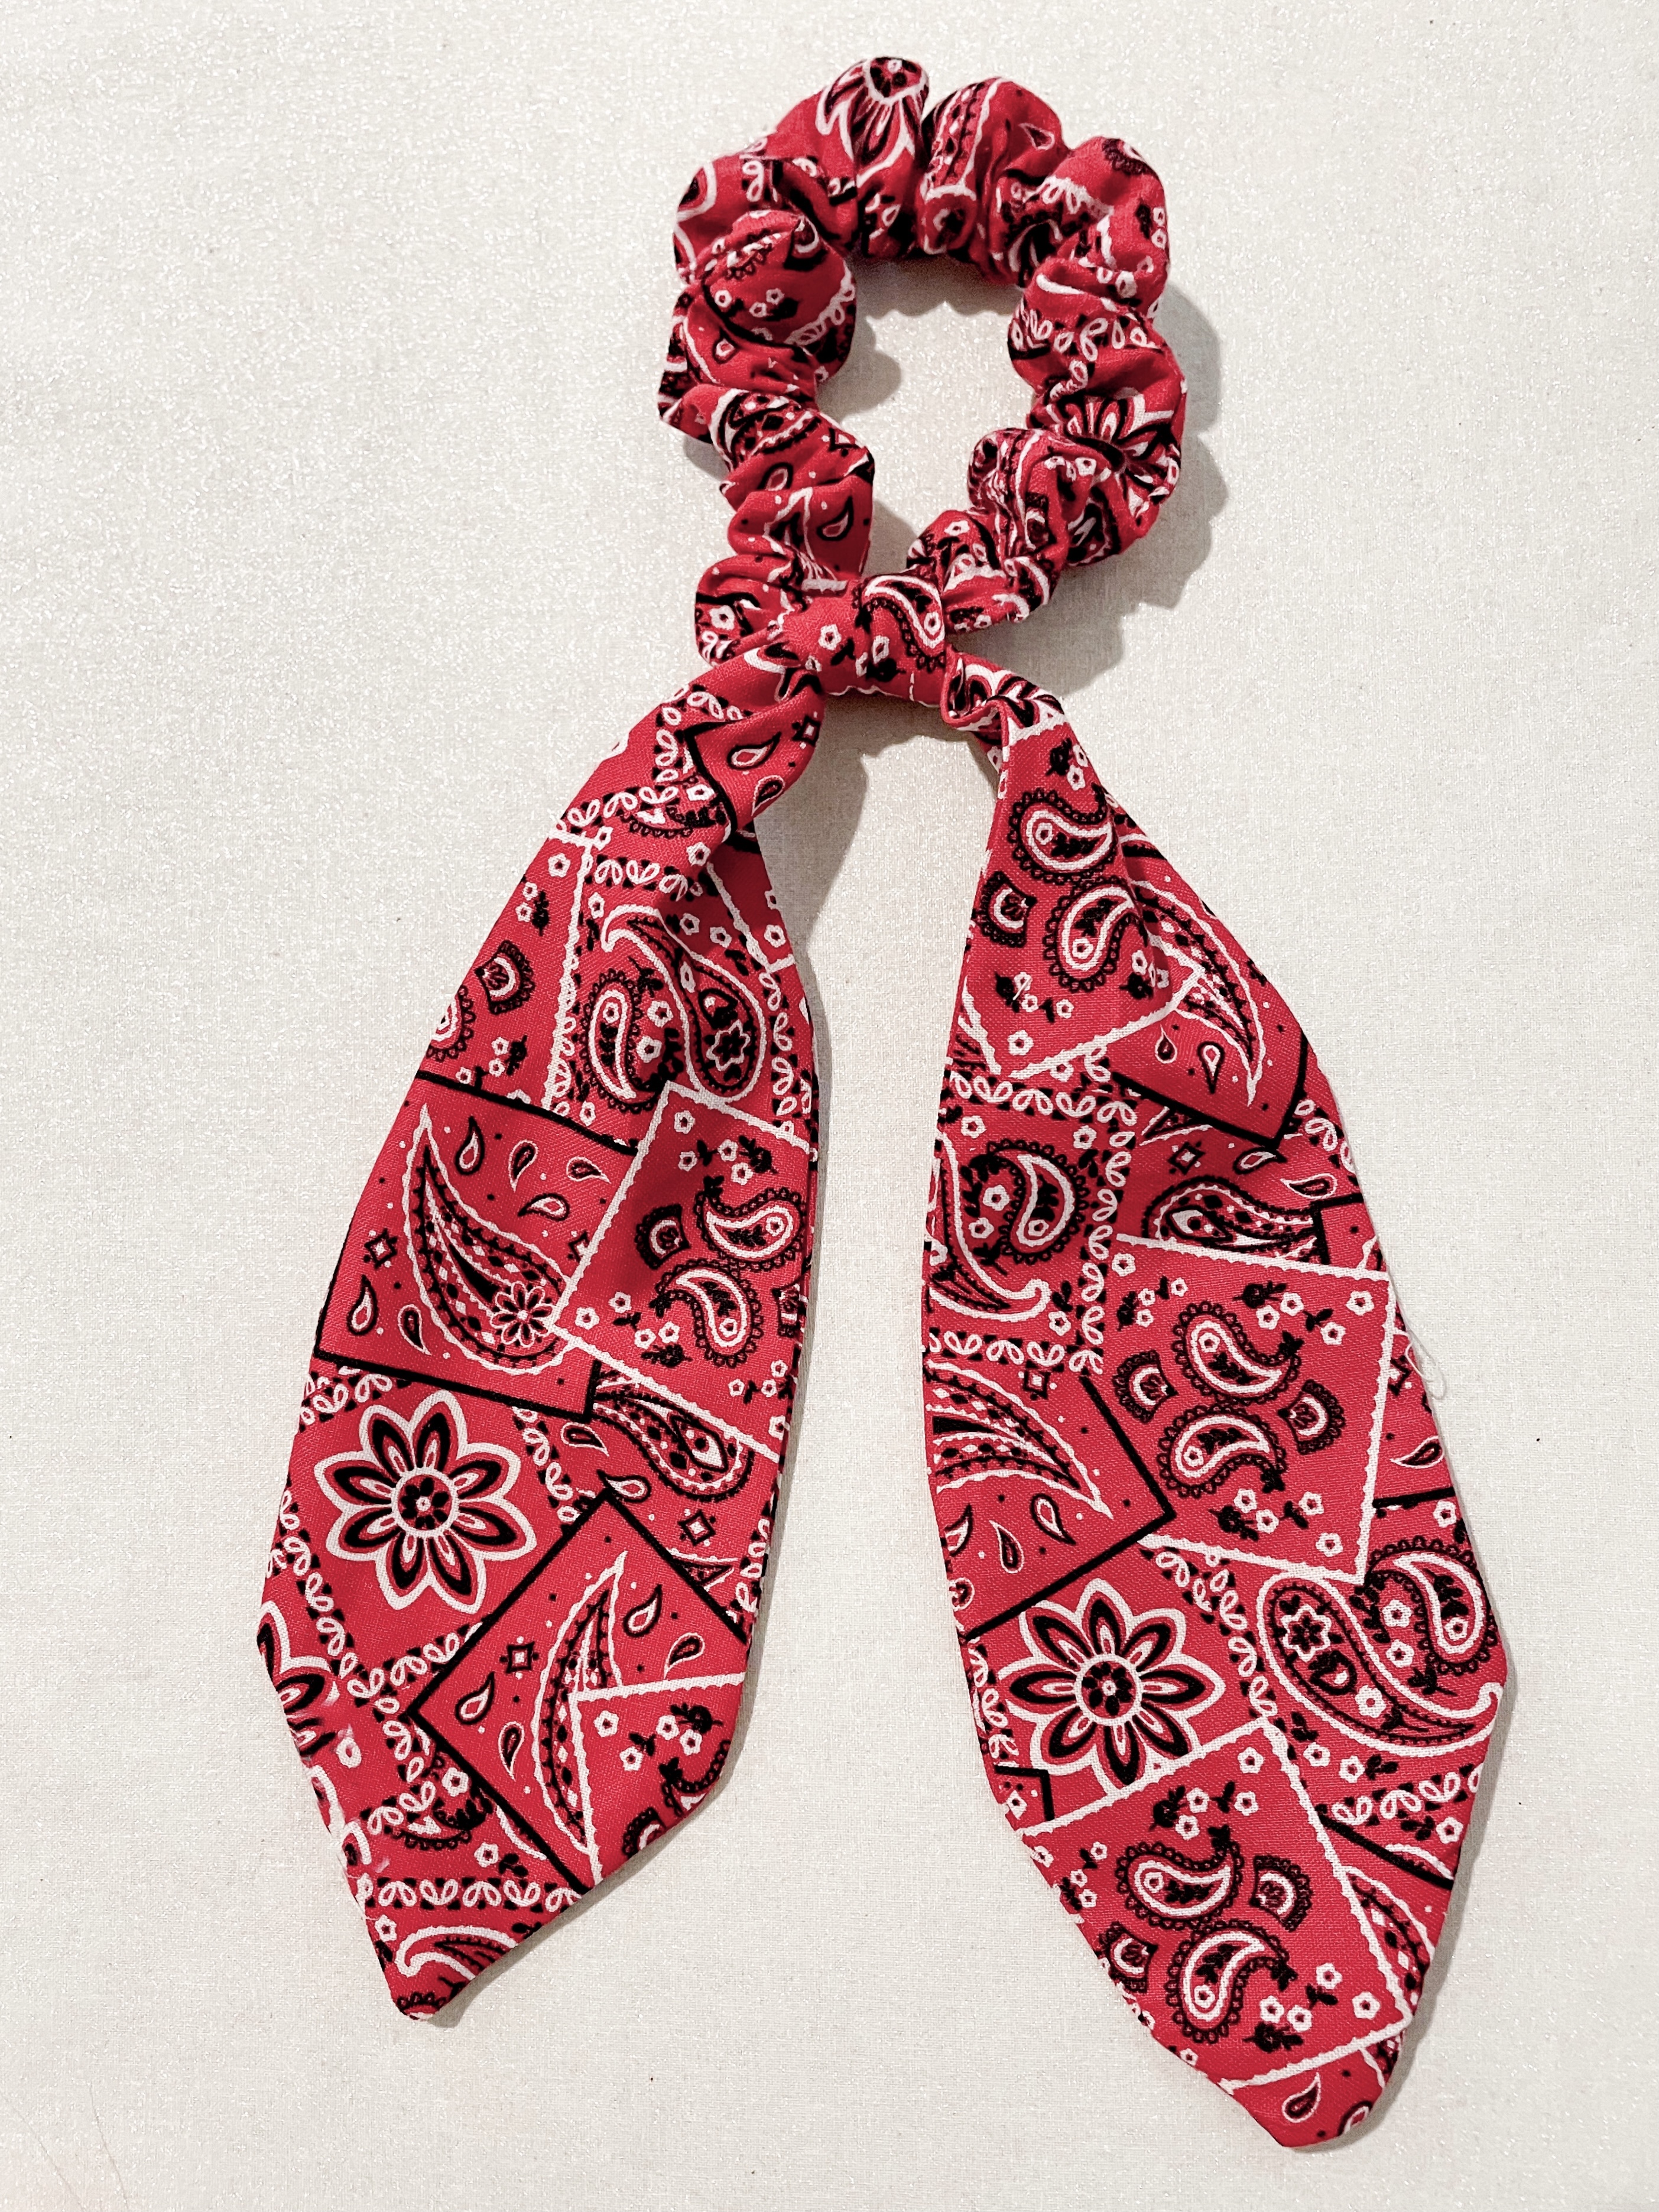
Tie the bow around your scrunchie and ENJOY!!
Option 3 – the Bow Tie Scarf
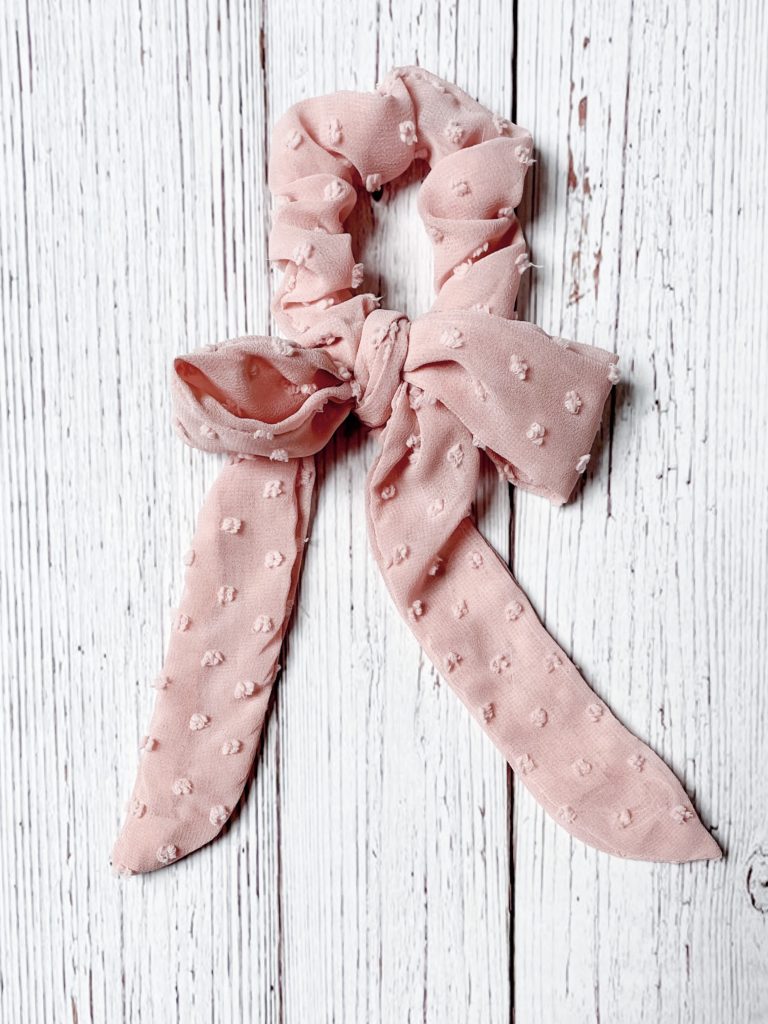
This is the exact same process as option 1 (the short scarf) but with a longer length of material.
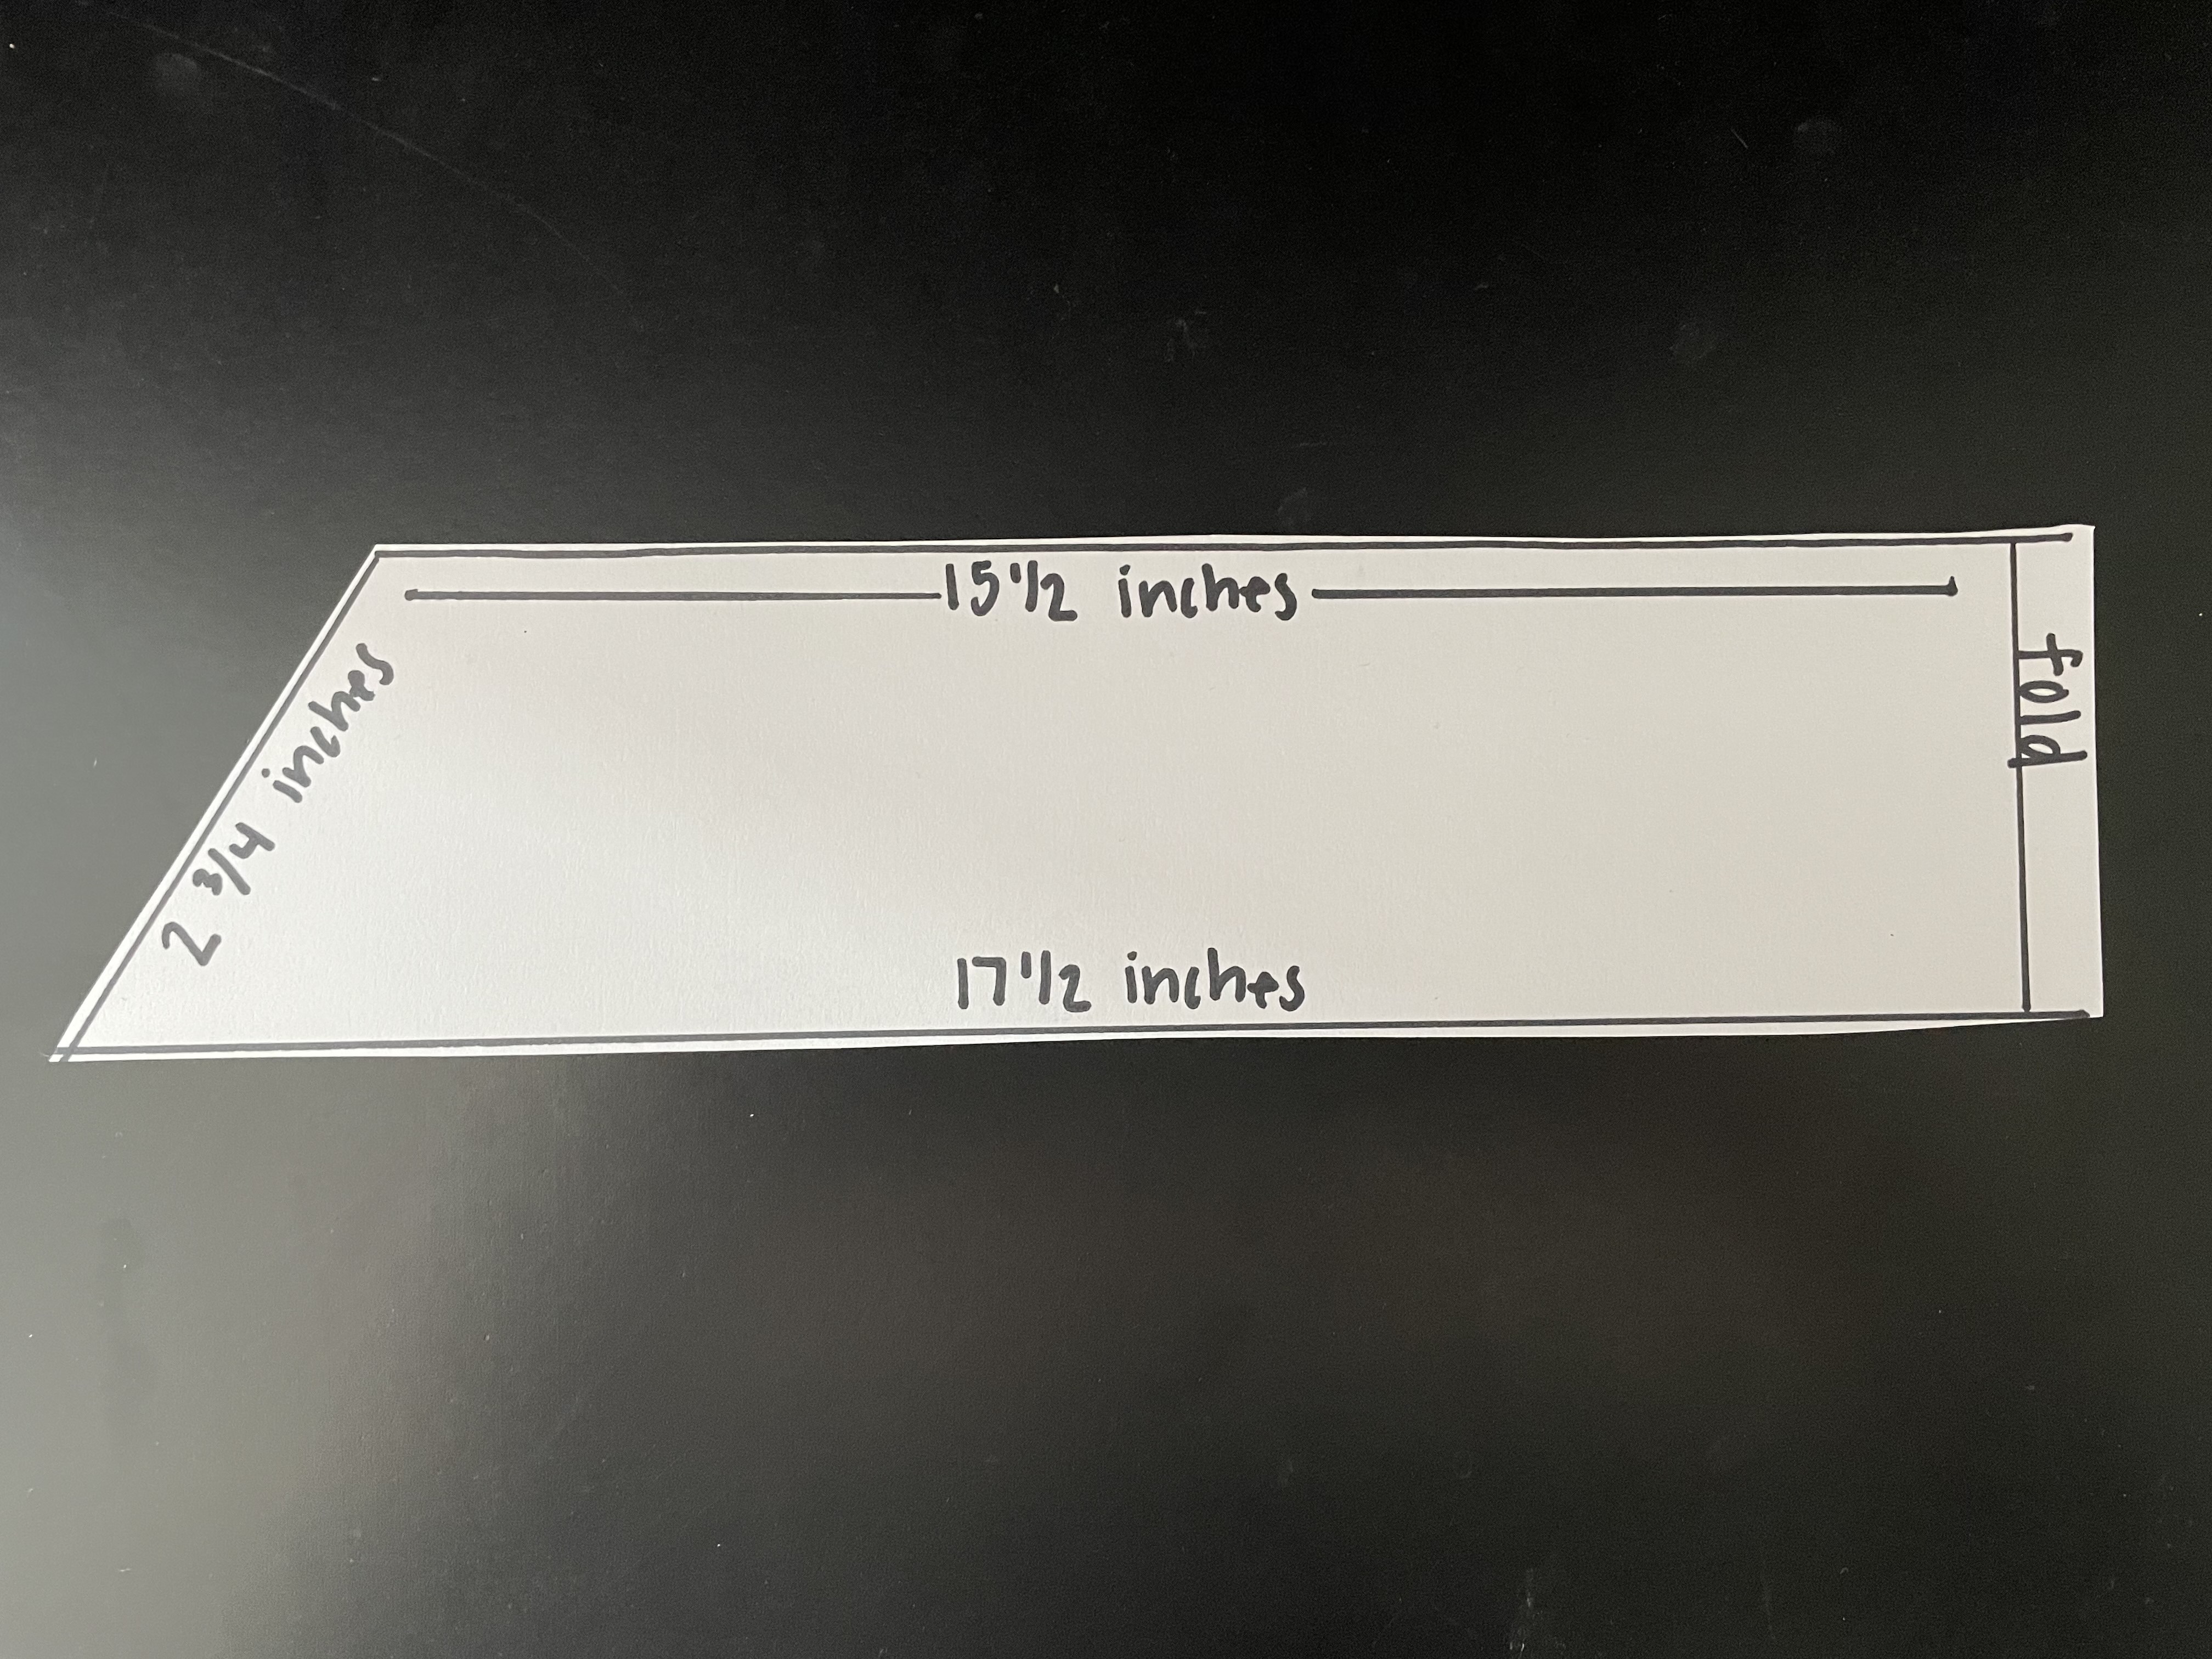
Draw out the pattern for the scarf.
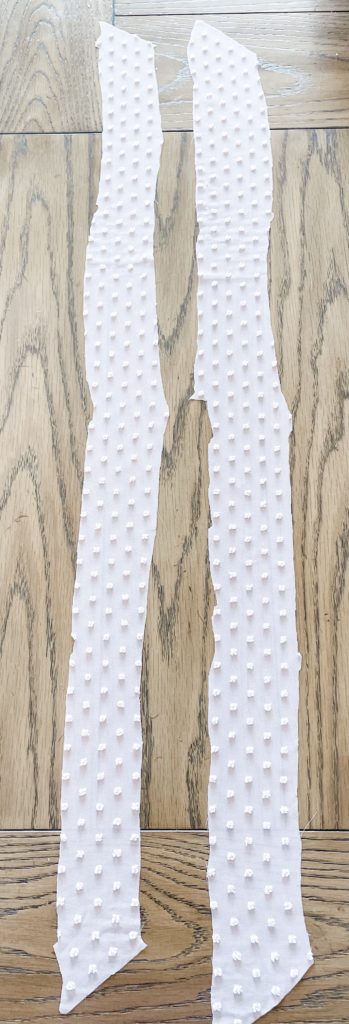
Cut out 2 pieces of fabric along the fold. The chiffon material I used was very difficult to cut. Thankfully this pattern is very forgiving and measurements do not have to be exact.
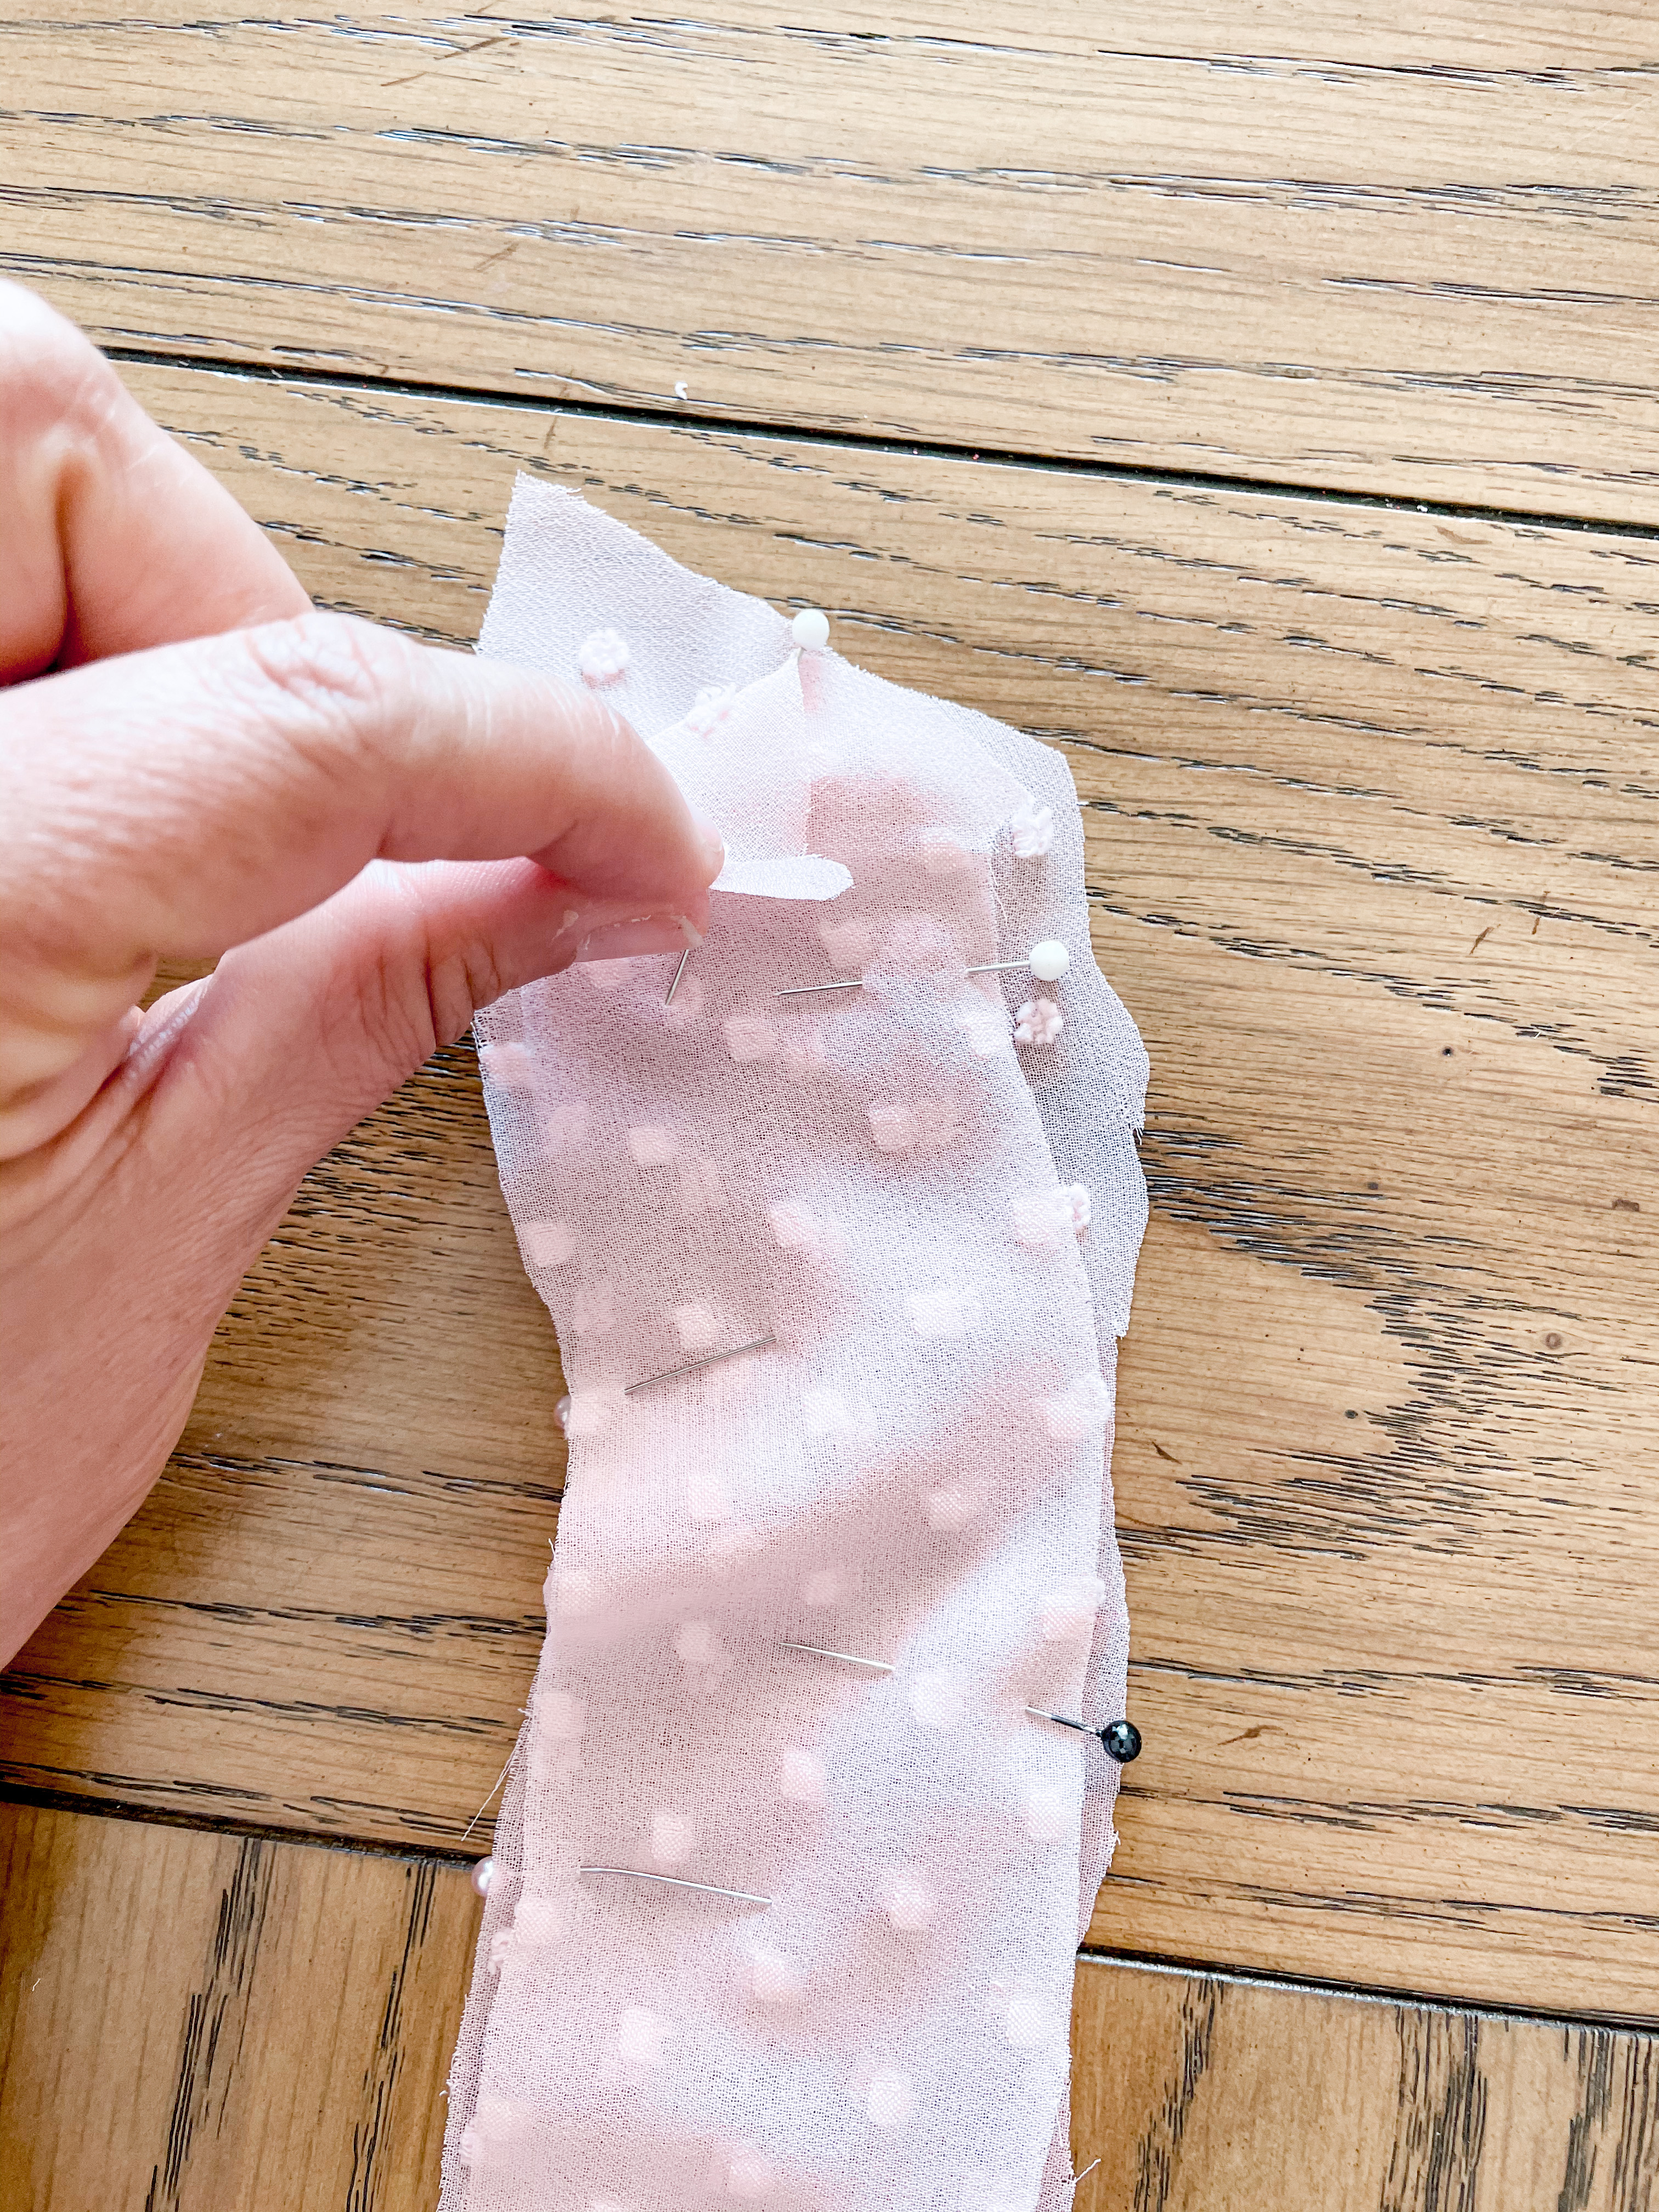
Pin right-sides of fabric together. Sew the two pieces together using a 1/4 inch seam allowance. Cut off excess fabric around the sewn edges, especially in the corners. Turn the fabric scarf right-side out using a pencil and then iron it flat.
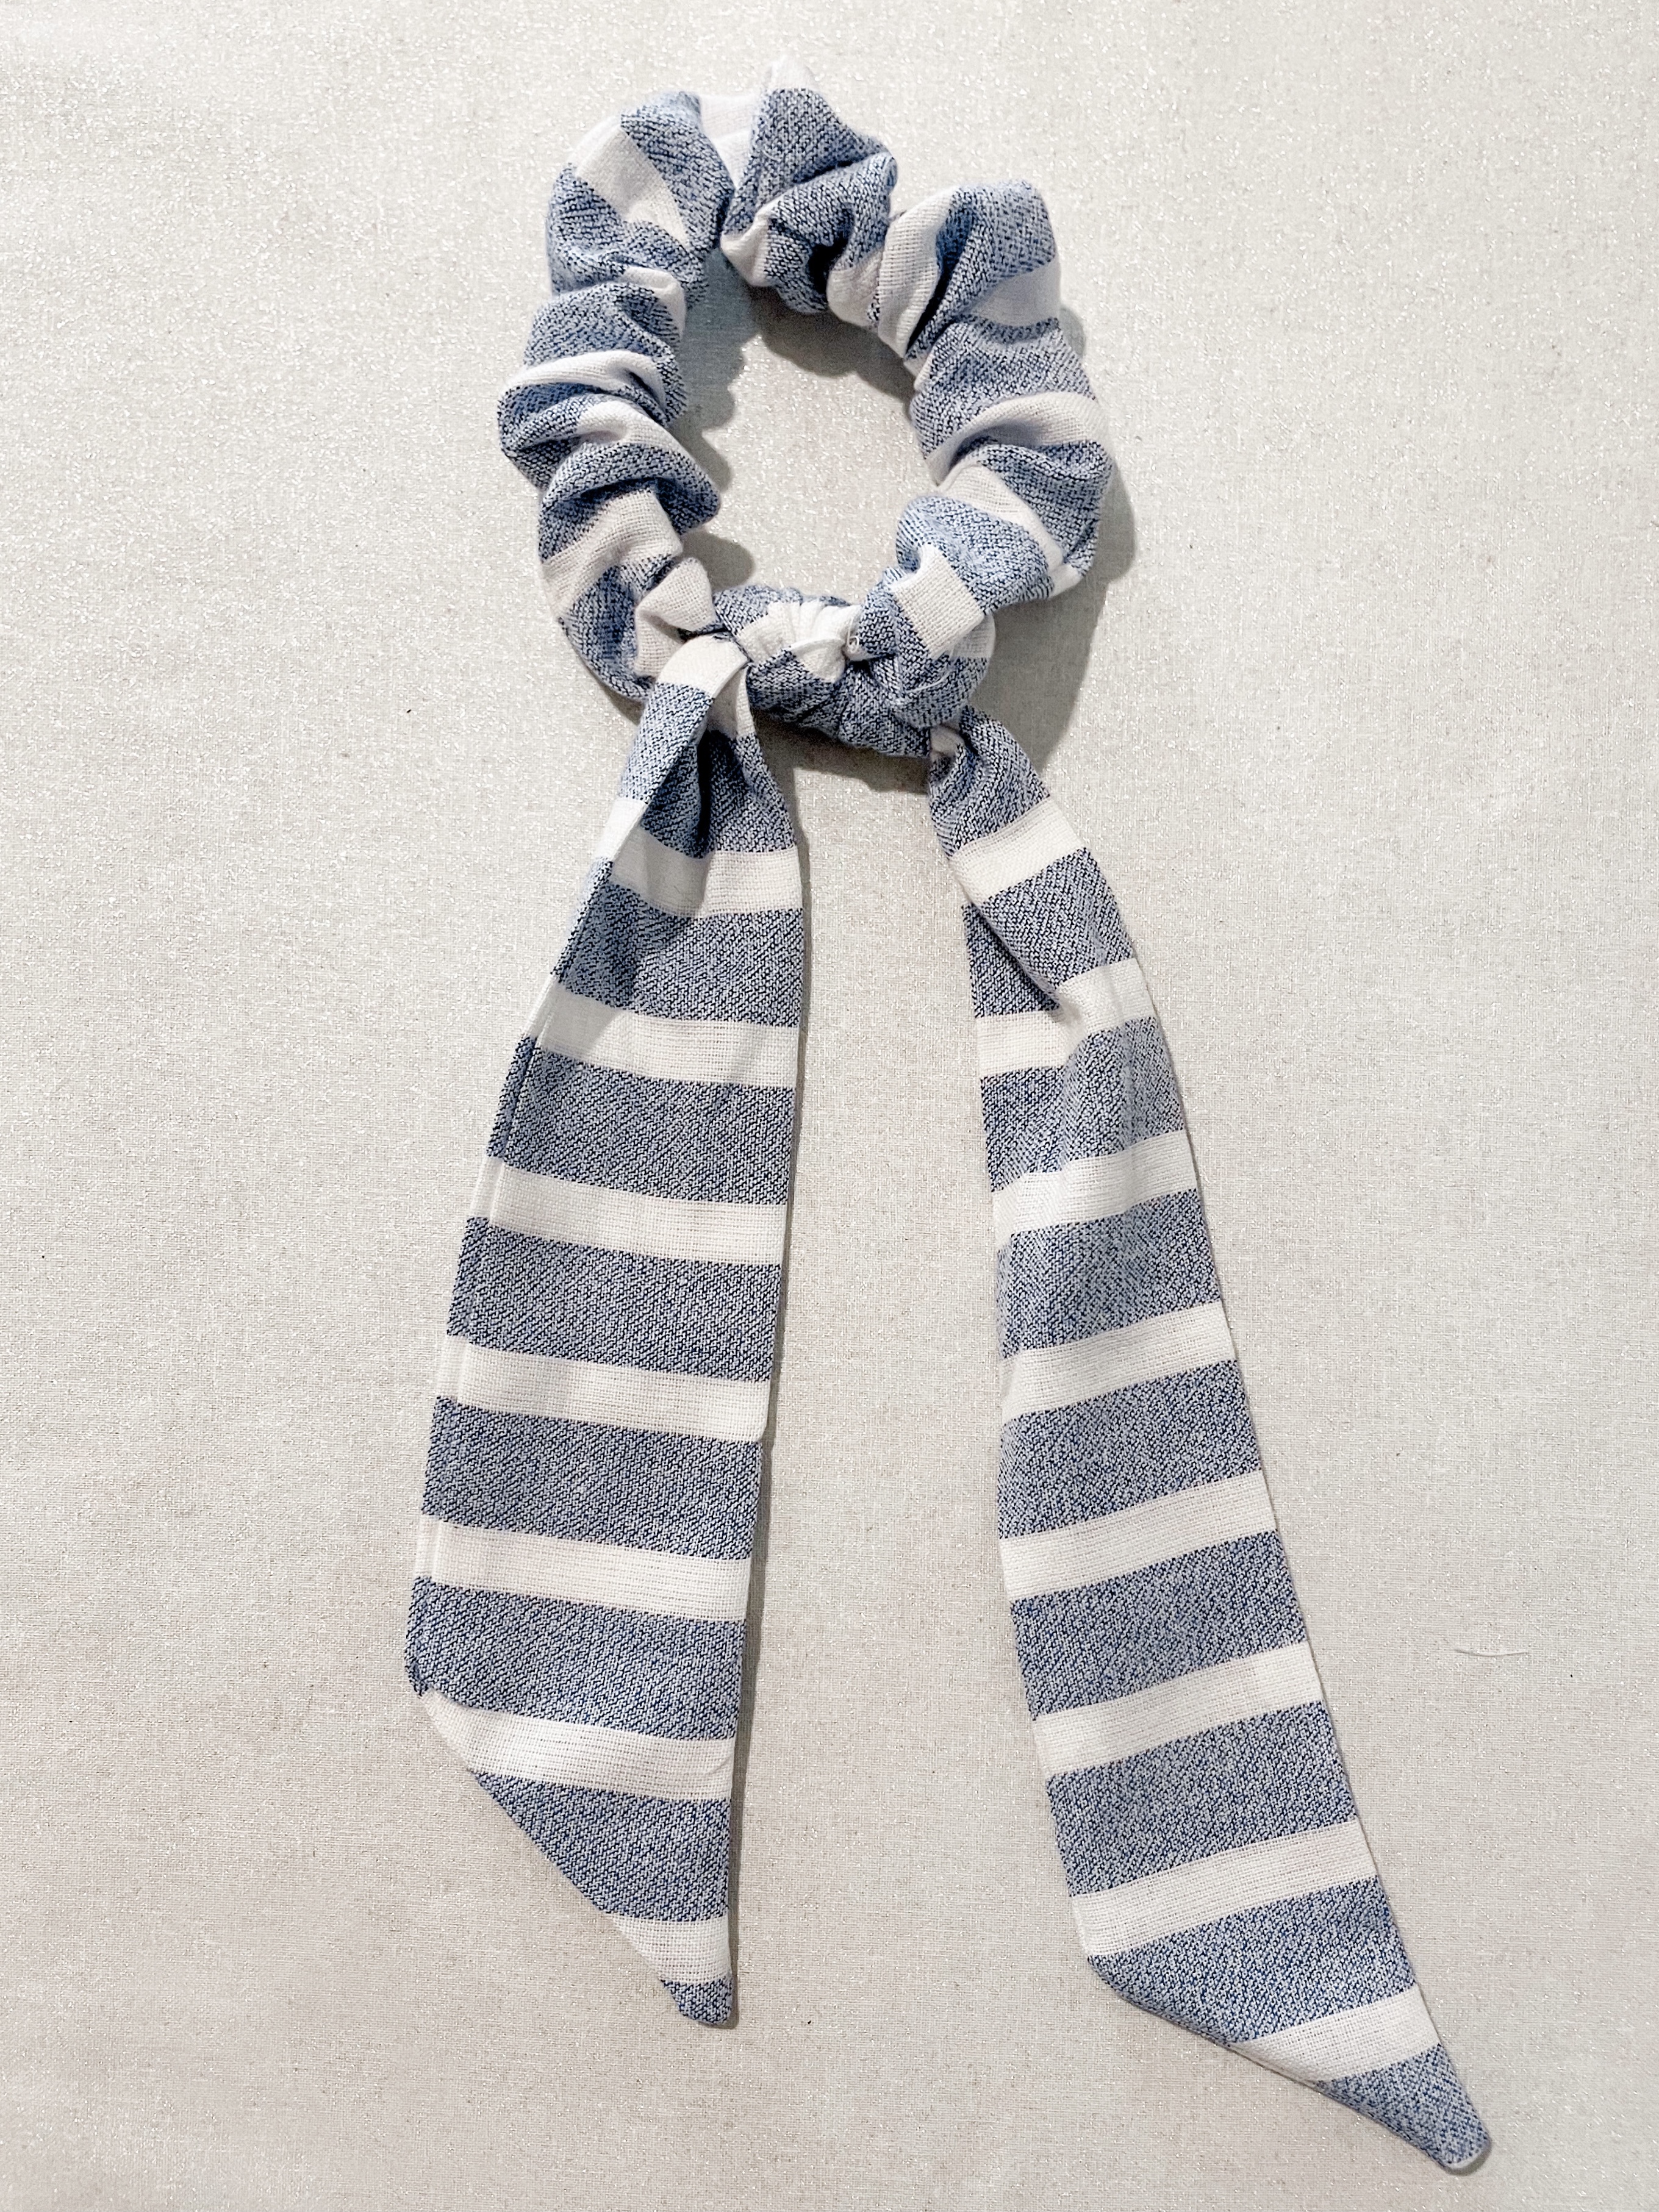
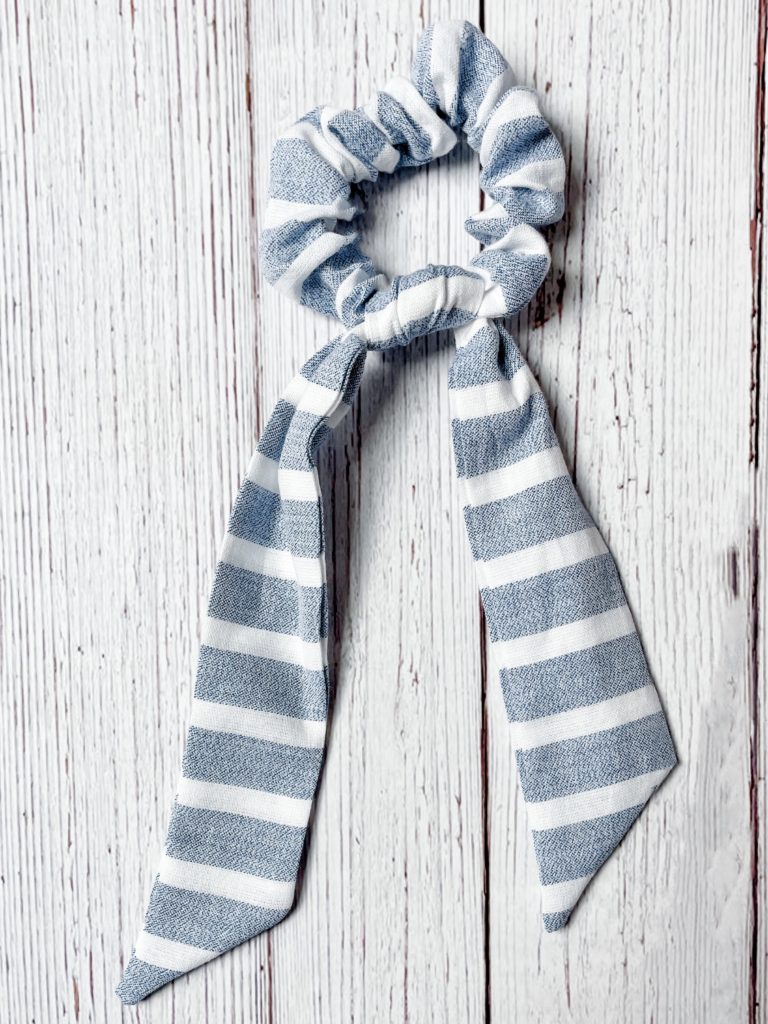
Tie the scarf around the scrunchie and ENJOY!!. This style gives you the option to leave the scarf tails long or tie them in a bow.

Making this DIY scarf and bow scrunchie was so much fun. Not to toot my own horn, but I think they look just as good, if not better, than the store bought versions. I hope you enjoyed this tutorial as much as I had making it. Isn’t it amazing how this simple bow and scarf scrunchie can transform a basic hairstyle into a chic look? Let me know what style you are going to make in the comments below.
